6 Tasty Ways How to Design an Edible Landscape
The scent of wet earth after a heavy rain indicates the release of geosmin; it is the olfactory signal of a high-functioning rhizosphere. Achieving this level of biological activity is the first step in learning how to design an edible landscape. Success requires more than placing seeds in dirt. It demands an understanding of turgor pressure, cellular respiration, and the precise chemical balance of the substrate. You are not just gardening; you are engineering a living system that converts solar energy and mineral salts into caloric density.
A functional edible landscape replaces ornamental monocultures with high-yield perennials and annuals. This transition requires a shift from aesthetic maintenance to metabolic management. Every plant choice must be calculated based on its caloric output and its contribution to the local ecosystem. By integrating fruit-bearing shrubs and nitrogen-fixing legumes into traditional foundation plantings, you maximize the utility of every square foot. This guide provides the technical framework for constructing a high-performance, edible environment from the soil up.
Materials:
Substrate quality determines the ceiling of your yield. You must aim for a friable loam consisting of roughly 40 percent sand, 40 percent silt, and 20 percent clay. This ratio ensures adequate pore space for oxygen diffusion while maintaining water-holding capacity.
The chemical profile of your soil is paramount. Most edible crops thrive in a pH range of 6.2 to 6.8. At this acidity level, the Cation Exchange Capacity (CEC) is optimized; this allows the root hairs to effectively swap hydrogen ions for essential nutrients like potassium and magnesium.
For heavy feeders like brassicas and nightshades, maintain a seasonal NPK ratio of 10-10-10 during the establishment phase. As plants transition to reproductive growth, shift to a 5-10-10 formula to prioritize phosphorus and potassium over nitrogen-driven vegetative growth. Incorporate organic matter to achieve a minimum of 5 percent soil organic carbon, which supports the microbial life necessary for nutrient cycling.
Timing:
Precision timing is dictated by your USDA Hardiness Zone. In Zones 5 through 7, the spring planting window opens when soil temperatures consistently reach 50 degrees Fahrenheit. Use a soil thermometer to verify this; planting in cold, anaerobic soil leads to root rot and stunted development.
The biological clock of the landscape is governed by the photoperiod. Long-day plants require 14 or more hours of light to trigger flowering. Conversely, short-day crops like certain onions or spinach will bolt prematurely if the light cycle is not managed. Monitor the last frost date with military precision. A late frost can cause ice crystals to form within the plant cells, leading to cell wall rupture and systemic collapse. Transitioning from vegetative to reproductive stages requires a strategic increase in phosphorus to support the high energy demands of fruit and seed production.
Phases:
Sowing and Seed Starting
Start seeds in a sterile, soilless medium to prevent damping-off. Maintain a constant temperature of 70 degrees Fahrenheit for optimal germination. Ensure the light source is within 3 inches of the seedlings to prevent leggy growth caused by the search for light.
Pro-Tip: Monitor for phototropism, where plants lean toward a light source. This is caused by the migration of auxins to the shaded side of the stem; these hormones cause cells on the dark side to elongate, bending the plant toward the light.
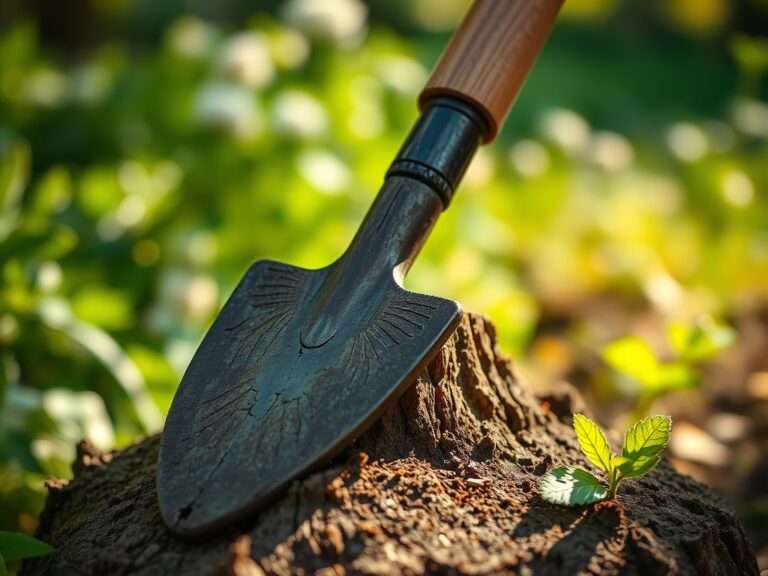
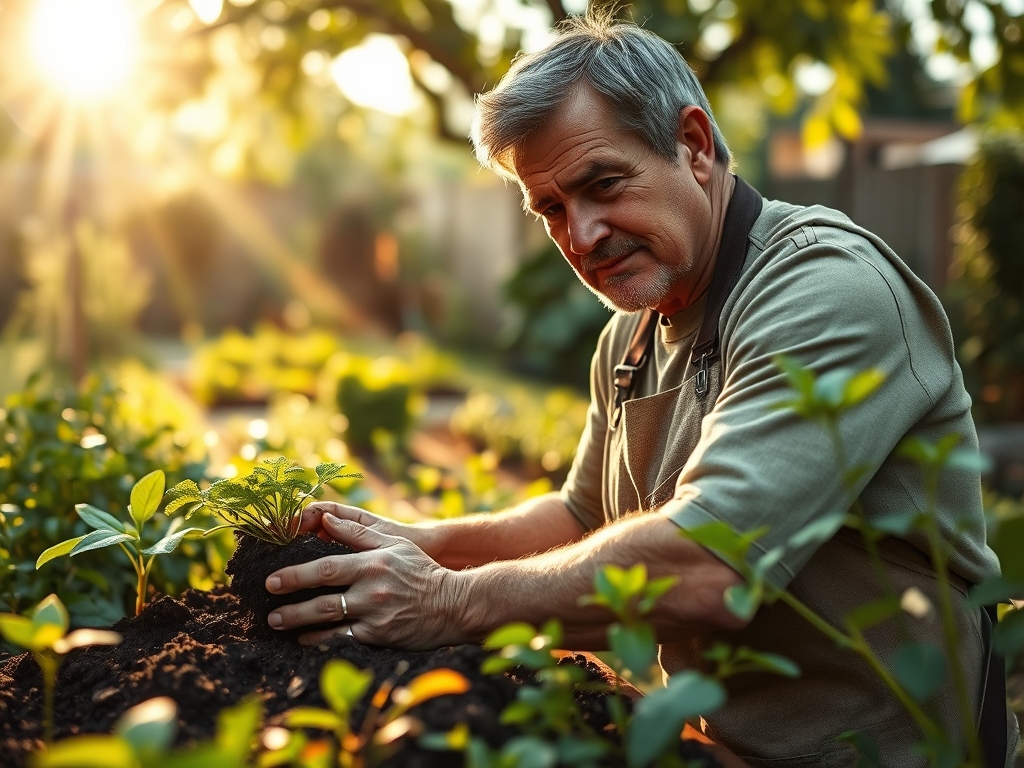
Transplanting
Hardening off is a non-negotiable step. Gradually expose seedlings to outdoor conditions over 7 to 10 days. When moving plants to their final location, ensure the root ball is saturated. Dig a hole twice the width of the root system to encourage lateral expansion into the native soil.
Pro-Tip: Inoculate the root zone with mycorrhizal fungi. This symbiotic relationship extends the reach of the root system by up to 100 times; the fungi trade phosphorus for plant sugars, significantly increasing drought resistance.
Establishing the Canopy
As your edible landscape matures, manage the vertical layers. Prune fruit trees to an open-center or central-leader shape to allow for maximum light penetration. This prevents the lower branches from reaching senescence due to lack of photosynthesis.
Pro-Tip: Practice auxin suppression through strategic pruning. Removing the terminal bud (the tip of the main stem) stops the downward flow of auxins; this allows lateral buds to grow, resulting in a bushier, more productive plant.
The Clinic:
Physiological disorders often mimic infectious diseases. Accurate diagnosis is critical for intervention.
- Symptom: Interveinal chlorosis on young leaves (yellowing between green veins).
- Solution: This indicates an Iron deficiency, often caused by high soil pH. Apply chelated iron and lower the pH using elemental sulfur.
- Symptom: Blossom end rot on tomatoes or peppers (dark, leathery spots on the bottom of the fruit).
- Solution: This is a Calcium transport issue. It is usually caused by inconsistent watering rather than a lack of calcium in the soil. Maintain steady moisture levels to ensure calcium moves through the xylem.
- Symptom: Purple tinting on the underside of older leaves.
- Solution: This signifies a Phosphorus deficiency. Apply a high-phosphorus fertilizer or bone meal to the root zone immediately.
- Symptom: Stunted growth and pale green leaves throughout the plant.
- Solution: This is Nitrogen chlorosis. Apply a quick-release nitrogen source like fish emulsion to restore chlorophyll production.
Maintenance:
A high-performance landscape requires disciplined maintenance. Apply 1.5 inches of water per week at the drip line; do not wet the foliage, as this encourages fungal pathogens. Use a soil moisture meter to verify that the water is penetrating at least 6 inches deep.
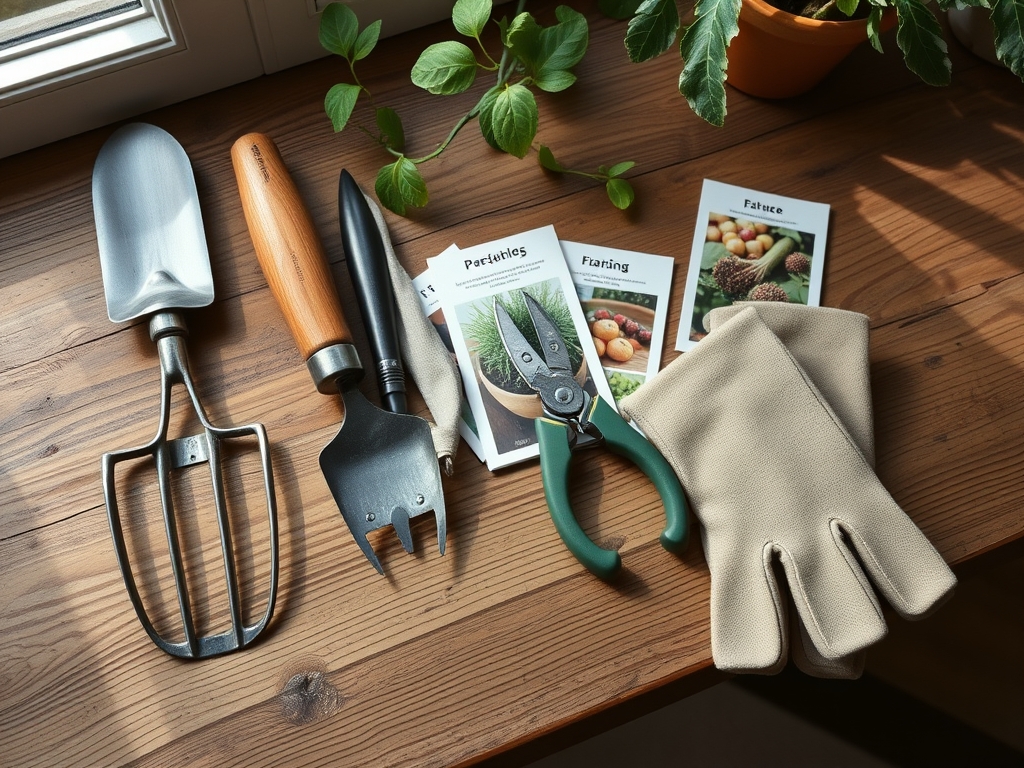
Keep your tools sharp and disinfected. Use a hori-hori knife for precise weeding and planting in tight spaces. For woody perennials, use bypass pruners to make clean cuts that heal quickly. Avoid anvil pruners, which crush the vascular tissue. Mulch with 3 inches of organic material to suppress weeds and regulate soil temperature; keep mulch 2 inches away from the base of trunks to prevent rot.
The Yield:
Harvesting is the final stage of the metabolic cycle. For most leafy greens, harvest in the early morning when turgor pressure is at its peak; this ensures the crispest texture. For stone fruits and pomes, monitor the "ground color" of the skin. If the base color shifts from green to yellow or creamy white, the fruit is reaching physiological maturity.
Handle all produce with care to avoid bruising, which triggers the release of ethylene gas and accelerates decay. Cool the harvest immediately to remove "field heat." This slows down the respiration rate and preserves the sugars and vitamins within the plant tissue for day-one freshness.
FAQ:
What is the best soil for an edible landscape?
A well-draining friable loam with a pH between 6.2 and 6.8 is ideal. It should contain at least 5 percent organic matter to support the Cation Exchange Capacity and provide essential nutrients for high-yield crops.
How much sun do edible plants need?
Most fruiting vegetables and trees require a minimum of 6 to 8 hours of direct sunlight daily. This solar energy is necessary for the photosynthesis required to produce sugars and develop complex flavor profiles in the harvest.
Can I grow edibles in containers?
Yes; however, containers require more frequent monitoring of moisture and nutrients. Use a high-quality potting mix and ensure the container has adequate drainage to prevent anaerobic conditions that lead to root rot and plant death.
How do I prevent pests naturally?
Focus on Integrated Pest Management (IPM) by increasing biodiversity. Planting a variety of species attracts predatory insects. Healthy plants with high turgor pressure and proper nutrient balance are naturally more resistant to insect infestations and physiological stress.