5 Quick Steps to Install a Spiral Garden
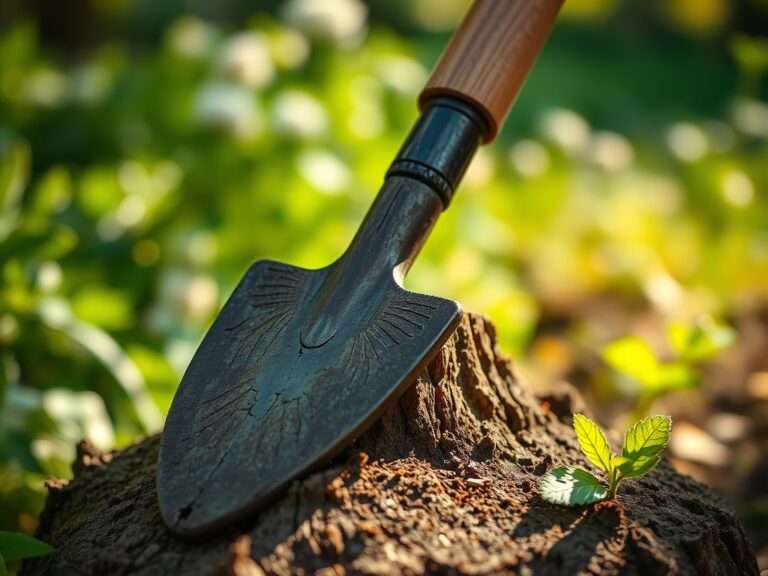
Damp earth releases geosmin as the spade breaks the surface; this aromatic signaling indicates a healthy microbial population ready for integration. Successful cultivation begins with structural efficiency. To master the steps to install a spiral garden, one must prioritize vertical drainage and thermal mass. This three dimensional design utilizes a central stone or brick spire to create microclimates, allowing for varied moisture levels within a compact six foot diameter. A well executed spiral maximizes surface area while minimizing the footprint, ensuring that every plant occupies its ideal niche based on solar exposure and water requirements. By stacking materials strategically, the gardener manipulates gravity to manage irrigation, moving water from the arid peak to the hydric base. This architectural approach to horticulture relies on the physics of soil compaction and the biological requirements of the rhizosphere. Precision in the initial layout prevents structural failure and ensures that the finished spiral functions as a self sustaining ecosystem for years to come.
Materials:
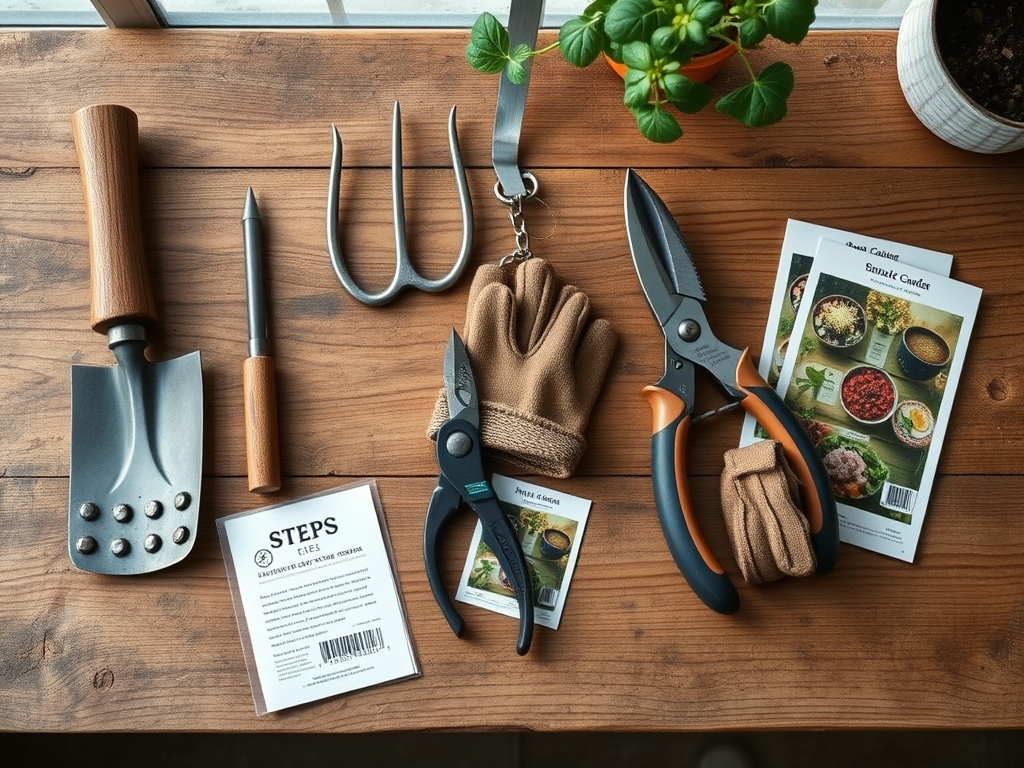
The foundation of a spiral garden requires high density materials for the perimeter wall, such as fieldstone, reclaimed brick, or interlocking pavers. These materials provide the necessary thermal mass to regulate soil temperature. For the substrate, aim for a **friable loam** with a **Soil Cation Exchange Capacity (CEC) between 15 and 25 meq/100g**. This ensures the soil can retain and exchange vital nutrients with the root systems.
The nutrient profile must be tailored to the specific plants, but a baseline NPK ratio of 5-5-5 is recommended for the initial fill. Maintain a soil pH between 6.2 and 6.8 to maximize nutrient bioavailability. You will need:
- Base Layer: 3 inches of crushed gravel or coarse sand to facilitate drainage.
- Core Soil: A blend of 40 percent compost, 40 percent topsoil, and 20 percent perlite or coarse sand.
- Topdressing: Organic mulch or leaf mold to prevent surface crusting and maintain turgor pressure in young seedlings.
Timing:
Installation should occur during the dormant season or early spring, specifically 2 to 4 weeks before the average last frost date in your specific Hardiness Zone. In Zones 5 through 7, this typically falls between late March and mid April. Timing the installation with the biological clock of the plants is essential; transplanting during the transition from the vegetative stage to the reproductive stage can cause significant transplant shock.
Observe the photoperiod requirements of your selected species. Most Mediterranean herbs intended for the top of the spiral require at least 6 to 8 hours of direct solar radiation. Installing the structure before the spring equinox allows the soil to settle and the microbial life to stabilize before the surge of active growth.
Phases:
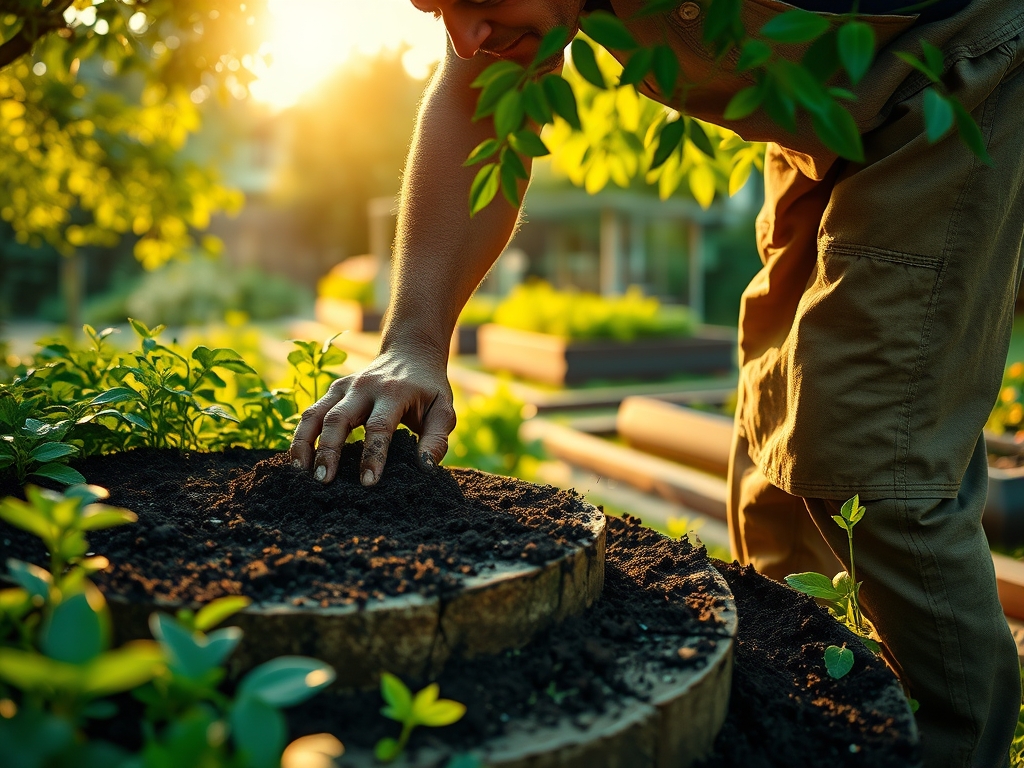
Sowing and Site Preparation
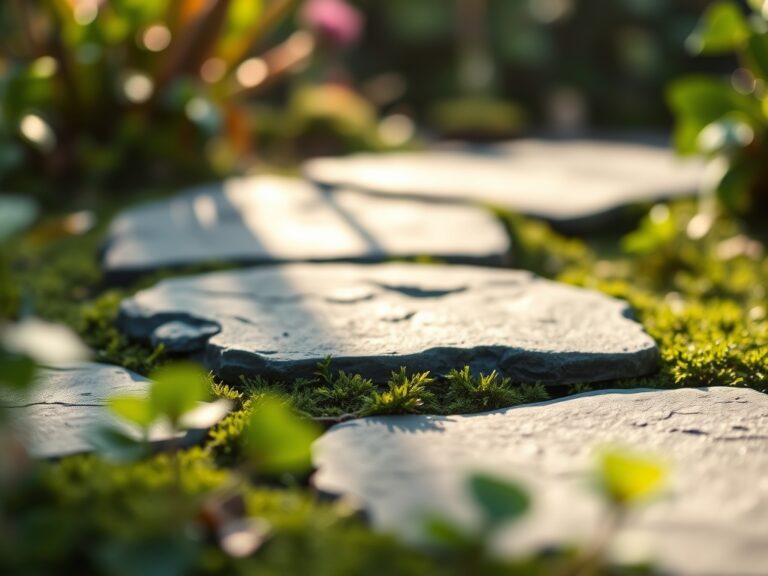
Clear a circular area with a diameter of 6 feet. Excavate the top 4 inches of sod and replace it with a weed barrier or thick cardboard to suppress competitive growth. Lay the first course of stones in a "snail shell" pattern, starting from the center and spiraling outward.
Pro-Tip: Ensure the lowest point of the spiral faces south (in the Northern Hemisphere) to maximize light absorption. This utilizes phototropism, where plants naturally grow toward a light source, preventing leggy stems and promoting thick, woody growth.
Transplanting and Zoning
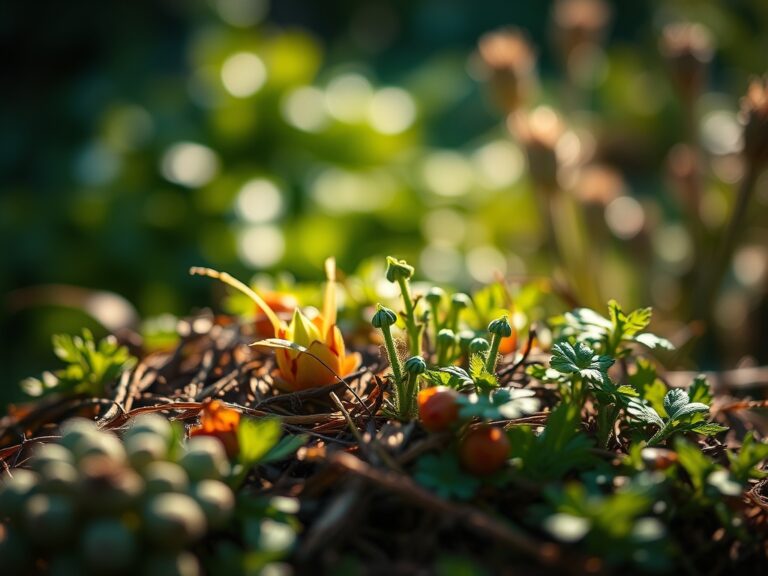
Fill the spiral with your prepared substrate as you build the walls upward. The center should reach a height of 3 feet. Place drought tolerant plants like Rosemary (Salvia rosmarinus) at the apex. Move downward with mid range moisture plants like Thyme (Thymus vulgaris), and place water intensive species like Mint (Mentha) or Chives (Allium fistulosum) at the base.
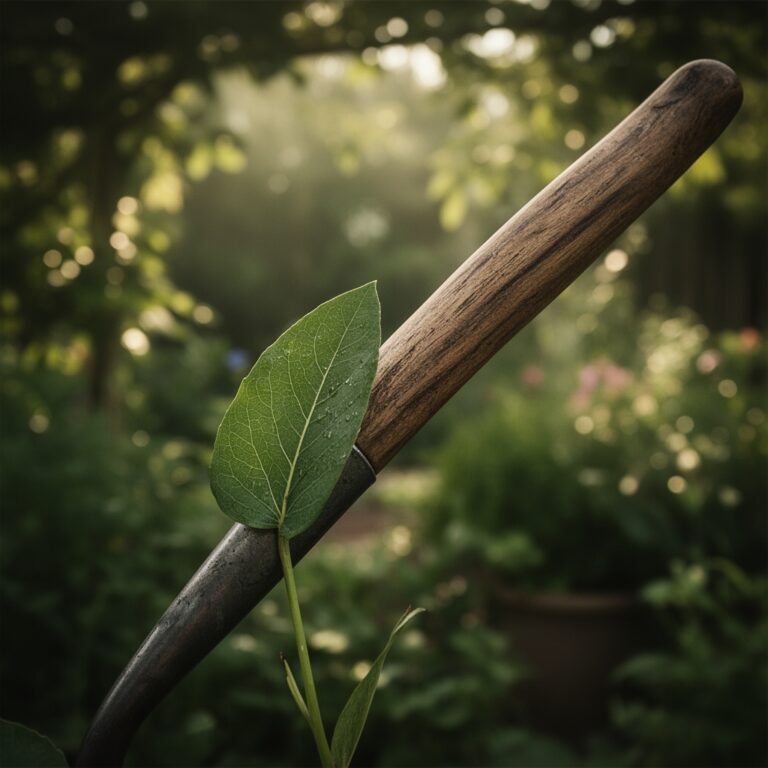
Pro-Tip: Dip root balls in a mycorrhizal inoculant before planting. This encourages mycorrhizal symbiosis, a fungal relationship that extends the root system's reach, allowing for better phosphorus uptake and drought resistance.
Establishing the Microclimate
Once planted, the spiral requires consistent monitoring to ensure the soil settles without creating air pockets around the roots. Use a soil moisture meter to verify that the top tier remains dry while the bottom tier maintains a moisture level of 60 to 70 percent field capacity.
Pro-Tip: Avoid heavy pruning in the first 30 days. Maintaining apical dominance prevents auxin suppression; allowing the primary growing tip to remain intact signals the plant to prioritize deep root establishment over lateral branching.
The Clinic:
Physiological disorders often stem from improper drainage or nutrient imbalances within the spiral's tiers.
- Symptom: Interveinal chlorosis (yellowing between leaf veins) on new growth.
- Solution: This indicates a Manganese or Iron deficiency, often caused by a pH above 7.0. Apply a chelated iron foliar spray and adjust soil pH with elemental sulfur.
- Symptom: Tip burn or necrosis on succulent foliage.
- Solution: Likely Calcium deficiency or inconsistent watering affecting transpiration. Ensure the base of the spiral is not waterlogged, which can suffocate roots and halt calcium transport.
- Symptom: Purpling of older leaves.
- Solution: Phosphorus deficiency. This is common in cold soils where microbial activity is low. Top dress with bone meal or a high phosphorus organic fertilizer.
Fix-It: For general Nitrogen chlorosis (uniform yellowing of older leaves), apply a liquid seaweed extract or fish emulsion at a rate of 1 tablespoon per gallon of water to provide an immediate nitrogen boost.
Maintenance:
Precision watering is the cornerstone of spiral garden longevity. Deliver 1.5 inches of water per week at the drip line of the plants. Avoid overhead watering to prevent fungal pathogens from colonizing the foliage. Use a hori-hori knife to remove weeds by the root, ensuring you do not disturb the established rhizosphere of your primary crops.
Pruning should be performed with sharp bypass pruners to ensure clean cuts that heal quickly. Remove no more than one third of the plant's biomass at a single time to prevent metabolic stress. Check the structural integrity of the stone walls after heavy rain events; if shifting occurs, reinforce the base with additional gravel to maintain the vertical gradient.
The Yield:
Harvesting should occur in the early morning when turgor pressure is at its peak and essential oil concentration is highest. For woody herbs, harvest the top 2 to 3 inches of new growth. For leafy greens at the base, use the "cut and come again" method, leaving the central growing point intact.
To maintain "day one" freshness, immediately submerge the cut ends in cool water or wrap them in a damp cloth and refrigerate at 34 to 38 degrees Fahrenheit. This slows the process of senescence, the biological aging of the plant tissue, preserving the flavor and nutritional density of the harvest.
FAQ:
What is the best diameter for a spiral garden?
A 6 foot diameter is the professional standard. This size allows the gardener to reach the center from any side without stepping on the soil, preventing compaction and protecting the delicate soil structure and pore space.
Can I build a spiral garden in the shade?
It is not recommended for traditional herbs. Most spiral garden plants require a minimum of 6 hours of sunlight. If shade is unavoidable, use the structure for ferns and mosses, though the thermal mass benefits will be significantly reduced.
How do I prevent the soil from washing out?
Use a reverse grade on the stone layers, tilting them slightly inward toward the center of the spiral. Additionally, planting groundcovers or applying a fine layer of mulch helps bind the surface soil and prevents erosion during heavy irrigation.
Do I need to fertilize every year?
Test the soil annually. Generally, a top dressing of 1 inch of high quality compost every spring is sufficient to replenish nutrients and maintain the Cation Exchange Capacity without the need for aggressive synthetic chemical interventions.