7 Elegant Ways How to Landscape Around a Deck
Crushed basalt under the fingernails and the sharp, metallic scent of bruised chlorophyll define the reality of a successful installation. When the turgor pressure in a newly planted specimen is high, the leaves feel rigid and cool to the touch. This indicates the vascular system is efficiently transporting water from the rhizosphere to the canopy. Learning how to landscape around a deck requires more than aesthetic placement; it demands an understanding of microclimates created by the structure itself. A deck acts as a thermal mass and a rain shadow. It alters soil moisture levels and light penetration. To master how to landscape around a deck, the gardener must account for the specific drainage patterns and the localized heat radiation from wood or composite materials. Success is measured in successful establishment and the avoidance of root rot or heat-induced senescence. We prioritize soil structure and nutrient availability to ensure the perimeter of the deck becomes a functional extension of the ecosystem rather than a stagnant border.
Materials:
The substrate must be a **friable loam** with a high **Cation Exchange Capacity (CEC)** to retain essential nutrients. Aim for a soil pH between **6.0 and 7.0** for most ornamental species. For heavy feeders, incorporate a slow-release fertilizer with an **NPK ratio of 10-10-10**. If planting acid-loving species like azaleas near the deck, adjust the pH to **5.5** and use a **4-12-4 ratio** to prioritize root development and bloom production over excessive foliage. The physical texture should allow for immediate drainage; compressed clay will lead to anaerobic conditions and fungal pathogens. Ensure you have **3 inches of double-shredded hardwood mulch** to regulate soil temperature and suppress weed seed germination.
Timing:
Successful installation depends on the Hardiness Zone and the specific frost-date windows. In Zones 5 through 7, the ideal window is six weeks before the first hard frost or immediately after the last spring frost when soil temperatures reach a consistent 55 degrees Fahrenheit. This timing respects the biological clock of the plant. During the transition from the vegetative stage to the reproductive stage, the plant shifts its energy from leaf production to root expansion and flowering. Planting during a period of low photoperiod stress (overcast days or early autumn) reduces the risk of transplant shock and allows the root system to colonize the soil before the demands of high summer evapotranspiration begin.
Phases:

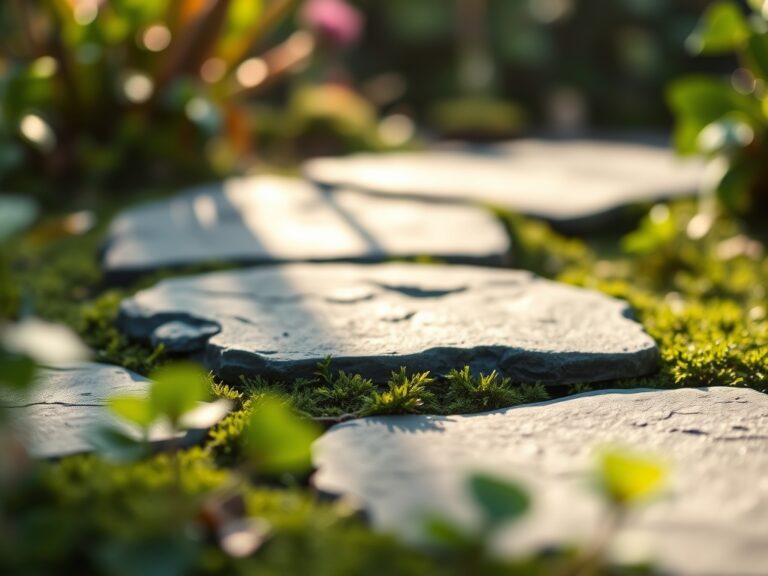
Sowing and Site Preparation
Clear all construction debris from the deck perimeter. Excavate a trench 18 inches deep and twice the width of the intended root balls. Incorporate organic matter to increase the pore space in the soil.
Pro-Tip: Ensure the soil is not compacted during preparation to maintain mycorrhizal symbiosis. These beneficial fungi extend the root system's reach; compaction destroys the delicate hyphae that facilitate phosphorus uptake.
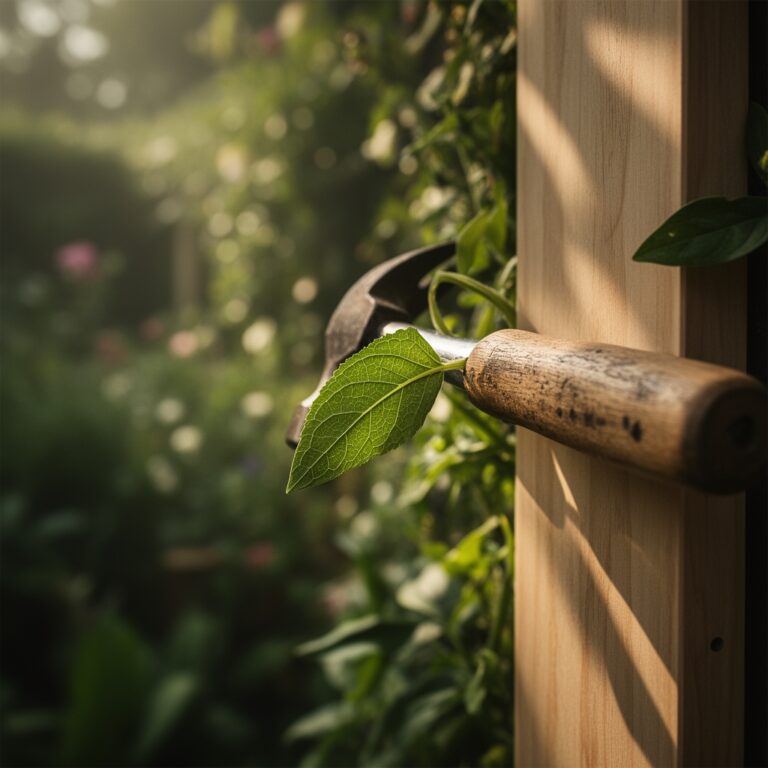
Transplanting
Remove the plant from its container and inspect for circling roots. Use a hori-hori knife to score the root ball in four places. Set the crown of the plant 0.5 inches above the surrounding soil grade to allow for settling without burying the stem base.
Pro-Tip: Orient the plant so its strongest side faces the primary light source. This manages phototropism, preventing the plant from leaning awkwardly toward or away from the deck structure.
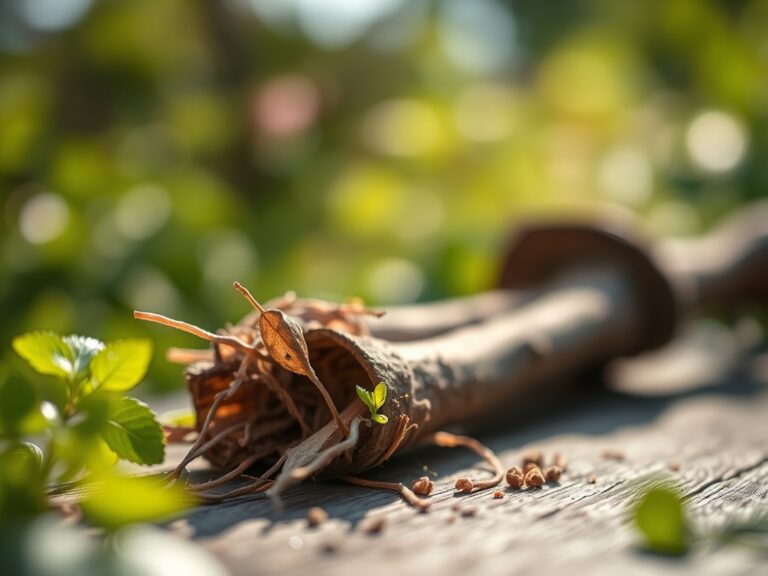
Establishing
Saturate the root zone immediately after backfilling to eliminate air pockets. Apply a liquid seaweed extract to provide micronutrients and hormones that stimulate root initiation.
Pro-Tip: Do not prune the top growth immediately after transplanting. Maintaining the apical meristem preserves auxin suppression; the hormones produced at the tips signal the roots to grow. Removing them can stall establishment.
The Clinic:
Physiological disorders often mimic nutrient issues. Monitor these specific symptoms:
- Symptom: Interveinal chlorosis on young leaves. Solution: This indicates Iron deficiency, often caused by a pH above 7.2. Lower the pH using elemental sulfur.
- Symptom: Marginal leaf burn or browning. Solution: This is typically Potassium deficiency or salt accumulation. Flush the soil with 2 inches of water and check the NPK balance.
- Symptom: Stunted growth with purple-tinted undersides of leaves. Solution: This signals Phosphorus deficiency, often occurring in cold, wet soils where uptake is inhibited.
- Fix-It (Nitrogen Chlorosis): If older leaves turn uniformly yellow, apply a high-nitrogen supplement (NPK 21-0-0) to restore chlorophyll production and turgor.
Maintenance:
Precision is required for long-term health. Provide 1.5 inches of water per week at the drip line; do not spray the foliage, as this encourages powdery mildew. Use a soil moisture meter to verify that the moisture has penetrated 8 inches deep. Use bypass pruners for clean cuts that heal quickly; ragged tears invite pathogens. For woody perennials, prune during dormancy to minimize sap loss and stress. Every three years, perform a professional soil test to recalibrate the CEC and adjust mineral applications based on actual depletion rates rather than guesswork.
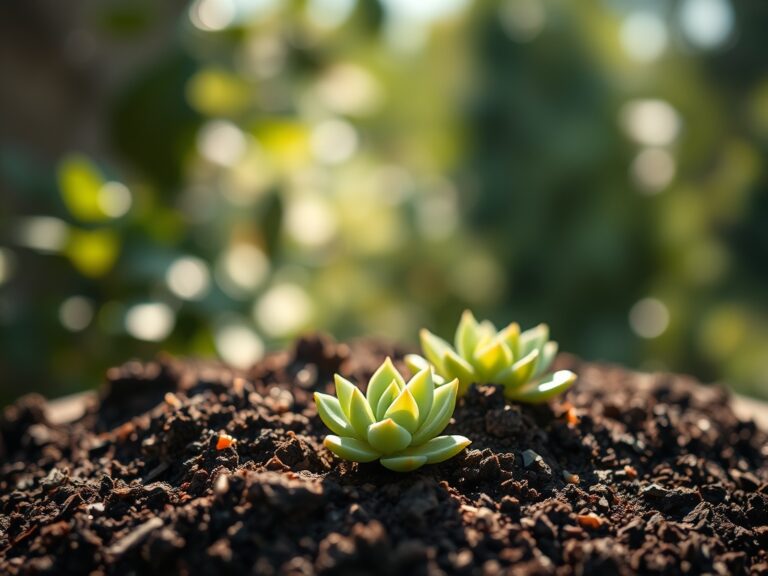
The Yield:
When landscaping with flowering perennials or woody shrubs, the "yield" is the peak bloom and structural integrity. For cut flowers, harvest in the early morning when turgor pressure is at its maximum. Use a sharp blade to cut at a 45-degree angle. Immediately submerge the stems in 110-degree Fahrenheit water to remove air embolisms in the xylem. For shrubs, "harvesting" involves strategic thinning to improve airflow. Remove no more than 25 percent of the canopy in a single season to prevent the plant from entering a state of emergency regrowth, which produces weak, spindly wood.
FAQ:
What is the best way to prevent weeds under a deck?
Install a heavy-duty geotextile fabric covered by 3 inches of 1-inch clean crushed stone. This prevents light penetration and seed-to-soil contact while allowing for essential gas exchange and drainage in the rhizosphere.
How far should plants be from the deck edge?
Maintain a minimum gap of 12 to 18 inches between the deck and the mature spread of the plant. This ensures adequate airflow to prevent wood rot on the structure and fungal infections on the foliage.
Can I plant directly in the "rain shadow" under a deck?
Avoid planting in the rain shadow unless you install a dedicated drip irrigation system. Soil in this zone remains hydrophobic even during heavy rain, leading to chronic moisture stress and eventual plant death.
Which mulch is best for deck perimeters?
Use double-shredded cedar or cypress mulch. These materials contain natural resins that resist decay and deter certain wood-boring insects. Maintain a depth of 3 inches but keep mulch away from the plant crowns.
How do I fix poor drainage near a deck?
Install a French drain or a dry creek bed using 3-to-5 inch river rock. This directs hydrostatic pressure away from the deck footings and prevents the soil from becoming a saturated, anaerobic environment.