7 Simple Steps to Install a Sun sail
The scent of damp, mineral-heavy earth rising after a summer rain signals a peak metabolic state for the garden. Leaves maintain high turgor pressure; their stomata are open and gas exchange is optimal. However, excessive solar radiation can lead to photoinhibition, where the photosynthetic apparatus of the plant becomes overwhelmed by light intensity. Protecting the rhizosphere and the delicate foliage requires strategic shading. Learning the steps to install a sun sail is not merely a construction project; it is a critical intervention in the microclimate of your growing space. By modulating the light intensity reaching the canopy, you reduce transpiration rates and prevent soil moisture from evaporating too rapidly. This technical guide provides the mechanical and horticultural framework to secure your shade structure, ensuring your specimens thrive under a controlled photoperiod without the stress of heat-induced senescence. Proper tensioning and positioning are the difference between a functional cooling system and a structural failure during high-wind events.
Materials:
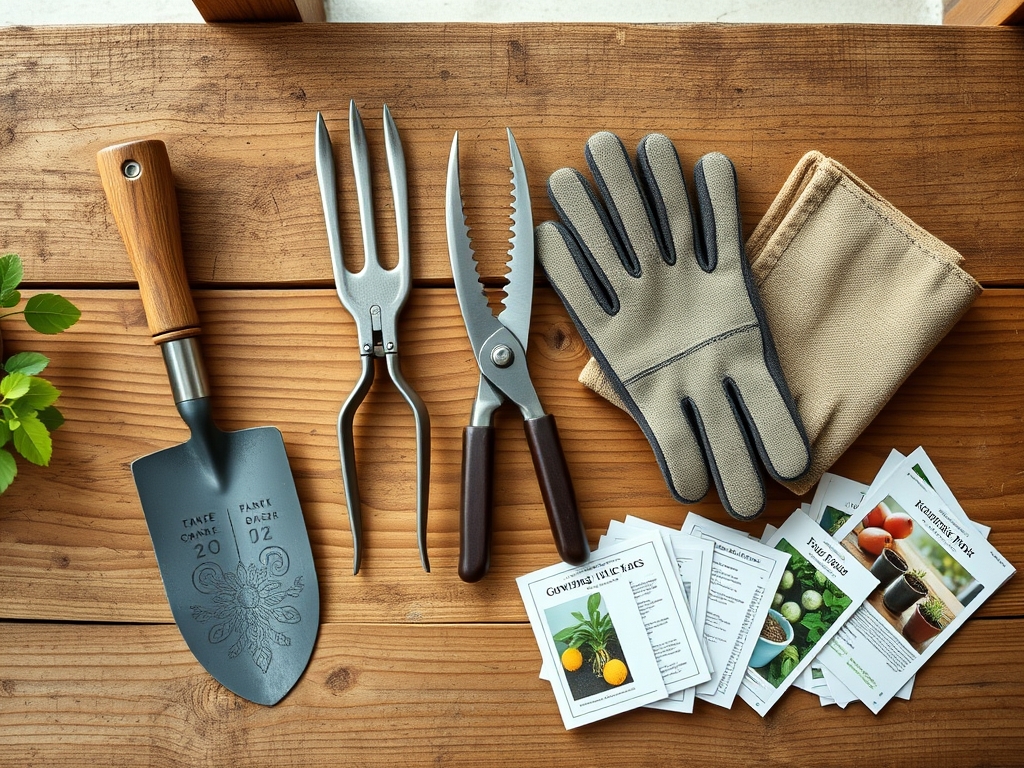
Installing a shade structure often requires digging footings, which provides a unique opportunity to analyze your soil profile. The ideal substrate for anchoring support posts is a **friable loam** with a **pH between 6.0 and 7.0**. Before backfilling, assess the Cation Exchange Capacity (CEC) of your soil; a higher CEC indicates a better ability to hold onto essential nutrients like Nitrogen, Phosphorus, and Potassium. For the surrounding vegetation that will benefit from the shade, ensure the soil is amended with an **NPK ratio of 10-10-10** for general maintenance or **5-10-10** if you are prioritizing root development over vegetative biomass. You will need **316-grade stainless steel hardware**, including turnbuckles, pad eyes, and carabiners. If using timber posts, select **pressure-treated 6×6 lumber** or **Schedule 40 galvanized steel pipe** to resist the lateral tension of the sail.
Timing:
Timing the installation is critical to avoid soil compaction and damage to dormant root systems. In Hardiness Zones 5 through 8, the optimal window is late winter or early spring, before the "Biological Clock" of your perennials triggers the transition from dormancy to the vegetative stage. This prevents the disruption of the mycorrhizal networks that are establishing themselves as soil temperatures rise above 50 degrees Fahrenheit. Avoid installation during the peak reproductive stage (flowering) of sensitive species, as the sudden shift in light quality can induce stress and lead to premature flower drop. If you are in a region with heavy snow loads, plan to remove the sail before the first frost date to prevent structural collapse.
Phases:

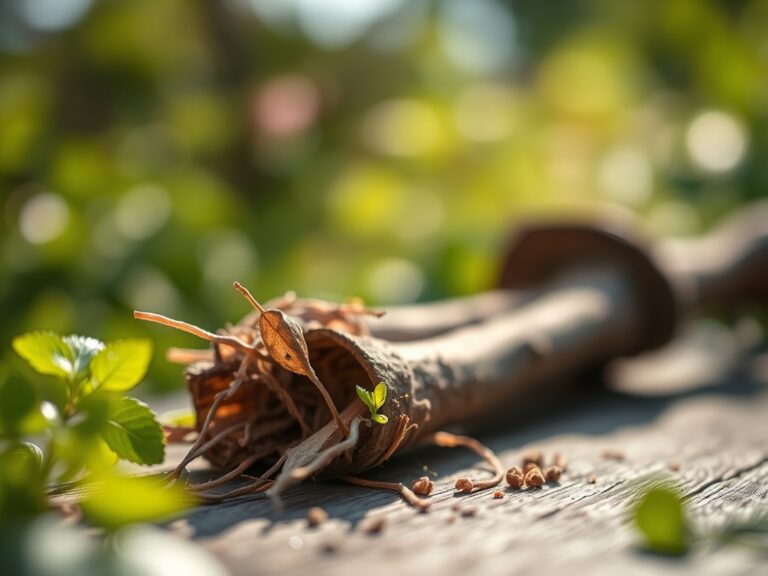
Sowing the Foundation
The first of the steps to install a sun sail is the layout. Use a string line to mark the perimeter, allowing for a 12-inch gap between the sail corner and the mounting point to accommodate hardware. Excavate holes to a depth of at least one-third the height of the post plus an additional 6 inches for a gravel drainage base. This prevents "wet feet" or root rot in nearby plants by ensuring water does not pool at the base of the post.
Pro-Tip: Proper drainage at the post base prevents the formation of anaerobic pockets in the soil. Anaerobic conditions inhibit mycorrhizal symbiosis, which is essential for the uptake of phosphorus in the surrounding landscape.
Transplanting the Hardware
Once the posts are set in concrete and cured for at least 72 hours, attach the pad eyes or eye bolts. Position the mounting points at varying heights to create a "hypar" (hyperbolic paraboloid) shape. This allows rainwater to shed efficiently, preventing the "pooling effect" that can stretch the fabric and create a breeding ground for fungal pathogens.
Pro-Tip: Varying the heights of the attachment points utilizes the principle of gravitropism in the surrounding canopy. By angling the sail, you can direct runoff toward specific thirsty specimens while maintaining airflow to prevent powdery mildew.
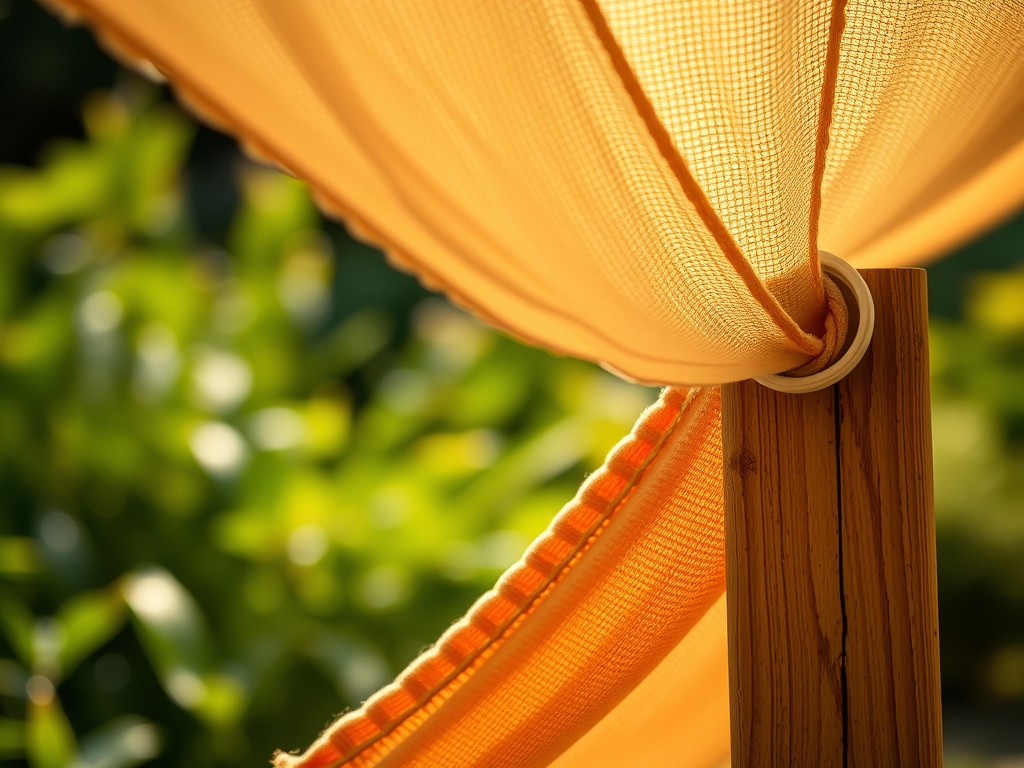
Establishing Tension
Connect the sail using turnbuckles at each corner. Tighten the turnbuckles until the center of the sail has minimal deflection. The fabric should be taut; a loose sail will whip in the wind, causing mechanical damage to nearby tree limbs and potentially snapping the mounting hardware.
Pro-Tip: High tension reduces the risk of thigmomorphogenesis, where plants undergo stunted growth or thickened stems due to the physical stress of a flapping sail hitting their foliage.
The Clinic:
Even with a sun sail, plants can exhibit physiological disorders. Monitor your garden for these specific symptoms:
- Nitrogen Chlorosis: Symptoms include a uniform yellowing of older leaves while veins remain slightly green. Fix-It: Apply a water-soluble fertilizer with a high first number (N) to restore chlorophyll production.
- Leaf Scorch: Characterized by necrotic (brown) edges on leaves, often occurring when the sail does not cover the plant during the 2:00 PM peak UV window. Fix-It: Adjust the sail angle or move the plant toward the center of the shade zone.
- Etiolation: If the sail is too dense (over 90% shade), plants may become "leggy" as they stretch toward the light. Fix-It: Switch to a sail with a 70% shade cloth rating to allow more photosynthetically active radiation (PAR) to penetrate.
- Blossom End Rot: Often caused by inconsistent moisture levels under the shade. Fix-It: Ensure adequate Calcium availability and maintain steady soil moisture.
Maintenance:
A sun sail requires regular calibration to protect the garden's health. Check the tension of the turnbuckles every 30 days; thermal expansion and contraction can loosen the hardware. For the plants beneath, provide 1.5 inches of water per week at the drip line, monitored by a soil moisture meter. Use a hori-hori knife to remove any weeds that compete for nutrients in the shaded, cooler soil. Prune any encroaching branches with bypass pruners to ensure a 2-foot clearance between the sail and the vegetation, preventing abrasive damage during storms.
The Yield:
When harvesting crops grown under a sun sail, such as leafy greens or delicate herbs, timing is everything. Harvest at dawn when turgor pressure is at its highest and the plant is fully hydrated. Use a sharp, sterilized blade to make clean cuts, minimizing the surface area for potential pathogen entry. Immediately submerge the harvest in cool water to remove field heat and slow the rate of respiration and senescence. This preserves the "day-one" crispness and nutritional density of the produce.
FAQ:
What is the best height for a sun sail?
Mount the sail at least 8 to 10 feet high. This ensures adequate air circulation in the rhizosphere and prevents heat from trapping against the plant canopy, which can cause stomatal closure and stalled growth.
Can I attach a sun sail to a tree?
Avoid using trees as permanent anchors. The tension can damage the cambium layer, interrupting the flow of nutrients. If necessary, use a "tree strap" system that allows for the tree's secondary growth and diameter expansion.
What shade percentage do most plants need?
Most vegetables and flowering perennials thrive under a 40% to 60% shade cloth. This reduces the leaf temperature by several degrees while still providing enough light intensity for the plant to reach its saturation point for photosynthesis.
How do I clean a sun sail?
Use a mild, pH-neutral detergent and a soft brush. Avoid harsh chemicals that could runoff into the soil and alter the cation exchange capacity or harm the beneficial microbial populations living in the topsoil layer.