7 Best Full-Spectrum Plant Lights for Dark Corners
Turgor pressure dictates the structural integrity of a leaf; without it, the cellular walls collapse and the plant wilts into a state of permanent senescence. In dark corners where natural photons fail to penetrate, the biological machinery of the chloroplast halts. Selecting the Best plant lights requires more than aesthetic consideration; it demands an understanding of Photosynthetically Active Radiation (PAR) and the specific Micromoles (umol/s) required to drive carbon fixation. A healthy plant smells of damp earth and volatile organic compounds released during active respiration. When light intensity drops below the compensation point, the plant consumes more energy than it produces, leading to rapid decline. To prevent this, artificial illumination must mimic the solar spectrum, providing the blue wavelengths for vegetative density and red wavelengths for cellular expansion. High-quality light sources ensure that the rhizosphere remains active, supporting the symbiotic relationship between roots and soil microbes even in the absence of a window.
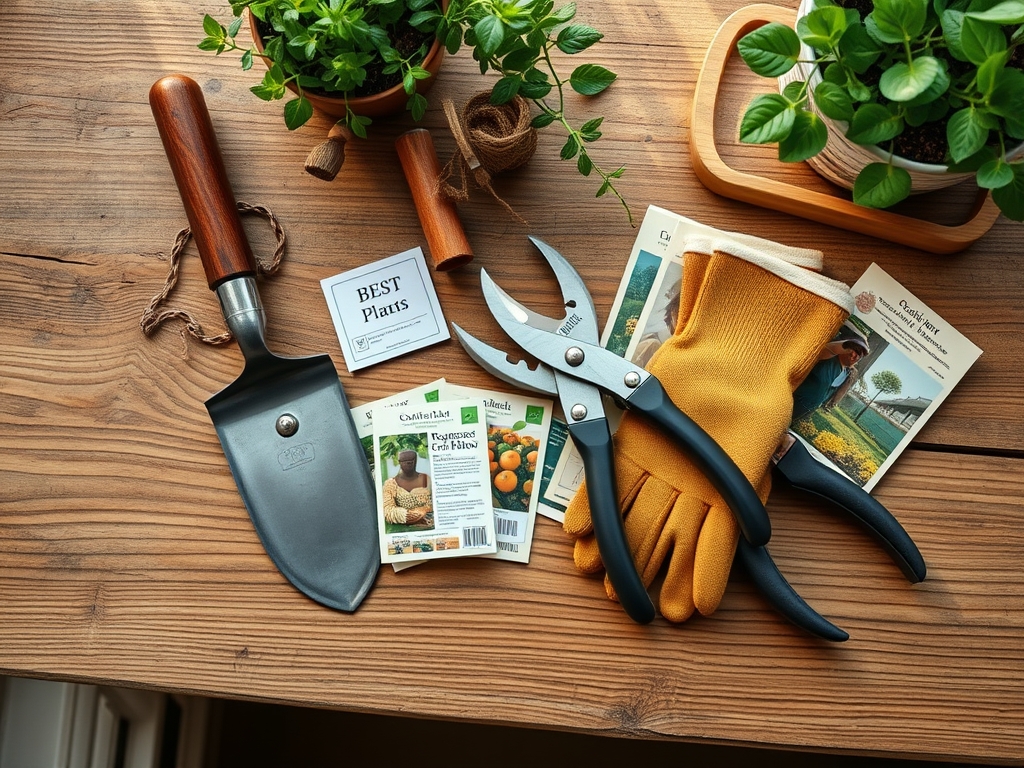
Materials:
Indoor gardening in low-light environments necessitates a substrate with a high Cation Exchange Capacity (CEC). Use a **friable loam** consisting of 40% peat moss, 30% perlite, and 30% composted bark. This mixture ensures oxygen reaches the root zone while maintaining moisture. The soil pH must be stabilized between **6.2 and 6.8** to ensure nutrient bioavailability. For vegetative growth under full-spectrum lights, maintain an NPK ratio of **3-1-2**. This high-nitrogen concentration supports chlorophyll production. For flowering species, transition to a **1-3-2** ratio to provide the phosphorus necessary for ATP transfer and bud development. The substrate should feel gritty between the fingers, indicating sufficient drainage to prevent anaerobic conditions.
Timing:
While indoor environments are climate-controlled, plants still respond to seasonal shifts in atmospheric pressure and ambient humidity. In Hardiness Zones 3 through 7, indoor supplemental lighting is critical from October through April when the photoperiod drops below 10 hours. The "Biological Clock" of a plant is governed by phytochrome proteins that sense light duration. To keep a plant in a vegetative state, provide 14 to 16 hours of light daily. To trigger the reproductive stage in short-day plants, reduce the light cycle to 12 hours. Monitoring the frost-date window is essential if you plan to transition these plants outdoors; do not move them until nighttime temperatures consistently exceed 55 degrees Fahrenheit.
Phases:
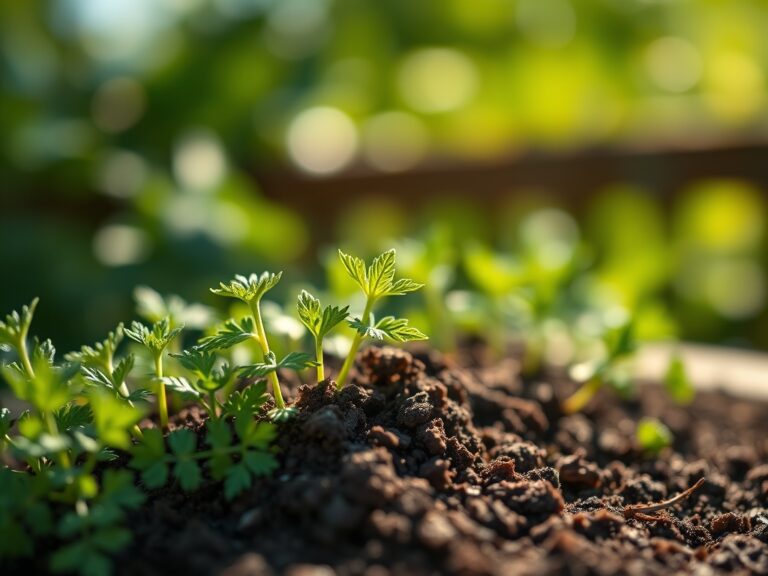
Sowing
Place seeds in a sterile starting medium at a depth of twice the seed diameter. Maintain a constant soil temperature of 70 to 75 degrees Fahrenheit using a heat mat. Position the Best plant lights exactly 3 to 4 inches above the soil surface to prevent "legginess."
Pro-Tip: High light intensity at the seedling stage prevents the elongation of the hypocotyl. This is due to auxin suppression; light breaks down the growth hormones that cause cells to stretch, resulting in a stockier, more resilient stem.
Transplanting
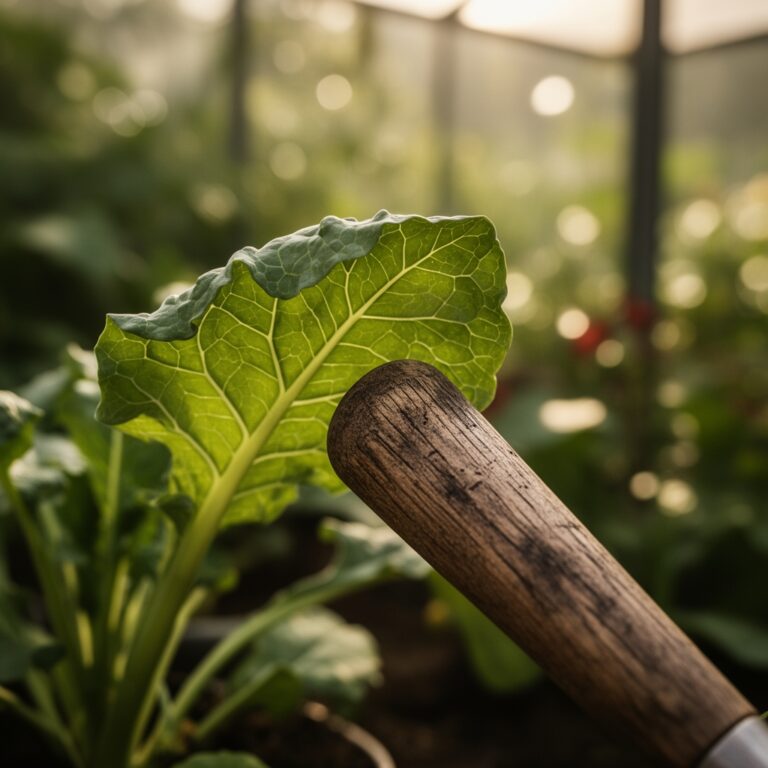
Move seedlings once they develop two sets of true leaves. Handle the root ball carefully to avoid damaging the delicate root hairs. Use a hori-hori knife to create a hole in the new container that is twice the width of the current root mass. Ensure the transition happens during the "dark" cycle to minimize transplant shock.
Pro-Tip: Introducing mycorrhizal fungi during transplanting enhances the root surface area. This symbiosis allows the plant to access phosphorus and micronutrients that are otherwise chemically bound in the soil matrix.
Establishing
Once the plant is in its permanent vessel, increase the distance between the light source and the canopy to 12 to 18 inches depending on the wattage. Monitor the turgor pressure daily. If leaves appear soft despite moist soil, the light intensity may be too high, causing excessive transpiration.
Pro-Tip: Rotate the container 90 degrees every week. This counters phototropism, the biological tendency of plants to grow toward a light source, ensuring a symmetrical canopy and even distribution of chloroplasts.
The Clinic:
Physiological disorders often mimic pathogen attacks but are frequently rooted in light or nutrient imbalances.
- Symptom: Interveinal Chlorosis (Yellowing between leaf veins while veins stay green).
- Solution: This indicates a Magnesium deficiency or a pH above 7.0.
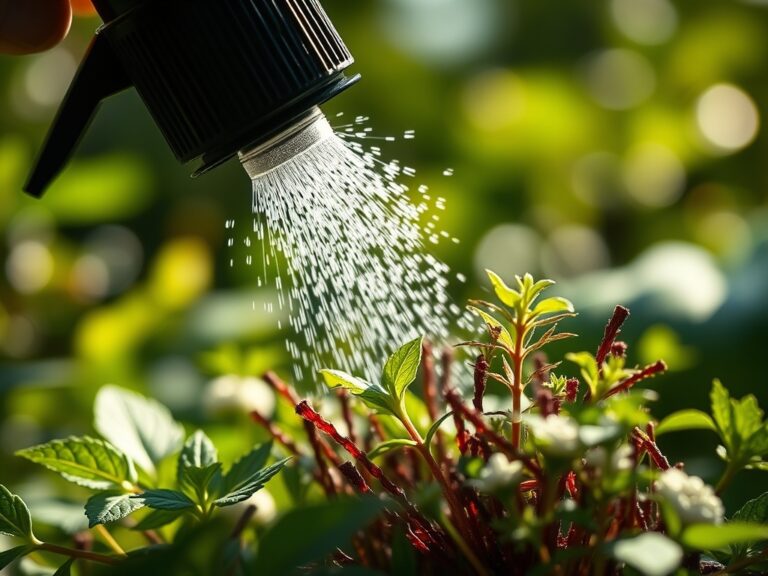
- Fix-It: Apply a foliar spray of 1 teaspoon Epsom salts per gallon of water and check the soil pH.
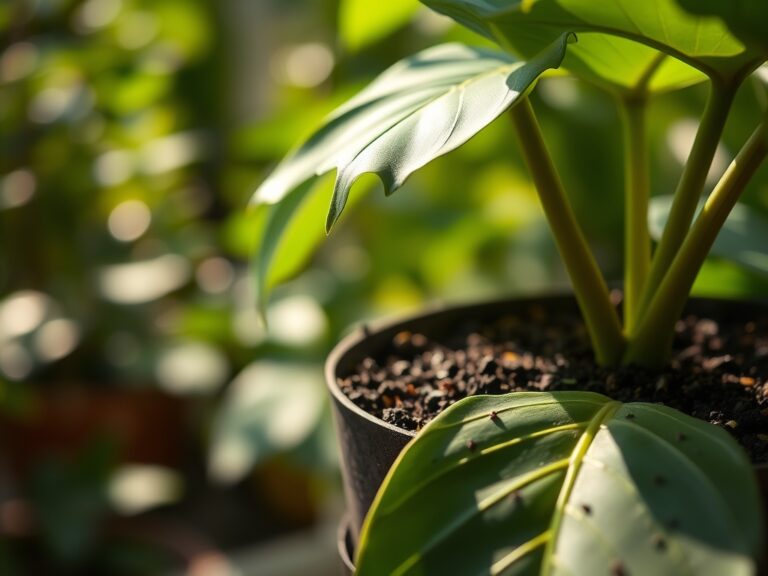
- Symptom: Edema (Small bumps or blisters on the underside of leaves).
- Solution: This is caused by high humidity and low light, leading to a backup of water in the cells.
- Fix-It: Increase airflow with a fan and boost the light intensity by moving the lamp 2 inches closer.
- Symptom: Leaf Tip Burn.
- Solution: This suggests salt accumulation from synthetic fertilizers or "light burn" from excessive PAR.
- Fix-It: Flush the soil with three times the volume of the pot using distilled water and raise the light fixture.
Maintenance:
Precision is the hallmark of a successful indoor garden. Use a soil moisture meter to ensure the substrate never drops below 20% moisture content. Generally, apply 1.5 inches of water per week directly to the soil surface; avoid wetting the foliage to prevent fungal spores from germinating. Clean the leaves of your plants every 30 days using a damp cloth; dust accumulation blocks stomata and reduces photosynthetic efficiency by up to 30%. Use bypass pruners to remove any yellowing or necrotic tissue immediately. This prevents the plant from wasting energy on "sink" tissues that no longer contribute to the overall carbon gain. Check the light bulbs or LED diodes every six months; even if they appear bright, the spectral output shifts over time and may no longer provide the necessary wavelengths for growth.
The Yield:
For those growing herbs or leafy greens in dark corners, harvest timing is critical for flavor and nutrient density. Harvest in the morning, just after the lights turn on, when the plant is at peak turgor. Use sharp shears to take no more than one-third of the total biomass at one time. For flowers, cut the stem at a 45-degree angle and immediately submerge it in 100-degree Fahrenheit water to remove air bubbles from the xylem. This "hardening off" process ensures the vascular system remains open, maintaining freshness for several days.
FAQ:
How many hours should I run my plant lights?
Run full-spectrum lights for 12 to 16 hours daily. Most plants require a dark period of at least 8 hours to complete cellular respiration and process the sugars created during the light cycle.
What is the ideal distance for LED lights?
For most LEDs, maintain a distance of 12 to 24 inches from the canopy. Seedlings require closer proximity of 3 to 6 inches, while mature foliage can tolerate greater distances depending on the total wattage.
Can I use a regular light bulb for plants?
No. Standard incandescent bulbs produce excessive heat and lack the blue and red spectral peaks required for photosynthesis. Specialized plant lights are engineered to provide the specific PAR range necessary for biological growth.
How do I know if my light is too bright?
If leaves show signs of bleaching, curling downward, or brown scorched patches despite adequate watering, the light intensity is too high. Increase the distance between the fixture and the plant by 6 inches and monitor for improvement.