9 Succulent Steps to Prepare a Succulent Pot Plant Shelf
Crushing a dehydrated Echeveria leaf between your fingers reveals the catastrophic loss of turgor pressure that occurs when environmental variables are ignored. A successful indoor succulent display requires more than aesthetic placement; it demands a calculated replication of arid microclimates. Learning how to prepare a plant shelf for succulents involves engineering a space that balances high luminous flux with rapid substrate drainage. You are building a life-support system where atmospheric humidity must remain below 40 percent to prevent fungal pathogens from colonizing the leaf cuticle. Every shelf tier must be treated as a distinct ecological niche, calibrated to the specific physiological needs of Crassulaceae and Asphodelaceae. Success is measured in the rigidity of the stem and the compact arrangement of the rosette, indicating that the specimen is receiving sufficient photons to prevent etiolation.
Materials:
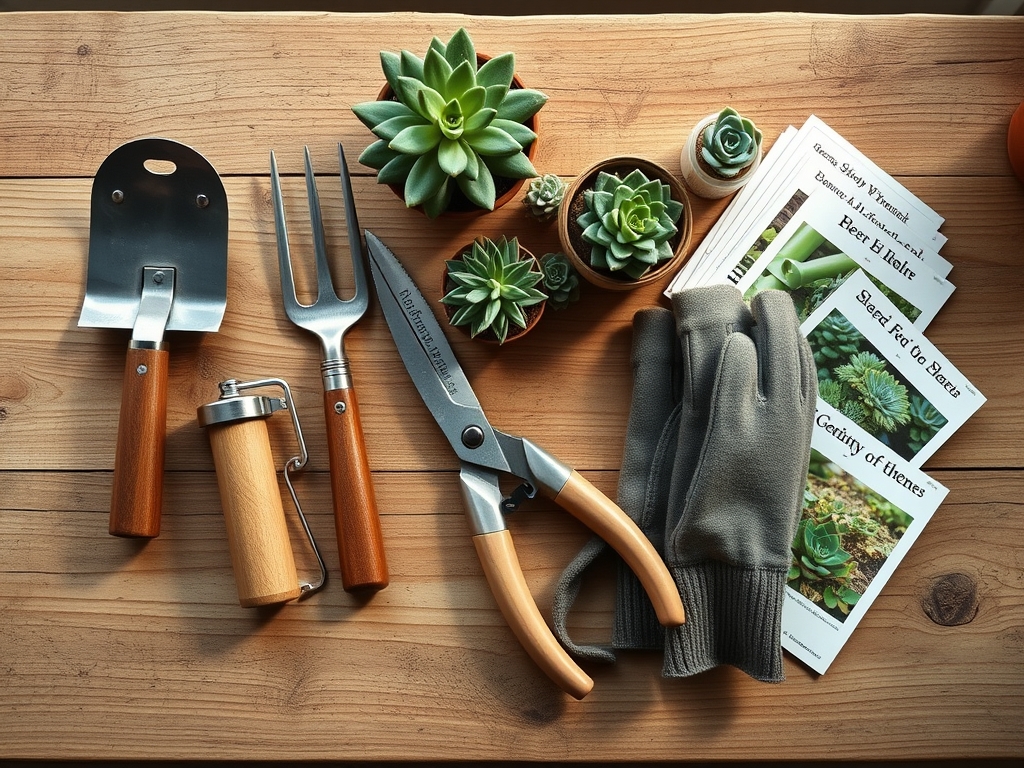
The foundation of any succulent shelf is the substrate and its chemical composition. Succulents require a soil pH between **5.5 and 6.5** to ensure optimal nutrient availability. A friable loam must be amended with inorganic aggregates like perlite, pumice, or calcined clay to increase macroporosity. The goal is a high Cation Exchange Capacity (CEC) that allows the plant to pull essential ions while preventing waterlogged roots.
For fertilization, utilize a low-nitrogen NPK ratio such as 5-10-10 or 2-7-7. High nitrogen levels (the first number) encourage rapid, weak growth that is susceptible to cellular collapse. Phosphorus and potassium are vital for root development and osmotic regulation. Your shelf itself should be constructed from non-porous materials like powder-coated steel or sealed hardwood to prevent the accumulation of mineral salts and pathogens.
Timing:
Succulents operate on a strict biological clock governed by photoperiod and temperature fluctuations. In Hardiness Zones 8 through 11, many succulents can remain outdoors until the first frost date, but for indoor shelf preparation, you must time your setup with the transition from the dormant winter phase to the active vegetative stage. This usually occurs when ambient light levels increase in early spring.
The biological transition from vegetative growth to reproductive stages (flowering) is triggered by "cool nights" and "short days" for many winter growers like Aloe or Kalanchoe. Monitor your local frost-date windows; if you are moving plants from an outdoor patio to an indoor shelf, do so when night temperatures consistently drop below 50 degrees Fahrenheit. This prevents the physiological shock associated with sudden temperature gradients.
Phases:
Sowing and Propagation
When starting from seed or leaf cuttings on your shelf, maintain a constant surface temperature of 70 to 75 degrees Fahrenheit. Use a heat mat if the shelf material acts as a heat sink. Cuttings must be allowed to callus for three to five days to form a protective layer over the vascular bundles before they touch the substrate.
Pro-Tip: Utilize auxin suppression by placing leaf cuttings horizontally. This encourages the development of adventitious roots through a process called gravitropism, where the plant's internal hormones concentrate at the lowest point to stimulate new cellular growth.
Transplanting
Move your established specimens into pots that provide only one inch of clearance around the root ball. Use a hori-hori knife to gently tease out circled roots. This prevents "pot-bound" stress and ensures the rhizosphere has immediate access to fresh minerals.
Pro-Tip: Mycorrhizal symbiosis is essential during transplanting. Adding beneficial fungi to the root zone increases the surface area for water absorption by up to 100 times, allowing the plant to survive longer dry spells on the shelf.
Establishing
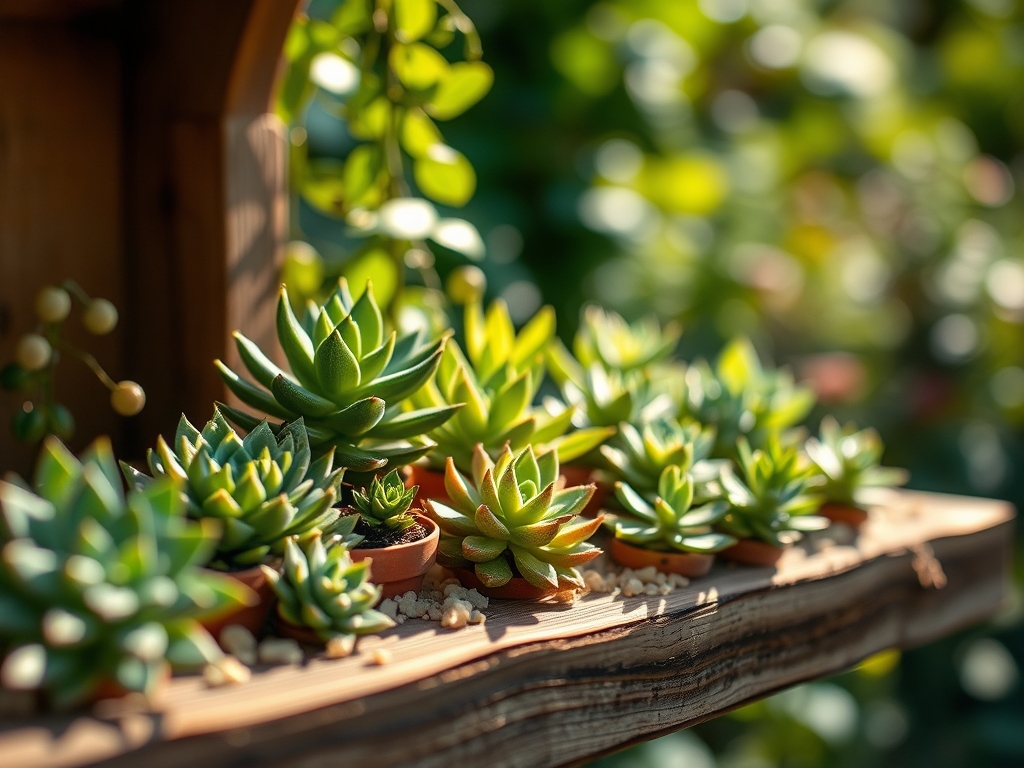
Once positioned on the shelf, do not water for seven days. This allows any micro-tears in the root system to heal, preventing the entry of soil-borne pathogens. Place the highest light-demand species (like Agave) on the top shelf where PAR (Photosynthetically Active Radiation) levels are highest.
Pro-Tip: Monitor for phototropism. If plants begin leaning toward the light source, rotate the pots 90 degrees every week. This ensures an even distribution of auxins, maintaining a symmetrical and structurally sound rosette.
The Clinic:
Physiological disorders often manifest as physical deformities. Identifying these early is the difference between a thriving shelf and a total loss.
Symptom: Edema (small, corky bumps on the underside of leaves).
Solution: This is caused by high humidity and overwatering. The plant takes in more water than it can transpire, causing cells to burst. Increase airflow with a small fan.
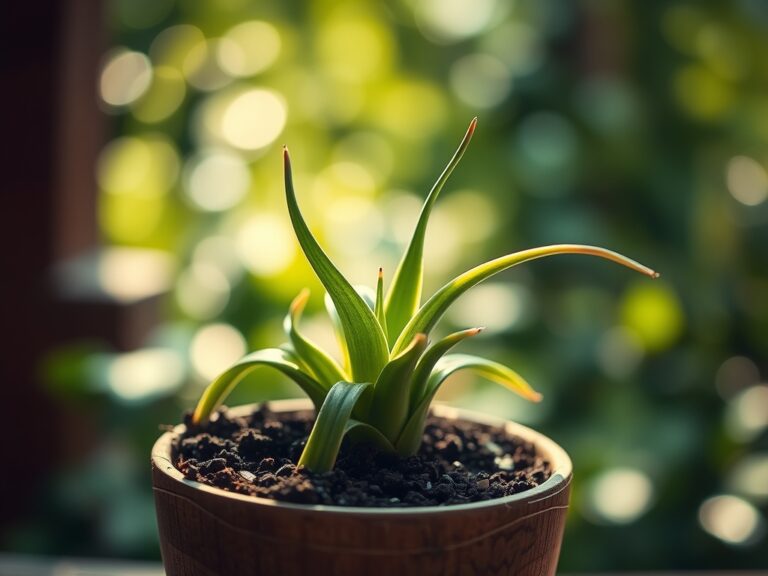
Symptom: Etiolation (pale, stretched stems with wide spacing between leaves).
Solution: This is a light deficiency. Increase the photoperiod to 12 or 14 hours or move the shelf closer to a south-facing window.
Symptom: Anthracnose (sunken, dark spots on the foliage).
Solution: This is a fungal issue often exacerbated by overhead watering. Remove infected leaves with sterilized bypass pruners and ensure the foliage remains dry.
Fix-It for Nitrogen Chlorosis: If older leaves turn a uniform pale yellow, the plant is scavenging nitrogen for new growth. Apply a diluted 5-10-10 liquid fertilizer at half-strength to restore chlorophyll production without forcing excessive elongation.
Maintenance:
Precision is the hallmark of a master horticulturist. Use a soil moisture meter to verify that the substrate is bone dry to a depth of two inches before adding water. When you do water, apply it directly to the soil at the drip line until it exits the drainage holes. On a standard indoor shelf, this typically equates to 0.5 to 1.0 cup of water every 14 to 21 days, depending on the pot size and ambient evaporation rates.
Dust the leaves monthly. Accumulated particulate matter blocks the stomata, reducing the plant's ability to perform gas exchange. Use a soft brush or a pressurized air canister to clean the crevices of tight rosettes. Inspect the shelf supports for structural integrity every six months; a collection of 20 terracotta pots can easily exceed 50 pounds when the substrate is saturated.
The Yield:
While most shelf succulents are grown for foliage, many species like Haworthia or Gasteria produce elegant racemes. If you are harvesting seeds or cuttings for further propagation, wait until the flower stalk has completely desiccated. For leaf propagation, select a "mother leaf" from the bottom third of the plant. A clean pull that includes the entire petiole is required for "day-one" freshness and successful rooting. Store these cuttings in a cool, dry place with indirect light until the callus is firm.
FAQ:
How much light do succulents on a shelf need?
Most succulents require 6 to 8 hours of direct sunlight or 12 to 14 hours of high-output LED grow lights. Measure light intensity using a PAR meter; aim for 300 to 800 micromoles depending on the specific genus.
What is the best pot material for a shelf?
Unglazed terracotta is superior because its porous walls allow for lateral evaporation. This prevents "wet feet" and helps regulate soil temperature. Ensure every pot has at least one half-inch drainage hole to prevent anaerobic conditions in the rhizosphere.
Why are the bottom leaves of my succulent dying?
If the leaves are dry and crispy, it is likely natural senescence. The plant reclaims nutrients from older tissue to fuel new growth. If the leaves are yellow and mushy, it indicates root rot from excessive moisture or poor drainage.
Can I use regular potting soil for my succulent shelf?
No. Standard potting soil contains too much organic peat, which retains moisture for too long. Mix regular soil with 50 percent coarse sand, perlite, or pumice to ensure the drainage rate matches the plant's metabolic needs.
How do I prevent pests on an indoor shelf?
Maintain low humidity and high airflow. Isolate new plants for 14 days before adding them to the shelf. Regularly inspect the leaf axils for signs of infestation and use a cotton swab dipped in 70 percent isopropyl alcohol for spot treatment.