9 Staking Steps for Repotting a Large Monstera
Damp pine bark and the metallic scent of wet perlite signal the start of a necessary transition for a root-bound specimen. When the turgor pressure in the petioles begins to flag despite consistent hydration, the plant is signaling that its current vessel can no longer support its metabolic demands. Executing the proper steps for repotting a Monstera requires more than a larger pot; it demands a precise recalibration of the rhizosphere to ensure continued fenestration and structural integrity. You are managing a heavy, climbing epiphyte that relies on adventitious roots for both moisture absorption and physical stability. Failure to provide a vertical anchor during this process leads to sprawling, inefficient growth and potential stem breakage. This guide focuses on the technical mechanics of upscaling a mature Monstera deliciosa while integrating a permanent support system to mimic its natural vertical ascent in the tropical canopy.
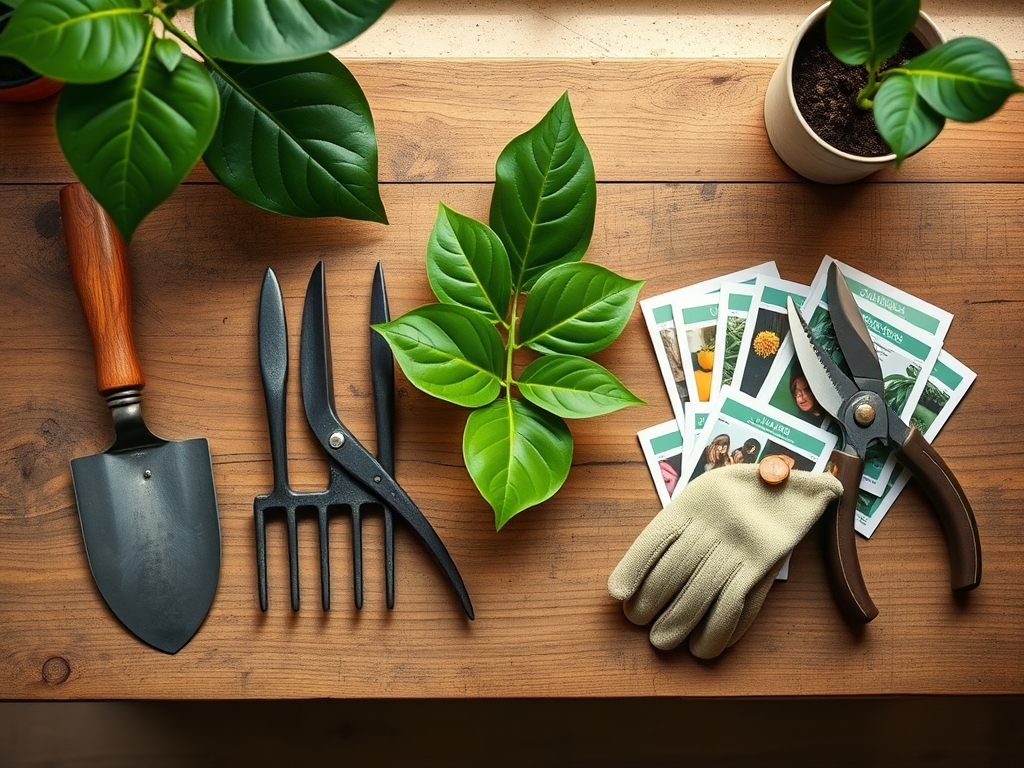
Materials:
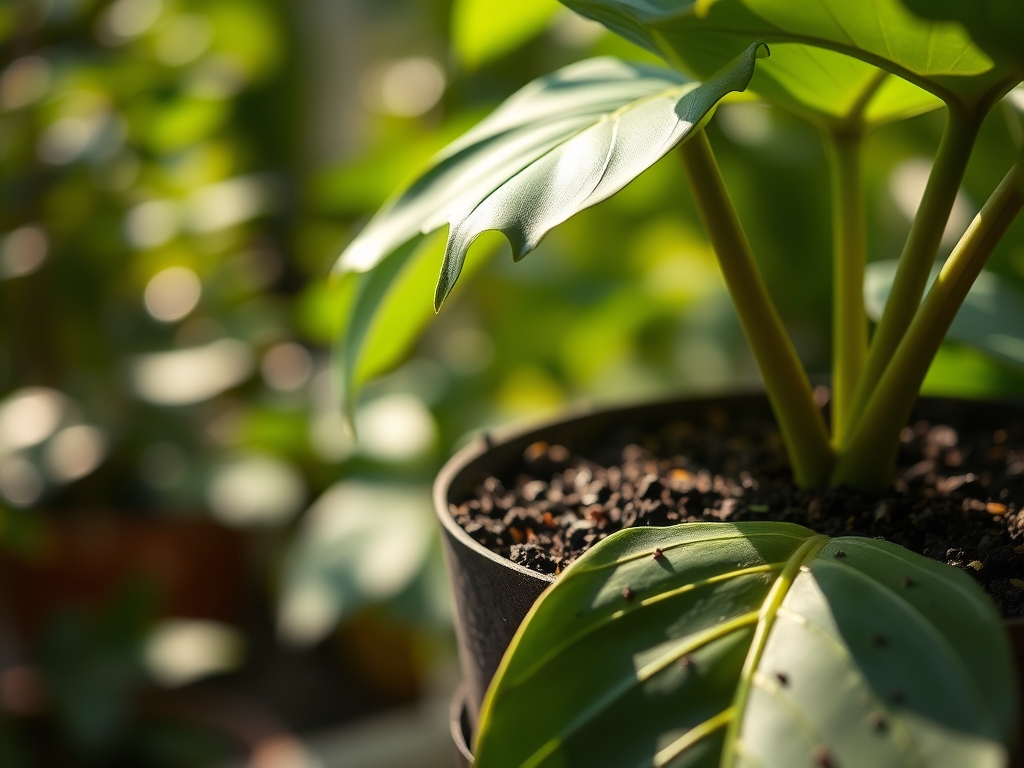
The substrate must be a friable loam with high macroporosity to prevent anaerobic conditions. Aim for a **pH range of 5.5 to 6.5** to optimize nutrient availability. The Cation Exchange Capacity (CEC) of the mix is enhanced by incorporating high-quality compost and coco coir.
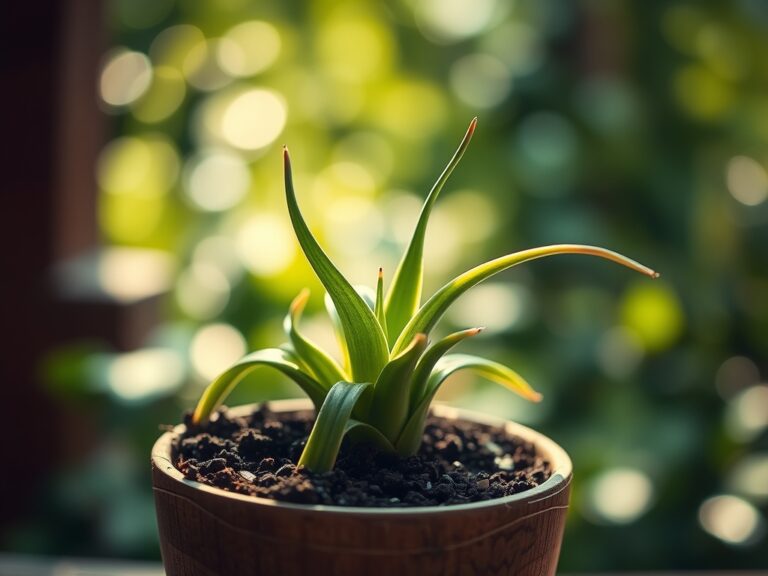
- Substrate Composition: 40% orchid bark, 30% coco coir, 20% perlite, and 10% worm castings.
- Nutrient Profile: A slow-release fertilizer with an NPK ratio of 20-20-20 provides a balanced start, though a higher nitrogen ratio (3-1-2) is preferred for sustained vegetative growth.
- Support Structure: A sturdy cedar plank or a moss pole with a minimum diameter of 3 inches for mature plants.
- Vessel: A heavy terracotta or glazed ceramic pot with at least two drainage holes, sized 2 to 4 inches wider than the current root ball.
Timing:
In Hardiness Zones 10 through 12, Monstera can remain outdoors year-round. For indoor specimens in cooler zones, the biological clock dictates repotting during the early spring, typically between March and May. This window aligns with the end of the winter dormancy and the surge of auxin production that triggers new leaf primordia. Avoid repotting when the ambient temperature is below 65 degrees Fahrenheit, as cold shock can lead to root senescence and delayed establishment. Monitoring the photoperiod is essential; repotting when daylight exceeds 12 hours ensures the plant has sufficient energy for root regeneration.
Phases:

Sowing the Support
Before the plant enters the new pot, the stake must be positioned. Place the cedar plank or moss pole against the back of the pot, ensuring it sits flush against the bottom. This prevents the support from wobbling and damaging the delicate root hairs later.
Pro-Tip: Secure the stake to the pot base using heavy-gauge florist wire if necessary. This provides a stable "skeletal" structure that prevents gravitropism from pulling the plant away from its vertical axis.
Transplanting and Root Management
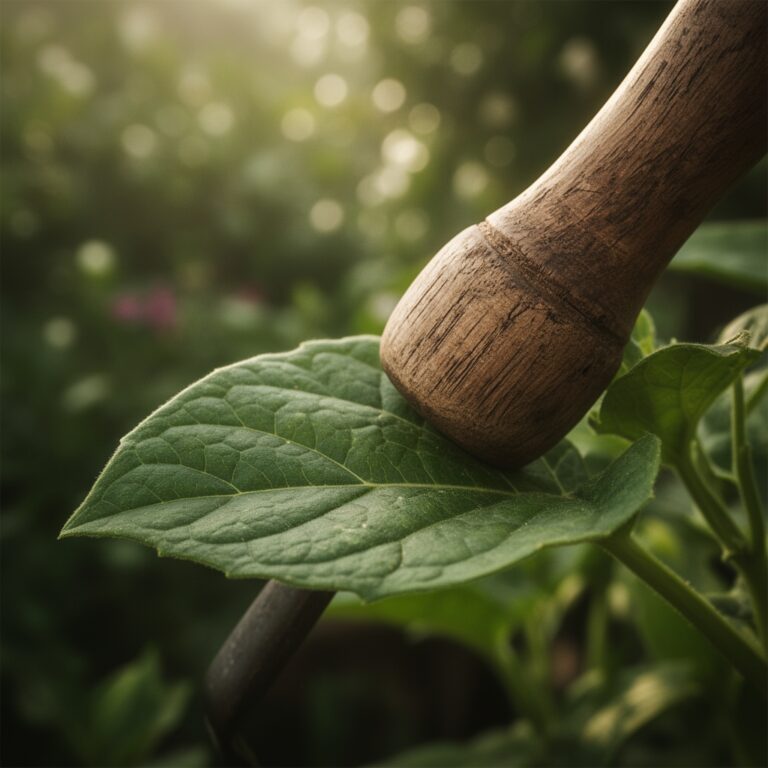
Carefully extract the Monstera from its current container. Use a hori-hori knife to circle the inner perimeter if the roots have adhered to the walls. Inspect the root mass for circling roots. If the plant is severely root-bound, use bypass pruners to make three or four vertical snips into the root ball to encourage outward growth.
Pro-Tip: Pruning the roots stimulates the production of lateral roots through apical dominance shifting. This increase in root surface area improves the plant's ability to facilitate cation exchange with the new substrate.
Establishing and Securing
Position the plant so the "back" of the stem (where aerial roots emerge) is directly against the stake. Fill the voids with your friable substrate, tamping down lightly to remove large air pockets without compressing the soil. Use soft plant ties to secure the main stem to the support at 6-inch intervals.
Pro-Tip: Do not tie the petioles. Only secure the main stem. Tying petioles restricts their ability to move via phototropism, which can cause mechanical stress and tissue necrosis at the joint.
The Clinic:
Physiological disorders often manifest immediately following the steps for repotting a Monstera due to transplant shock or improper moisture levels.
- Symptom: Lower leaf yellowing (Chlorosis).
- Solution: Check for nitrogen deficiency. If the soil is overly saturated, this indicates root suffocation. Ensure the drainage holes are not blocked.
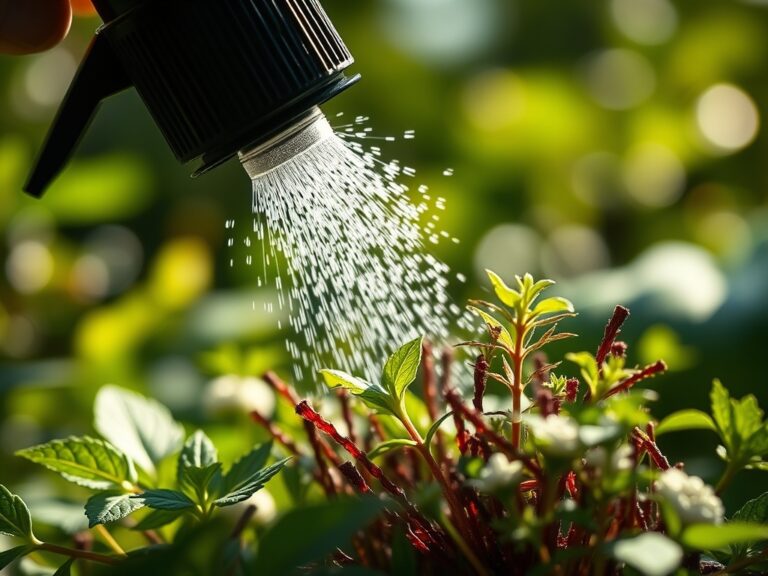
- Fix-It: Apply a liquid kelp solution to provide micronutrients and reduce stress.
- Symptom: Drooping leaves despite wet soil.
- Solution: This is likely root rot (Phytophthora). The roots cannot take up water due to fungal decay.
- Fix-It: Remove the plant, prune away blackened roots, and repot in a fresh mix with higher perlite content for better aeration.
- Symptom: Brown, crispy leaf margins.
- Solution: Low humidity or excess salt buildup from tap water.
- Fix-It: Flush the substrate with distilled water and maintain ambient humidity above 50%.
Maintenance:
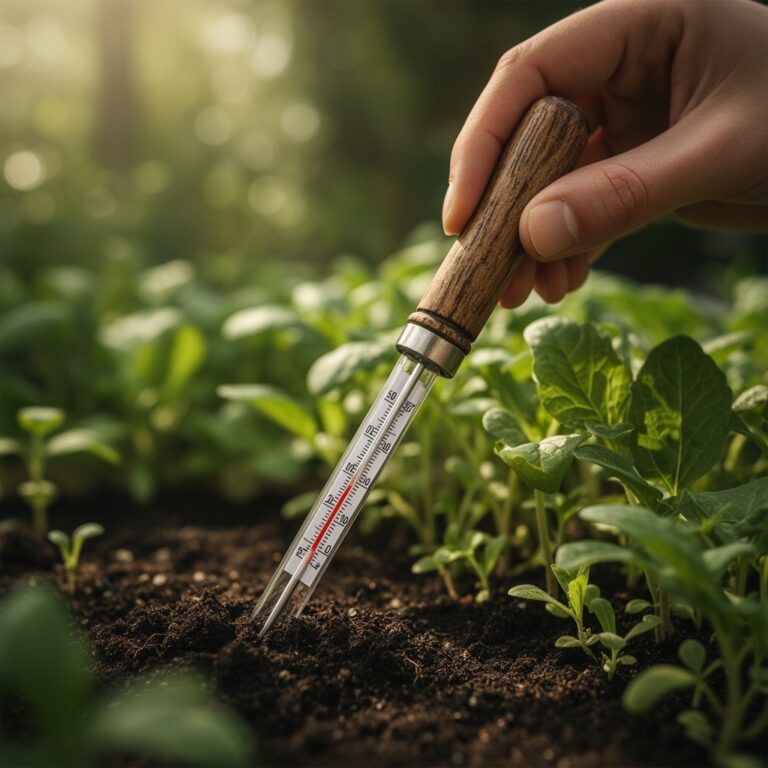
Post-repotting care requires precision. Use a soil moisture meter to ensure the substrate remains at a consistent "moist but not saturated" state. For a large Monstera in a 14-inch pot, provide approximately 1.5 liters of water when the top 2 inches of soil feel dry. Direct the water toward the base and the moss pole to encourage aerial root attachment.
Clean the laminae with a damp cloth every 14 days to remove dust that inhibits photosynthesis. Every 30 days, rotate the pot 90 degrees to ensure even light distribution and prevent the plant from leaning excessively toward the light source. Monitor the ties every 3 months; as the stem girth increases, ties must be loosened to prevent girdling of the vascular tissue.
The Yield:
While Monstera deliciosa is primarily grown for foliage, a mature, well-supported plant may produce the "Mexican Breadfruit" inflorescence. The fruit takes approximately 10 to 12 months to ripen. Harvest only when the hexagonal scales begin to lift and shed naturally. The fruit contains high levels of oxalic acid when unripe; ensure the scales have fallen off completely before considering the fruit mature. Handle the spadix with care to avoid bruising the interior pulp.
FAQ:
How do I know it is time for repotting a Monstera?
Look for roots emerging from drainage holes or a significant decrease in growth rate. If the plant requires water more than twice a week, the root-to-soil ratio is too high, necessitating a larger vessel.
Can I use regular potting soil for my Monstera?
Standard soil lacks the necessary macroporosity. It retains too much moisture at the root zone, leading to hypoxia. Always amend standard soil with 30% coarse bark or perlite to ensure adequate gas exchange within the rhizosphere.
What is the best support for a large Monstera?
A sturdy cedar plank or a high-quality moss pole is ideal. These materials allow adventitious aerial roots to grip the surface, providing the structural stability needed for the plant to produce larger, more fenestrated leaves.
How deep should I plant the Monstera in the new pot?
Maintain the same soil line as the previous pot. Burying the stem deeper can lead to stem rot at the base, while planting too shallow exposes the primary root system to desiccation and instability.