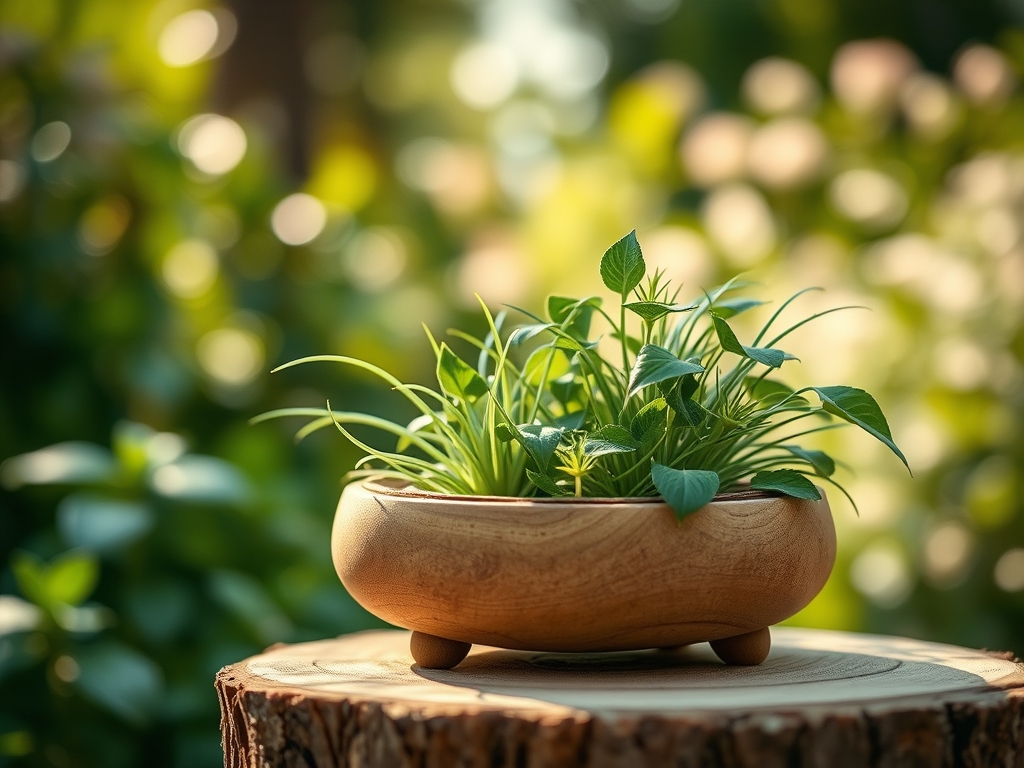
6 Reclaimed Steps to Prepare a DIY Reclaimed Plant Stand
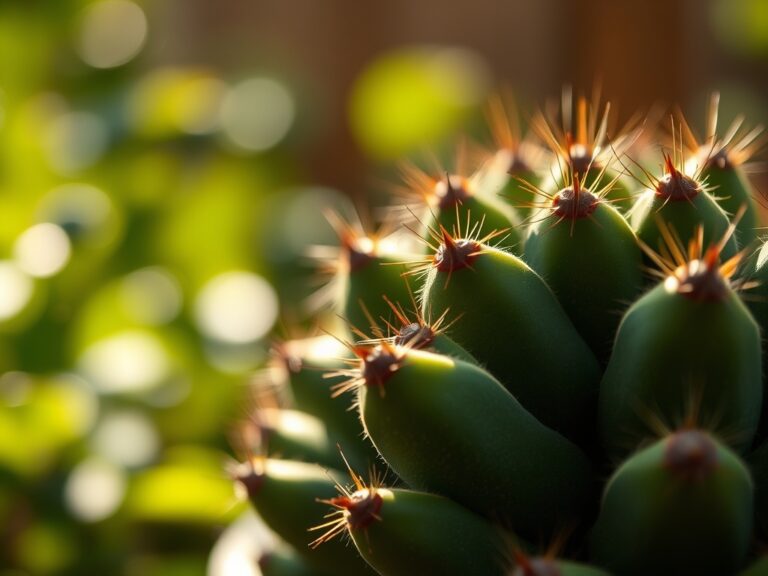
Crushing a handful of friable loam releases the sharp, metallic scent of actinobacteria, a signal that the rhizosphere is primed for high-performance growth. When a leaf maintains maximum turgor pressure, its cells are engorged with water, creating the structural rigidity required for efficient photosynthesis. Learning how to prepare a DIY plant stand is not merely about woodworking; it is a calculated engineering task to support the hydraulic and biological demands of containerized botanical specimens.
A successful stand must account for the substantial weight of saturated substrate and the specific environmental microclimates found within a residential or greenhouse setting. Standard potting mix weighs approximately 40 pounds per cubic foot when fully hydrated. Therefore, structural integrity is the primary variable. This guide focuses on the reclamation of materials to build a platform that facilitates optimal airflow and drainage, preventing the anaerobic conditions that lead to root rot. By elevating the root zone, you manipulate the thermal mass of the container, allowing for better regulation of soil temperatures which directly impacts nutrient uptake and enzymatic activity within the plant tissue.
Materials:
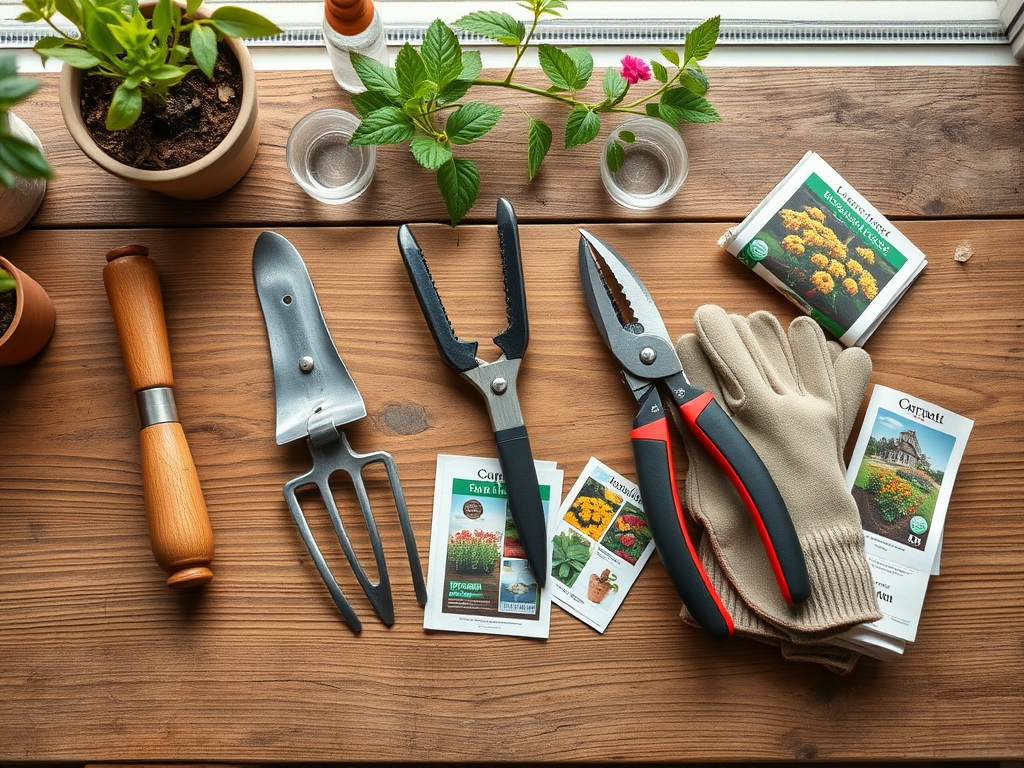
The materials selected for the stand must resist the caustic nature of fertilizers and the constant presence of moisture. Reclaimed cedar or redwood is preferred due to high tannin content which resists fungal decay. Beyond the frame, the success of the plants housed on the stand depends on the substrate chemistry.
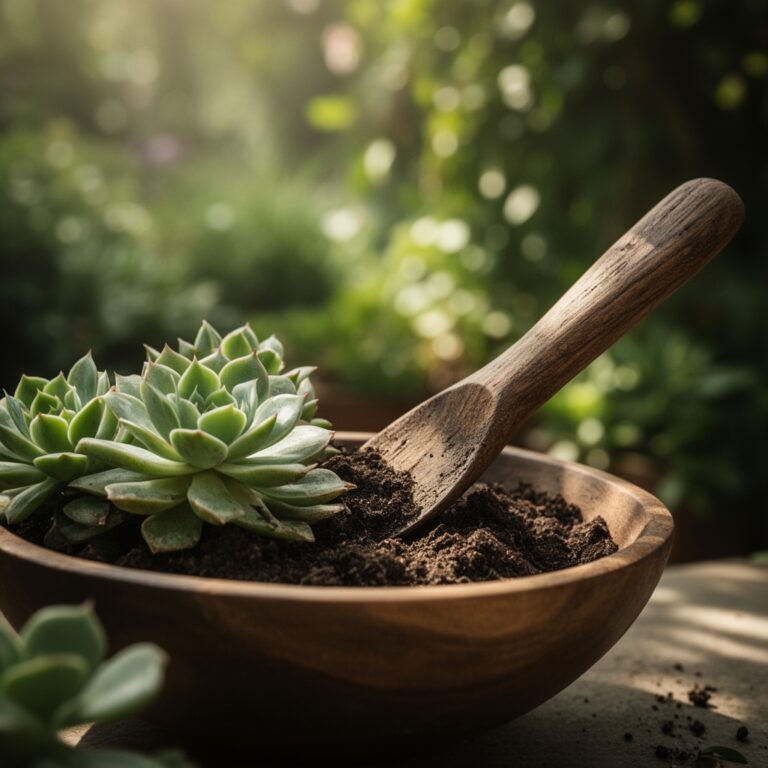
For general vegetative growth, aim for a substrate with a pH between 6.0 and 7.0. This range ensures that essential macronutrients remain bioavailable. A high Cation Exchange Capacity (CEC) is vital; it measures the soil's ability to hold onto positively charged ions like Calcium (Ca2+) and Magnesium (Mg2+). Use a substrate blend consisting of 40 percent peat or coconut coir, 30 percent perlite for aeration, and 30 percent composted organic matter.
Specific NPK (Nitrogen, Phosphorus, Potassium) ratios must be tailored to the plant's life cycle. For foliage-heavy plants, a 10-5-5 ratio supports chlorophyll production. For flowering species, transition to a 5-10-10 ratio to stimulate reproductive development. The physical texture should be a "friable loam" that crumbles under light pressure, ensuring that oxygen can reach the root hairs to facilitate cellular respiration.
Timing:
Construction and deployment of the stand should align with local Hardiness Zones. In Zones 5 through 7, the window for transitioning plants to outdoor stands typically begins after the last frost date, often between late April and mid-May. Monitoring the soil temperature is more critical than monitoring air temperature; most tropical species require a consistent 65 degrees Fahrenheit at the root zone to avoid metabolic shock.
Understanding the "Biological Clock" is essential. Plants transition from vegetative stages (focusing on leaf and stem mass) to reproductive stages (flowering and seed production) based on the photoperiod. If your DIY stand is placed in an area with supplemental lighting, you can override these natural cycles. However, placing a stand in a south-facing window in the Northern Hemisphere provides the maximum Photosynthetically Active Radiation (PAR) required for high-energy crops.
Phases:
Sowing
When starting seeds for your new stand, use a sterile, fine-textured starting mix. Maintain a consistent temperature of 70 to 75 degrees Fahrenheit using a heat mat to increase germination rates. Seeds should be planted at a depth of two to three times their diameter.
Pro-Tip: Monitor for phototropism, the tendency of plants to grow toward a light source. This is driven by auxin redistribution to the shaded side of the stem, causing those cells to elongate and bend the plant. Rotate your containers 90 degrees every three days to maintain vertical structural integrity.
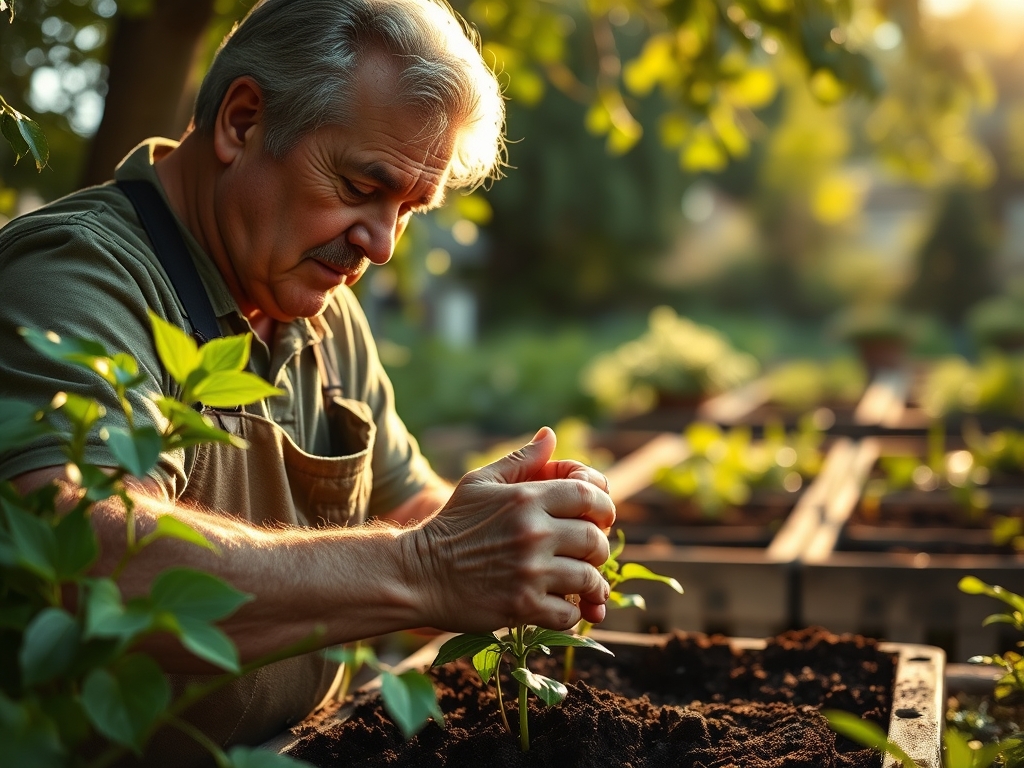
Transplanting
Move seedlings to the stand once they have developed at least two sets of true leaves. Use a hori-hori knife to gently loosen the root ball, ensuring minimal disruption to the delicate root hairs. The new container must be at least 2 inches wider than the previous one to allow for lateral root expansion.
Pro-Tip: Inoculate the root zone with mycorrhizal fungi during transplanting. This symbiotic relationship extends the reach of the root system, significantly increasing the surface area for phosphorus and water absorption.
Establishing
The first 14 days after placing a plant on the stand are the establishment phase. During this time, the plant is vulnerable to transplant shock. Maintain high humidity levels and avoid heavy fertilization until new apical growth is observed.
Pro-Tip: Avoid "pinching back" or pruning during the first week. This prevents auxin suppression, allowing the plant to focus its hormonal energy on root establishment rather than lateral branching.
The Clinic:
Physiological disorders often mimic pathogen attacks but are usually rooted in environmental stress or nutrient imbalances.
Symptom: Interveinal chlorosis (yellowing between green veins) on young leaves.
Solution: This indicates an Iron (Fe) deficiency, often caused by a soil pH above 7.0. Lower the pH using elemental sulfur or chelated iron drench.
Symptom: Leaf tip burn or marginal necrosis.
Solution: This is frequently a sign of Salt Accumulation from synthetic fertilizers. Flush the substrate with distilled water equal to three times the volume of the container.
Symptom: Blossom end rot (dark, leathery spots on the bottom of fruit).
Solution: This is a Calcium (Ca) deficiency usually caused by inconsistent moisture levels rather than a lack of calcium in the soil. Maintain steady turgor pressure through regular irrigation.
Fix-It for Nitrogen Chlorosis: If older leaves turn a uniform pale yellow, the plant is scavenging nitrogen for new growth. Apply a quick-release liquid fertilizer with a high N-value (such as 20-10-10) at half strength to restore nitrogen levels in the leaf tissue.
Maintenance:
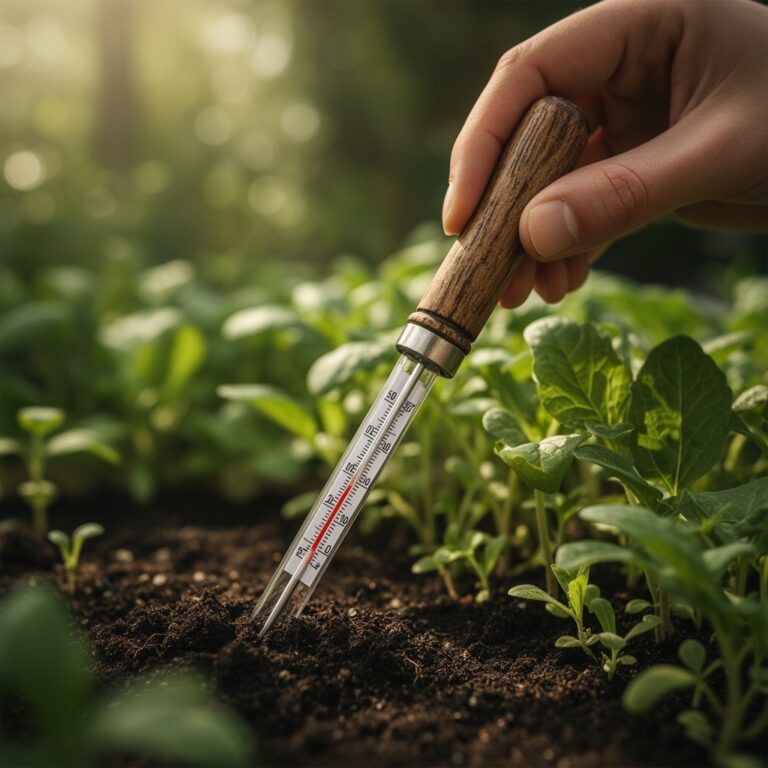
Precision is the difference between a surviving plant and a thriving one. Use a soil moisture meter to probe the substrate at a depth of 4 inches. Do not water until the meter reads in the "dry" zone for the specific species. For most containerized plants, provide 1.5 inches of water per week delivered directly to the drip line to avoid wetting the foliage, which can encourage fungal pathogens.
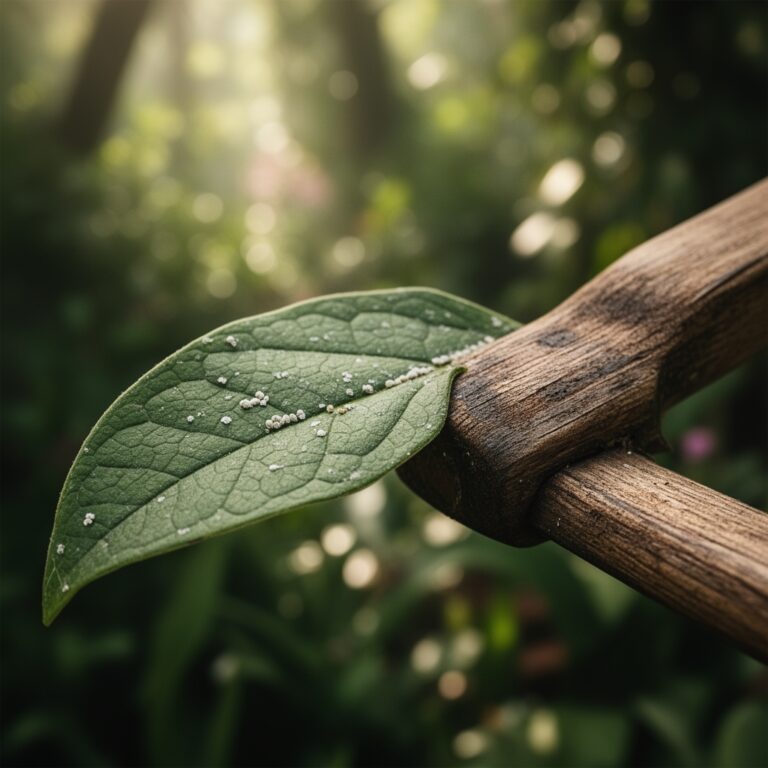
Sanitation is mandatory. Use bypass pruners sterilized with 70 percent isopropyl alcohol to remove senescing (dying) leaves. This prevents the stand from becoming a vector for pests. Inspect the undersides of leaves weekly for signs of spider mites or aphids, which thrive in the stagnant air pockets often found on multi-tiered stands.
The Yield:
If your stand is dedicated to herbs or edible greens, harvest timing is dictated by volatile oil concentration. Harvest leafy greens in the early morning when turgor pressure is at its peak and temperatures are lowest. This preserves the "day-one" crispness by minimizing post-harvest transpiration.
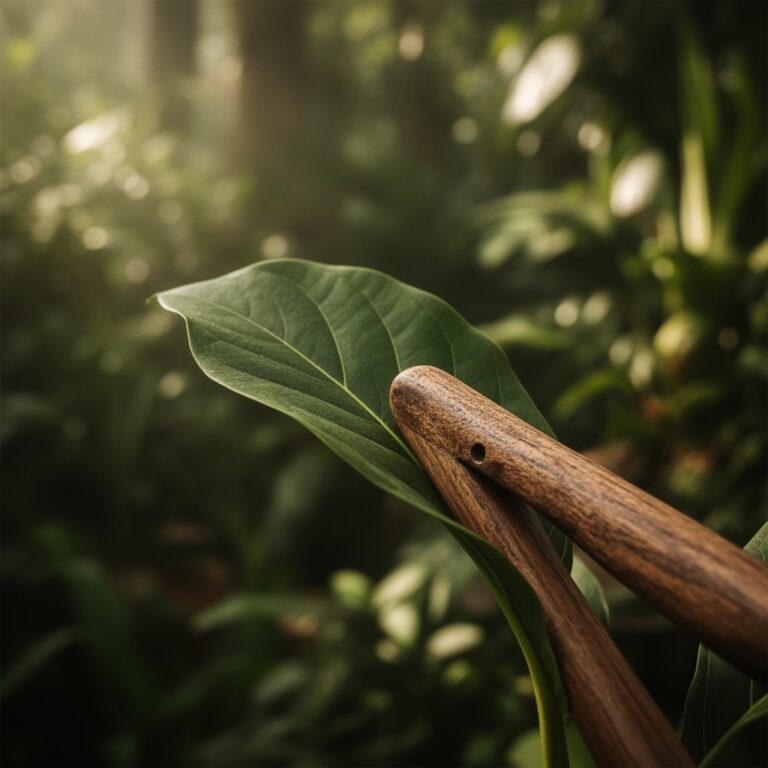
Use sharp shears to make clean cuts at a 45-degree angle just above a node. This encourages rapid callus formation and secondary branching. For woody herbs like rosemary, never remove more than one-third of the total biomass at a single time to prevent metabolic exhaustion.
FAQ:
How do I prevent my DIY plant stand from rotting?
Apply a non-toxic, water-resistant sealant to reclaimed wood. Ensure all tiers have drainage gaps to prevent standing water. Use galvanized or stainless steel hardware to prevent oxidation and structural failure caused by rust.
What is the best weight capacity for a plant stand?
Engineer each shelf to support at least 50 pounds per square foot. A 10-inch ceramic pot filled with wet soil and a mature plant can easily exceed 25 pounds. Always overbuild the load-bearing joints.
How does elevation affect plant growth on a stand?
Elevating plants increases air circulation around the container, which aids in evaporative cooling and oxygenates the rhizosphere. It also reduces the presence of ground-dwelling pests and allows for better light penetration to lower foliage.
Can I use reclaimed pallets for a plant stand?
Only use pallets marked with "HT" (Heat Treated). Avoid pallets marked "MB" (Methyl Bromide), as they contain toxic pesticides that can leach into your substrate and affect plant health or contaminate edible crops.