8 Vital Steps to Plant Sweet Cicely
Crushing a fresh leaf of Myrrhis odorata between your thumb and forefinger releases a sharp, anise-scented volatile oil that signals high turgor pressure and cellular health. This perennial herb requires specific environmental triggers to break its deep physiological dormancy. Success depends on mimicking the cold, damp forest floors of its native European ranges. Mastering the steps to plant sweet cicely begins with understanding that this is not a casual garden annual; it is a long-lived botanical investment that demands precise soil chemistry and a rigorous stratification timeline to ensure high germination rates and robust root development.
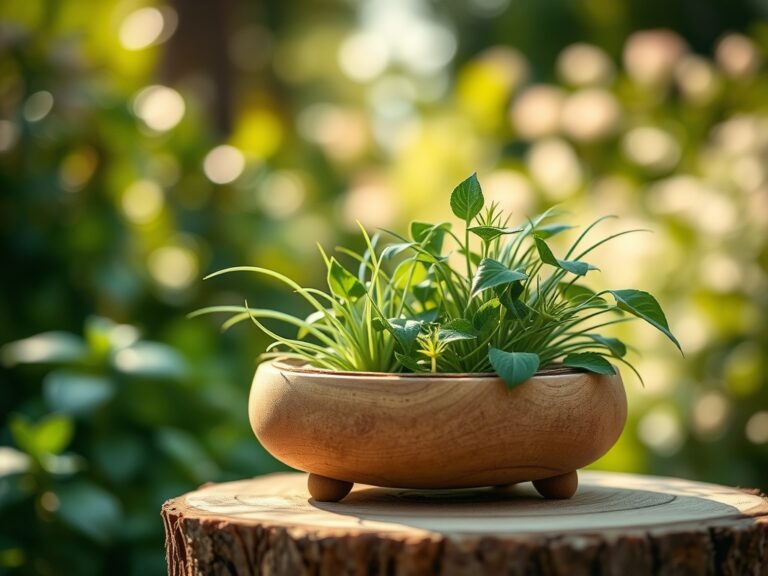
Establishing this plant requires a shift from standard gardening to a focused horticultural protocol. You are managing a species that thrives in the dappled light of a woodland understory, where the rhizosphere is rich in decaying organic matter and fungal activity. To achieve the 24 to 36 inch height typical of a mature specimen, you must prioritize the development of a deep taproot. This root system acts as the primary storage organ for carbohydrates, allowing the plant to survive harsh winters and push out new growth as soon as the ground thaws. Every action, from the initial site selection to the final harvest, must support the plant's biological drive toward leaf expansion and eventual seed production.
Materials:
Sweet cicely requires a soil pH between 5.5 and 7.0. It is a heavy feeder that thrives in a friable loam high in organic content. The physical substrate must be porous enough to allow for gas exchange but dense enough to retain consistent moisture levels. Before planting, incorporate well-rotted compost to increase the Cation Exchange Capacity (CEC), which allows the soil to hold onto essential nutrients like potassium and magnesium.
For the initial growth phase, focus on a balanced NPK ratio of 10-10-10 to support both foliar density and root elongation. Avoid high-nitrogen fertilizers (such as 20-0-0) as they can cause rapid, weak cellular growth that makes the plant susceptible to mechanical damage. You will need a soil moisture meter to monitor the substrate, as the plant will wilt if the moisture level drops below 40 percent.
Timing:
This species is hardy in USDA Zones 3 through 7. It requires a significant period of vernalization; the seeds must experience a cold cycle to break their internal chemical inhibitors. In most climates, this means sowing in the autumn for spring germination. The biological clock of Myrrhis odorata is triggered by the photoperiod and rising soil temperatures in early spring.
The transition from the vegetative stage to the reproductive stage occurs when temperatures consistently stay above 60 degrees Fahrenheit. If you miss the autumn sowing window, you must perform artificial cold stratification in a refrigerator at 34 to 39 degrees Fahrenheit for a minimum of 90 days. Failure to provide this cold trigger will result in a zero percent germination rate, as the embryo remains locked in a state of metabolic suspension.
Phases:

Sowing and Stratification
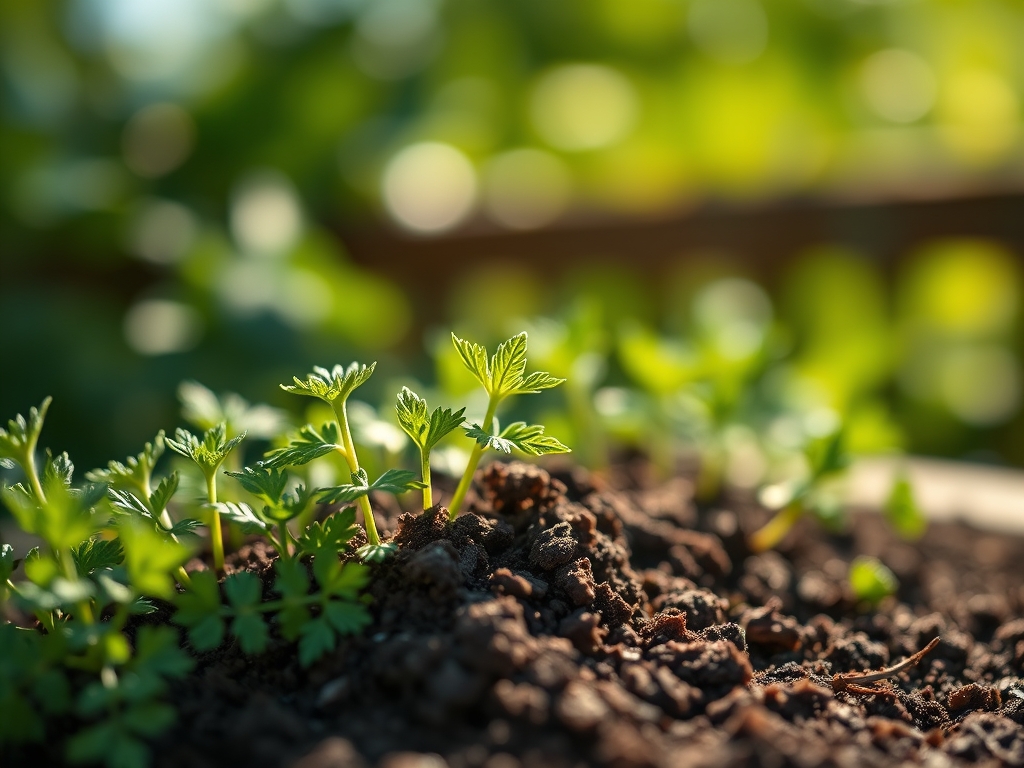
Sow seeds directly into the permanent garden site at a depth of 0.5 inches. Space seeds 2 inches apart initially, with the intent to thin them later. The seeds must remain in contact with moist soil throughout the winter months. If sowing in containers, use a deep pot to accommodate the developing taproot.
Pro-Tip: Sweet cicely seeds are recalcitrant, meaning they lose viability quickly if allowed to dry out. This is due to the loss of moisture in the endosperm, which halts the metabolic processes required for eventual germination. Always use fresh seeds from the current season.
Transplanting and Spacing
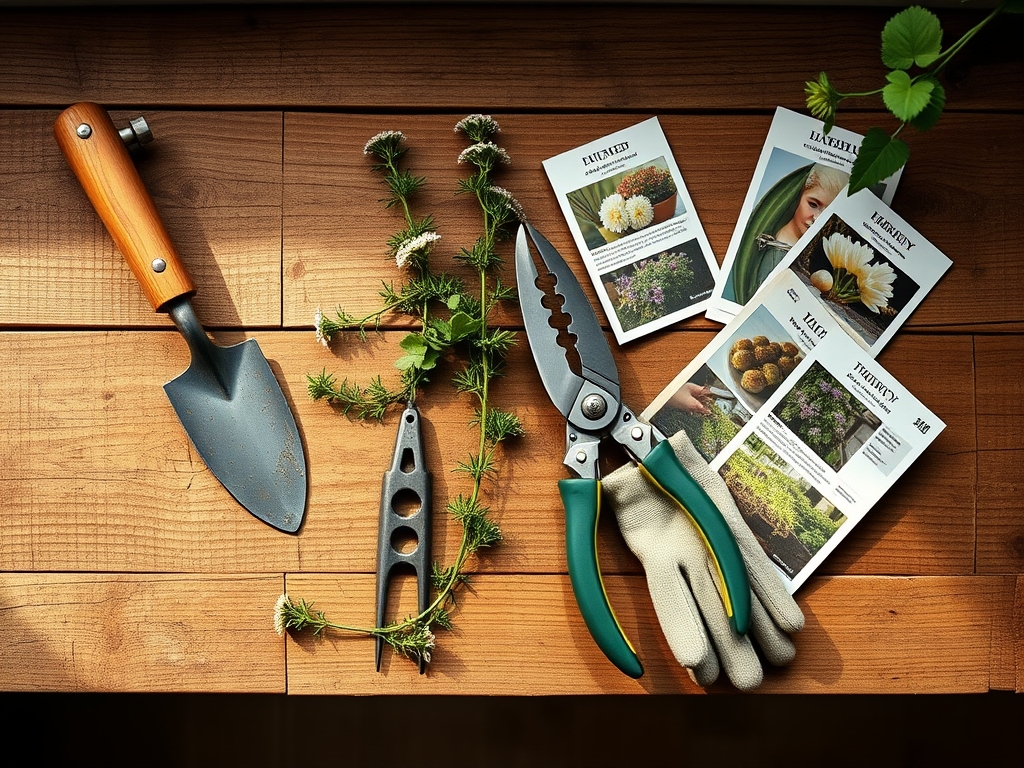
If you have started seeds in a nursery bed, transplant them when they reach 3 inches in height and have at least two sets of true leaves. Use a hori-hori knife to dig deep enough to extract the entire taproot without bending it. Space the final plants 18 to 24 inches apart to allow for adequate airflow and to prevent the buildup of fungal pathogens in the lower canopy.
Pro-Tip: During transplanting, minimize root exposure to air to prevent the desiccation of fine root hairs. These hairs are responsible for the majority of water and nutrient uptake via mycorrhizal symbiosis, where beneficial fungi assist the plant in phosphorus absorption.
Establishing the Stand
During the first growing season, the focus is on biomass accumulation rather than seed production. Remove any early flower stalks using bypass pruners to redirect the plant's energy toward the root system. This process, known as auxin suppression, encourages the plant to prioritize lateral leaf growth and root thickening.
Pro-Tip: Maintain a 2-inch layer of organic mulch around the base of the plant. This regulates soil temperature and prevents the "heaving" of the taproot during freeze-thaw cycles, which can shear off lateral roots and lead to secondary infections.
The Clinic:
Even with proper care, physiological disorders can occur. Use this diagnostic guide to identify and rectify issues.
- Symptom: Yellowing of older leaves while veins remain green (Interveinal Chlorosis).
- Solution: This indicates a Magnesium deficiency or high pH. Apply chelated magnesium or lower the pH with elemental sulfur to improve nutrient availability.
- Symptom: Wilting despite moist soil.
- Solution: This is often a sign of root rot caused by anaerobic conditions. Improve drainage by adding perlite or coarse sand to the substrate to increase macropore space.
- Symptom: Stunted growth and purple tint on leaf undersides.
- Solution: Phosphorus deficiency. This often occurs in cold spring soils where phosphorus is chemically "locked." Apply a water-soluble high-phosphorus fertilizer once soil temperatures exceed 55 degrees Fahrenheit.
- Fix-It: For general Nitrogen chlorosis (overall paling of the plant), apply a side-dressing of blood meal. This provides a slow-release nitrogen source that supports chlorophyll production without causing a spike in salt index.
Maintenance:
Consistency is the primary requirement for a thriving sweet cicely patch. Provide 1.5 inches of water per week delivered at the drip line to ensure deep penetration. Avoid overhead watering, as moisture on the foliage can encourage the growth of Erysiphales (powdery mildew) in humid conditions.
Use your bypass pruners to remove any yellowing or senescing foliage throughout the summer. This prevents the plant from wasting resources on dying tissue and improves the aesthetic of the stand. In late autumn, after the first hard frost, cut the entire plant back to 3 inches above the soil line. This prepares the crown for dormancy and reduces the habitat for overwintering pests.
The Yield:
Harvesting can begin in the second year once the plant has established a significant root mass. For the highest concentration of essential oils, harvest leaves in the morning after the dew has evaporated but before the sun reaches its zenith. Use a sharp knife to cut individual stems from the outer edge of the plant, leaving the central crown intact to continue growing.
To maintain "day-one" freshness, place the cut stems immediately into a container of cool water. If the seeds are desired, wait until they turn from green to a dark, glossy black. These seeds can be used immediately or stored in a cool, dry place. For the best flavor profile, use the leaves fresh; they do not retain their aromatic properties well when dried, as the volatile oils evaporate quickly during the desiccation process.
FAQ:
How much sun does sweet cicely need?
Sweet cicely prefers partial shade to full shade. In northern latitudes, it can tolerate more sun if the soil remains consistently moist. In hotter zones, midday sun will cause leaf scorch and premature senescence.
Can I grow sweet cicely in a container?
Yes, but you must use a container at least 12 to 15 inches deep to accommodate the long taproot. Use a high-quality potting mix with added compost and ensure the pot has excellent drainage holes.
Why are my sweet cicely seeds not sprouting?
The most common reason is a lack of cold stratification. Seeds require a 90-day cold period to break dormancy. Additionally, seeds that have dried out completely often become non-viable and will fail to germinate regardless of conditions.
How do I prevent sweet cicely from spreading?
Sweet cicely self-seeds readily. To prevent unwanted spreading, use bypass pruners to remove the flower heads immediately after the petals fall but before the seeds turn black and drop to the ground.