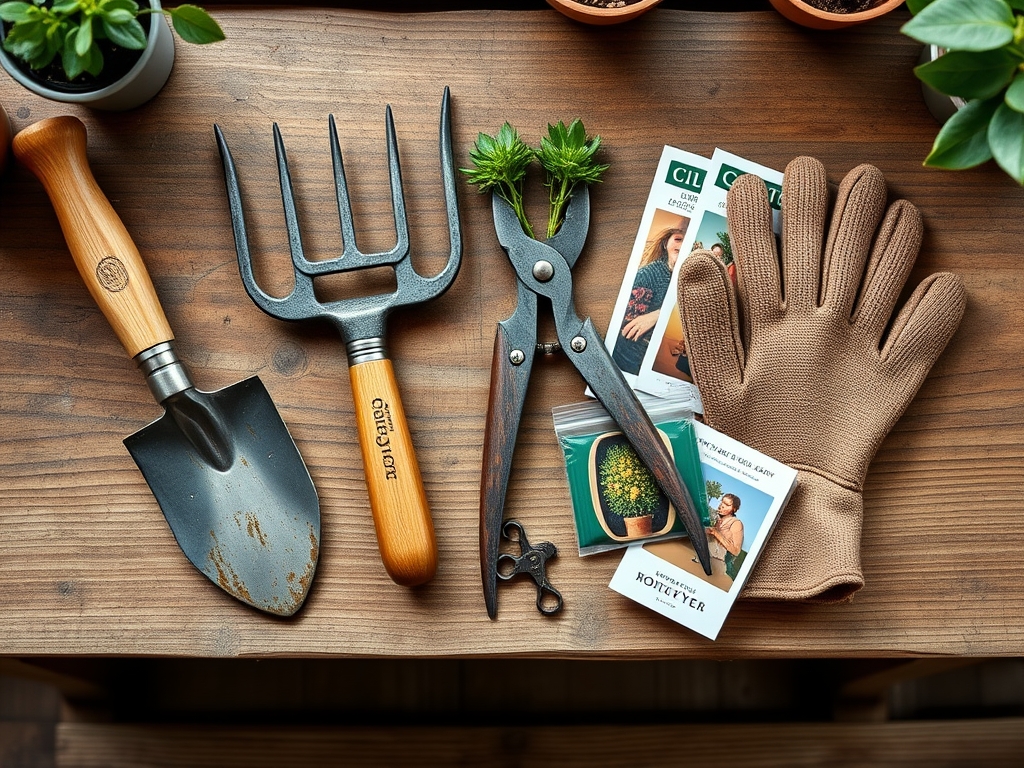
9 Best Professional Tool Kits for Storage Training
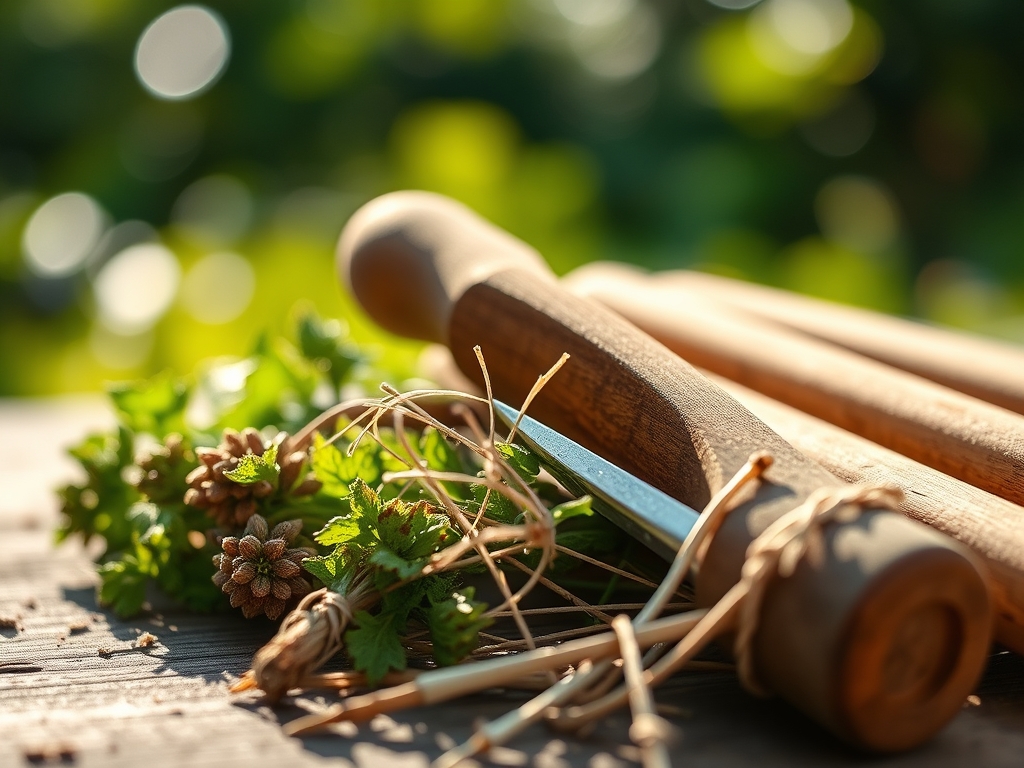
The scent of damp, anaerobic decomposition signals a failure in organization; a sharp contrast to the crisp, metallic aroma of oiled carbon steel. When turgor pressure is high and the vascular system of a perennial is rigid with hydration, the gardener must act with precision. Maintaining this physiological state requires immediate access to calibrated equipment. The best tool kits for garden storage ensure that every bypass pruner and hori-hori knife remains free of oxidation and accessible during critical windows of plant development. Effective storage is not merely about tidiness; it is a tactical requirement for managing the rhizosphere. A disorganized shed leads to delayed pruning, which can result in jagged wounds that invite fungal pathogens into the xylem. By centralizing high-grade implements in weather-resistant, modular systems, the horticulturist maintains a sterile and efficient workflow. This level of readiness allows for the immediate intervention required when a specimen shows the first signs of wilting or nutrient lockout. Proper storage preserves the edge of the blade and the integrity of the soil moisture meter, ensuring that every data point collected from the field is accurate and every incision is surgically clean.
Materials:
Professional storage kits must accommodate the diverse amendments required for specific botanical profiles. The ideal substrate for most high-production environments is a friable loam with a **Cation Exchange Capacity (CEC) between 15 and 25 meq/100g**. This texture allows for optimal gas exchange and moisture retention. When storing your kit, include dedicated compartments for specialized NPK formulations. For vegetative growth, a **10-5-5 ratio** provides the necessary nitrogen for chlorophyll synthesis. During the reproductive phase, transition to a **5-10-10 ratio** to support phosphorus-heavy flower and fruit development. Maintain your amendments in airtight containers to prevent hygroscopic clumping. Soil pH should be monitored and adjusted using elemental sulfur to lower pH or calcitic lime to raise it; most temperate species thrive in a **pH range of 6.2 to 6.8**. Your storage kit should house a digital pH probe alongside these chemical amendments to ensure immediate field testing capability.
Timing:
Successful cultivation is governed by the Hardiness Zones and the biological clock of the species. In Zones 5 through 7, the window for spring transplanting typically opens between late March and early May, depending on the last frost date. The biological clock of a plant is triggered by the photoperiod; as day length increases, the transition from vegetative to reproductive stages begins. Storage kits should be organized by seasonal priority. During the vernal equinox, your kit must prioritize seed starting equipment and soil thermometers. Ensure the soil temperature has reached a consistent 55 degrees Fahrenheit before introducing sensitive root systems to the ground. As the summer solstice approaches, the focus shifts to maintenance and hydration management. Understanding the senescence of your specific cultivars allows you to time your pruning and harvest to maximize the phytochemical density of the plant tissue.
Phases:

Sowing
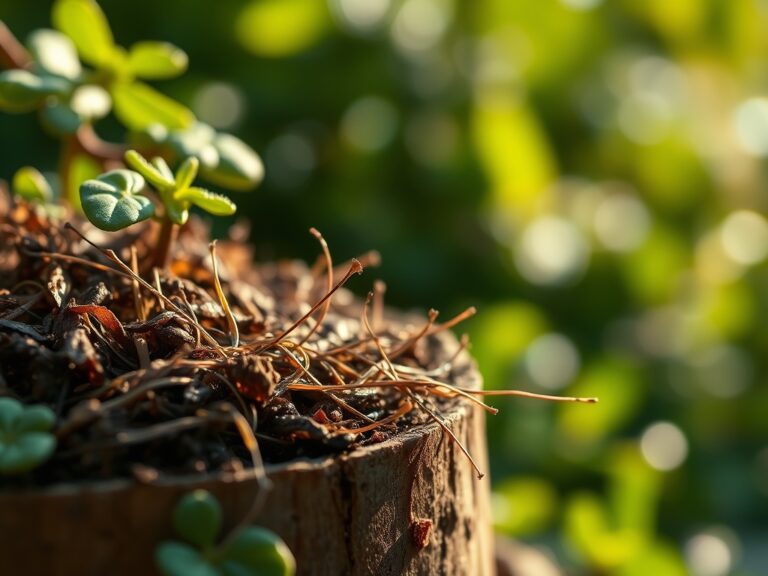
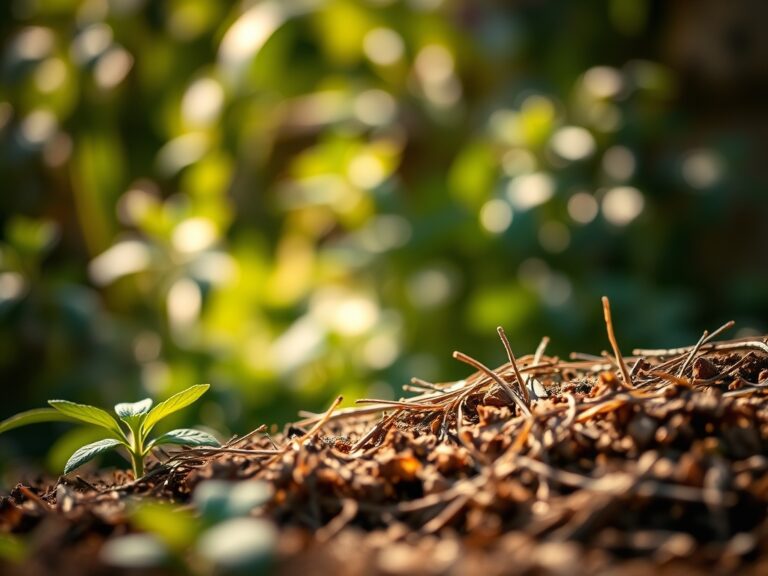
Begin with sterile cell trays and a seed-starting mix characterized by low nutrient density to avoid salt burn on emerging radicles. Maintain a consistent temperature of 70 to 75 degrees Fahrenheit for most temperate seeds.
Pro-Tip: Utilize bottom heat to stimulate rapid germination. This works because of thermotropism; the heat increases metabolic activity within the seed coat, accelerating the emergence of the hypocotyl before pathogens can colonize the medium.
Transplanting
When the second set of true leaves appears, the specimen is ready for relocation. Use a hori-hori knife to extract the plug while minimizing root disturbance. Dig a hole twice the width of the root ball to allow for easy lateral expansion into the surrounding friable loam.
Pro-Tip: Inoculate the transplant hole with mycorrhizal fungi. This creates a symbiotic relationship where the fungi extend the reach of the root system, significantly increasing the uptake of phosphorus and water through an expanded mycelial network.
Establishing
During the first 14 to 21 days post-transplant, the plant focuses on root architecture rather than vertical growth. Monitor turgor pressure daily. If the leaves show signs of epinasty (downward curling), check for over-saturation which leads to root hypoxia.
Pro-Tip: Practice apical bud pinching to suppress auxin dominance. By removing the primary growing tip, you redirect the plant's energy to lateral buds, resulting in a bushier, structurally sounder phenotype with increased site potential for flowering.
The Clinic:
Physiological disorders often mimic disease but are frequently rooted in environmental or nutritional imbalances.
Symptom: Interveinal chlorosis on young leaves.
Solution: This indicates an Iron (Fe) deficiency, often caused by a pH above 7.0. Apply a chelated iron foliar spray and adjust the soil pH to 6.5 to increase bioavailability.
Symptom: Necrotic spots on leaf margins and weak stems.
Solution: This suggests Potassium (K) deficiency. Supplement with sulfate of potash at a rate of 0.5 pounds per 100 square feet.
Symptom: Blossom end rot in fruiting crops.
Solution: This is a Calcium (Ca) transport issue, often triggered by inconsistent irrigation. Ensure a steady moisture profile to facilitate the movement of calcium through the xylem.
Fix-It: Nitrogen Chlorosis
If older leaves turn a uniform pale yellow, the plant is scavenging nitrogen for new growth. Apply a high-nitrogen liquid fertilizer (such as a 20-0-0 formulation) for rapid uptake. Long-term correction requires the incorporation of organic matter to improve the nitrogen cycle within the rhizosphere.
Maintenance:
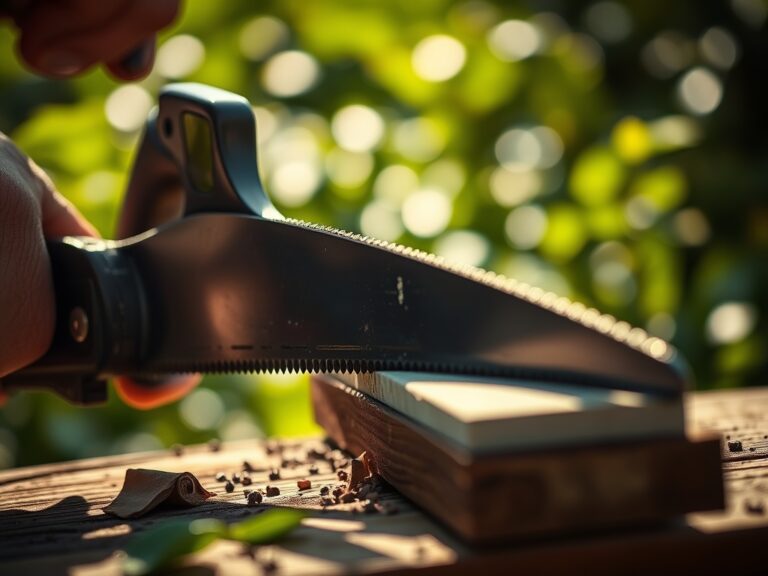
Precision maintenance is the hallmark of the professional horticulturist. Deliver exactly 1.5 inches of water per week at the drip line; avoid wetting the foliage to prevent the germination of fungal spores. Use a soil moisture meter to verify that the root zone at a 6-inch depth remains consistently moist but not saturated. Tools must be maintained with the same rigor as the plants. After every use, clean your bypass pruners with a 10 percent bleach solution or isopropyl alcohol to prevent the cross-contamination of viral pathogens. Sharpen blades with a diamond whetstone at a 20-degree angle to ensure clean cuts that callouse quickly. Store all metal implements in a kit lined with vapor-corrosion inhibitors to prevent rust during periods of high humidity.
The Yield:
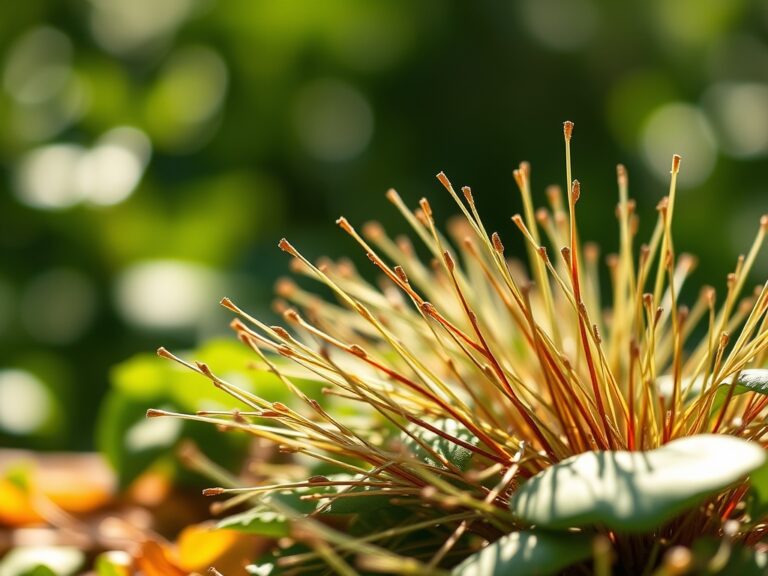
Harvesting is the culmination of the plant's life cycle and requires precise timing to capture peak sugar or essential oil content. For most vegetables, harvest in the early morning when turgor pressure is at its maximum and the plant is cool. Use a sharp hori-hori knife to sever the stem without tearing the vascular tissue. Post-harvest, immediately move the produce to a shaded, cool environment to reduce the rate of respiration. For flowers, a "pulse" treatment in a solution of citric acid and sugar can extend vase life by maintaining a low pH in the water, which prevents bacterial blockage of the stem's xylem.
FAQ:
What is the best way to store hand tools?
Clean tools with isopropyl alcohol to remove sap and pathogens. Store them in a dry, ventilated kit. Apply a thin layer of mineral oil to carbon steel blades to prevent oxidation and maintain a sharp edge for precise pruning.
How do I choose a tool kit size?
Select a kit based on your acreage and tool inventory. A professional kit should house essential measuring devices like pH probes and moisture meters alongside cutting tools. Modular systems allow for expansion as your collection of specialized implements grows.
Why is tool sterilization important?
Unsterilized tools act as vectors for pathogens like tobacco mosaic virus or fusarium wilt. Cleaning your bypass pruners between different plants prevents the systemic spread of disease throughout your garden, protecting the health of the entire botanical collection.
How often should I calibrate my soil meters?
Calibrate digital pH and EC meters every thirty days or at the start of each new planting phase. Use standardized buffer solutions to ensure accuracy. Precise data is essential for maintaining the correct chemical balance within the rhizosphere.