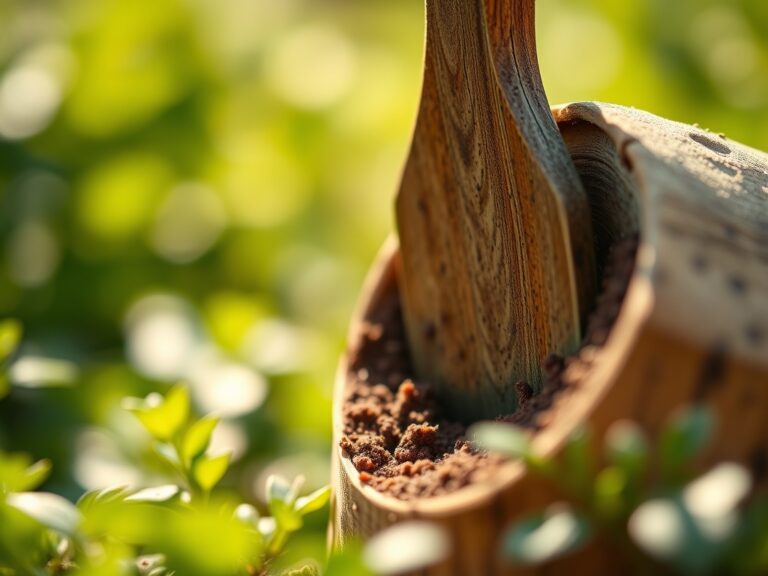
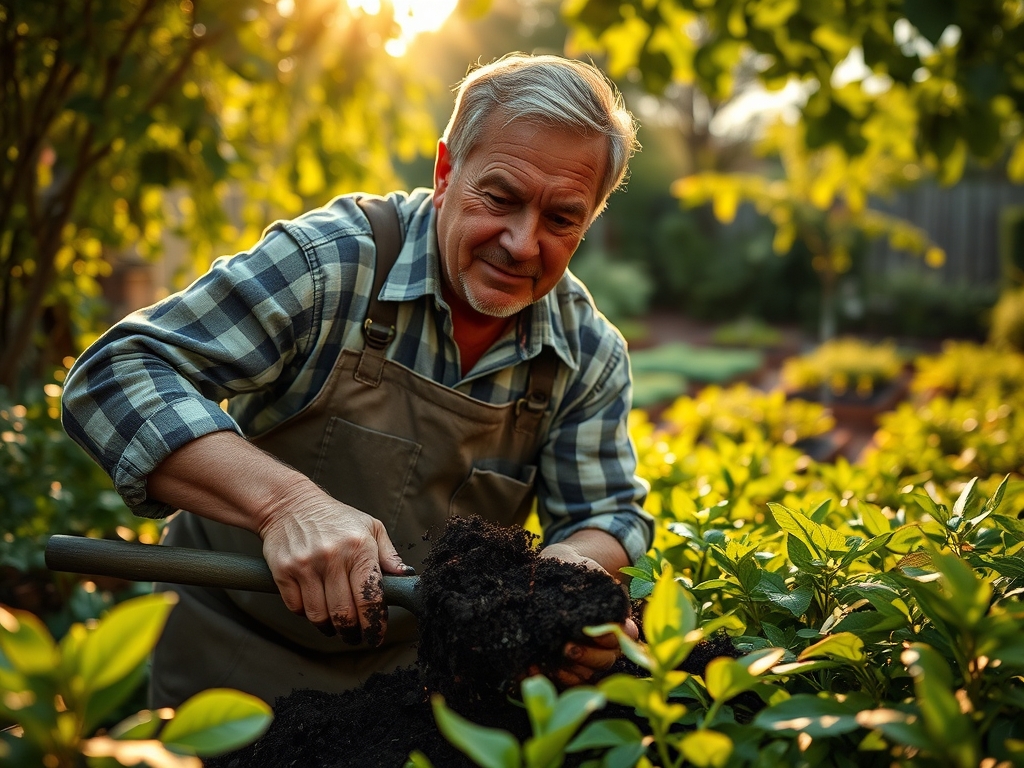
8 Tips to Use a Digging Shovel for Site Preparation
The smell of damp earth after a heavy rain signals the release of geosmin; a metabolic byproduct of Actinobacteria that indicates a healthy soil microbiome. When the turgor pressure of a plant is high, the cells are rigid and the stems are upright. Maintaining this state requires a substrate that facilitates both gas exchange and water retention. Using a shovel for garden prep is the foundational physical act that determines the success of the rhizosphere. A sharp blade must slice through compacted layers to prevent root girdling and ensure that oxygen reaches the microbial communities essential for nutrient cycling. Without proper mechanical aeration, even the most expensive amendments will fail to penetrate the soil profile. The shovel acts as the primary tool for structural modification; it breaks the surface tension of clay-heavy soils and incorporates organic matter into the top six to twelve inches of the profile. This depth is critical because eighty percent of a plant's feeder roots reside within this upper layer where cation exchange is most active.
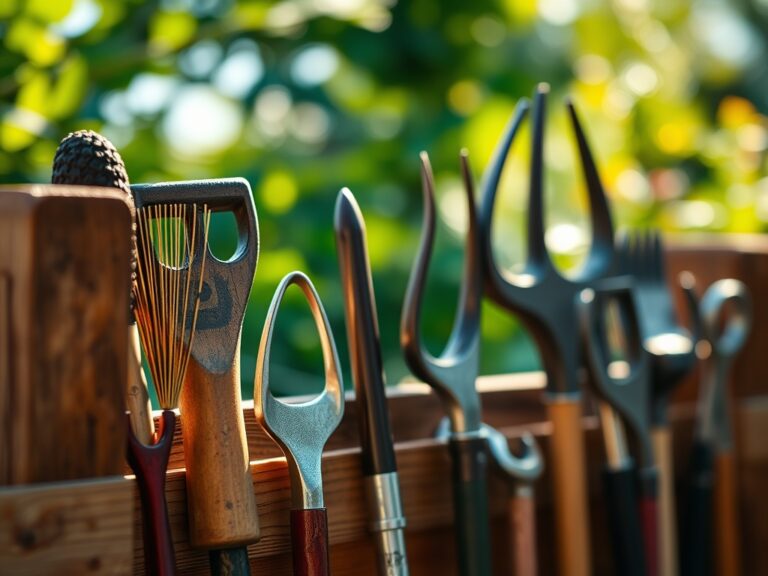
Materials:
Site preparation requires a substrate that achieves a **pH between 6.2 and 6.8** for optimal nutrient bioavailability. In this range, macronutrients like Nitrogen, Phosphorus, and Potassium are most soluble. For a standard vegetable or floral bed, the ideal NPK ratio for pre-planting amendment is **5-10-10** to encourage root development without triggering excessive vegetative growth. The physical texture should be a **friable loam**; a mixture of approximately 40% sand, 40% silt, and 20% clay. This balance ensures a high **Cation Exchange Capacity (CEC)**, allowing the soil to hold onto positively charged ions like Calcium (Ca2+) and Magnesium (Mg2+). If the soil feels gritty and fails to hold a ball shape when squeezed, it lacks sufficient organic colloids. If it is slick and sticky, the clay content is too high, which will lead to anaerobic conditions and root rot.
Timing:
The window for using a shovel for garden prep is dictated by the USDA Hardiness Zones and the local frost-free date. In Zones 5 through 7, primary site disturbance should occur at least three weeks before the last predicted frost. This allows the soil structure to settle and microbial populations to stabilize after the disruption. The biological clock of the plant is sensitive to soil temperature; most temperate species require a consistent 55 degrees Fahrenheit (12.7 Celsius) at a four-inch depth to break dormancy. Preparing the site too early, while the soil is still saturated with meltwater, causes permanent compaction of the pore spaces. This destroys the capillary action needed for moisture wicking. Wait until a handful of soil crumbles when squeezed before beginning any heavy digging.
Phases:
Sowing
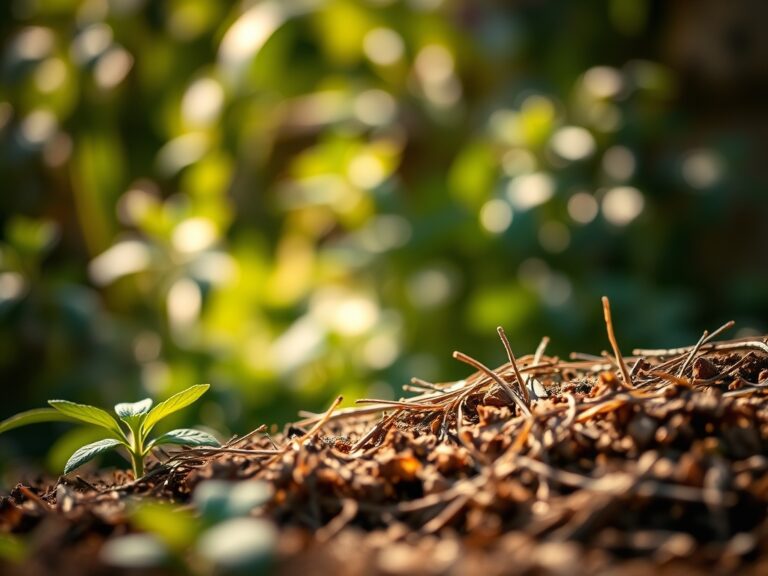
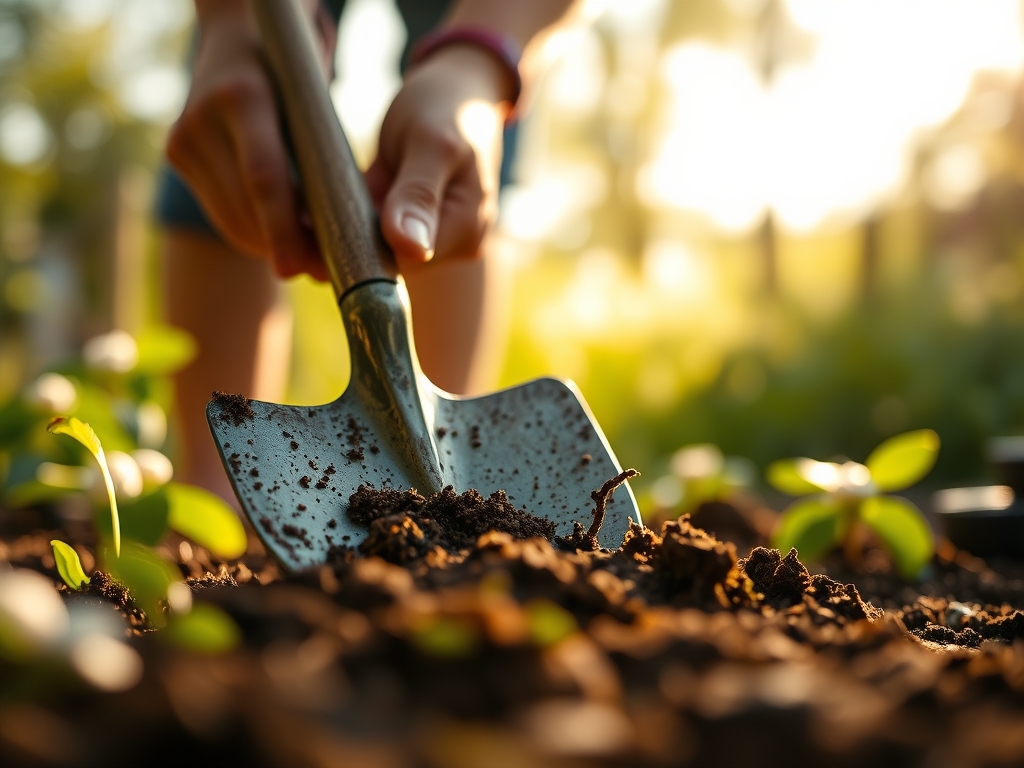
When preparing a bed for direct seeding, use the shovel to turn the soil to a depth of 10 inches. Break up large clods to create a fine tilth. This ensures that small seeds have maximum contact with the soil particles, which is necessary for imbibition; the process where the seed absorbs water to trigger germination.
Pro-Tip: Avoid over-tilling the surface. Excessive pulverization destroys the soil aggregates that house mycorrhizal fungi. These fungi form a symbiotic relationship with roots, effectively increasing the surface area for phosphorus uptake by up to 100 times.
Transplanting
For established nursery stock, the hole must be two times wider than the root ball but no deeper. Use the shovel to scarify the sides of the hole. This prevents the "pot-bound" effect where roots circle the hole rather than penetrating the native soil.
Pro-Tip: When placing the plant, ensure the root flare is visible at the soil line. Deep planting causes auxin suppression in the lower stem, leading to stunted growth and increased susceptibility to fungal pathogens at the crown.
Establishing
After the initial planting, use the shovel to create a shallow basin or "well" around the perimeter of the root zone. This directs water toward the primary root mass. Mulch the area with 3 inches of organic material to regulate soil temperature and prevent moisture evaporation.
Pro-Tip: Maintaining consistent moisture during the first 14 days is vital for preventing transplant shock. This period is when the plant redirects energy from foliage to root elongation to re-establish turgor pressure.
The Clinic:
Physiological disorders often stem from poor site prep or drainage issues.
- Symptom: Interveinal chlorosis (yellowing leaves with green veins) on new growth.
- Solution: This indicates an Iron deficiency, often caused by a pH above 7.0. Use the shovel to incorporate elemental sulfur to lower the pH.
- Symptom: Blossom end rot on fruit.
- Solution: This is a Calcium deficiency usually triggered by inconsistent moisture levels. Ensure the soil has a high CEC by adding composted organic matter.
- Symptom: Purpling of lower leaves.
- Solution: Phosphorus deficiency. This often occurs in cold, wet soils where root activity is low. Improve drainage by incorporating coarse grit or perlite.
Fix-It for Nitrogen Chlorosis: If the entire plant is pale green or yellow, apply a high-nitrogen fertilizer (NPK 10-0-0) and use a soil moisture meter to ensure the nutrients are being leached into the root zone without over-saturating the soil.
Maintenance:
Post-prep maintenance requires precision. Most garden beds require 1.5 inches of water per week delivered directly at the drip line. Avoid overhead irrigation to minimize the risk of foliar diseases like powdery mildew. Use a hori-hori knife for precision weeding around delicate root systems to avoid disturbing the soil structure. For woody perennials, use bypass pruners to remove any dead or crossing branches, which improves airflow and light penetration. Monitor the soil regularly with a soil moisture meter; the probe should be inserted at least 6 inches deep to get an accurate reading of the moisture available to the feeder roots.
The Yield:
Harvesting is the final stage of the horticultural cycle. For leafy greens, harvest in the early morning when turgor pressure is at its peak; this ensures the longest shelf life. For fruiting crops, wait for the abscission layer to form, which is the point where the fruit naturally begins to detach from the stem. Post-harvest, immediately move the produce to a cool, shaded environment to slow the rate of senescence (biological aging). Removing field heat quickly preserves the sugars and acids within the plant tissue, maintaining that day-one freshness.
FAQ:
What is the best shovel for heavy clay?
A sharp, round-point digging shovel with a forged steel blade is best. The pointed tip concentrates force to break through compacted clay layers, while the curved blade helps lift and turn heavy, dense soil aggregates effectively.
How deep should I dig for a new garden bed?
For most annuals and vegetables, a depth of 10 to 12 inches is sufficient. This provides enough room for the majority of the rhizosphere to expand without hitting compacted subsoil, ensuring proper drainage and oxygen access.
Should I add fertilizer while digging?
Yes, but only based on a soil test. Incorporating a balanced, slow-release fertilizer into the top 6 inches during the digging process ensures that nutrients are distributed throughout the root zone rather than sitting on the surface.
How do I prevent my shovel from rusting?
Clean the blade after every use to remove soil and moisture. Wipe the metal with a rag soaked in mineral oil or linseed oil. Store the tool in a dry area, preferably hanging, to prevent dulling the edge.
Can I dig when the soil is wet?
No. Digging in saturated soil collapses the macropores and micropores, leading to severe compaction. This prevents gas exchange and stunts root growth. Wait until the soil crumbles easily in your hand before using a shovel.