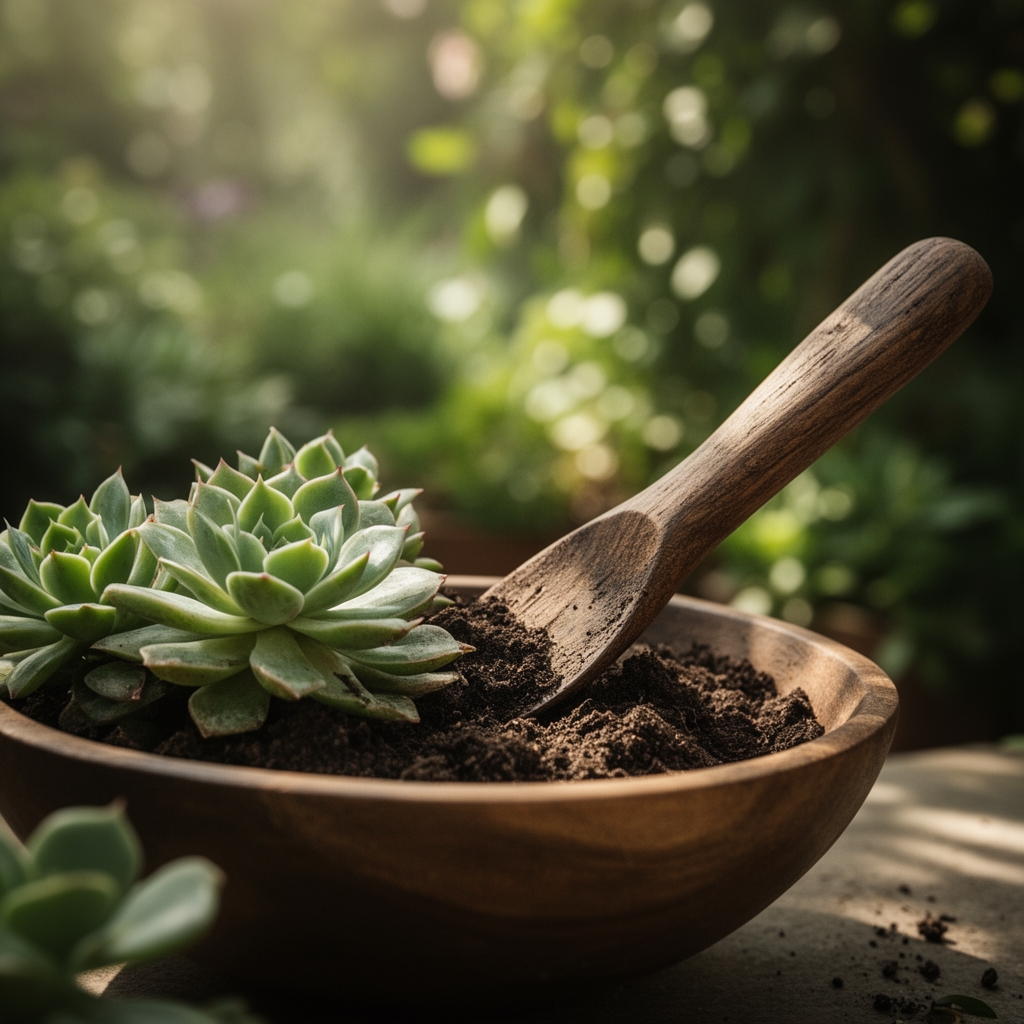
6 Steps to Repot a Succulent into a Decorative Bowl
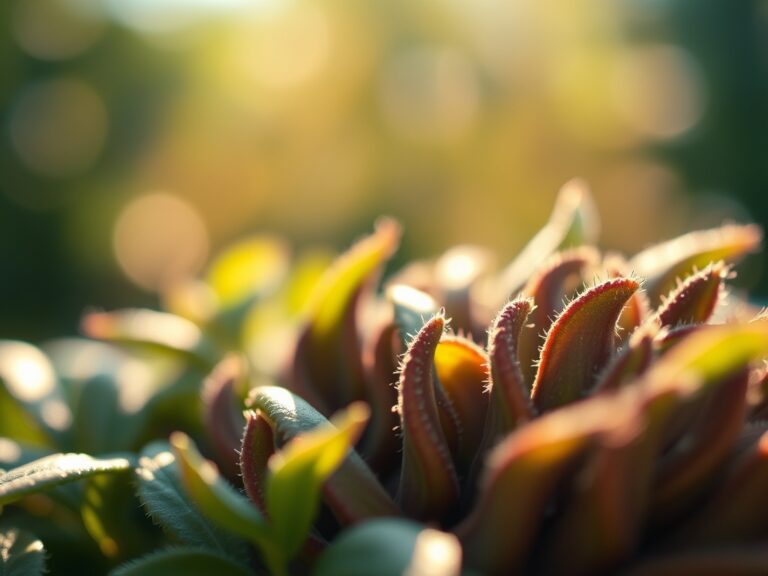
The ceramic bowl sits empty on your potting bench, waiting for the compact rosettes of Echeveria or the trailing stems of Sedum that will transform it into living sculpture. The steps for repotting a succulent into a bowl differ from standard container gardening because drainage, root geometry, and water retention must balance within a shallow, often non-draining vessel. The process demands precision in substrate composition, seasonal timing, and root handling to prevent rot while establishing a stable ecosystem in miniature.
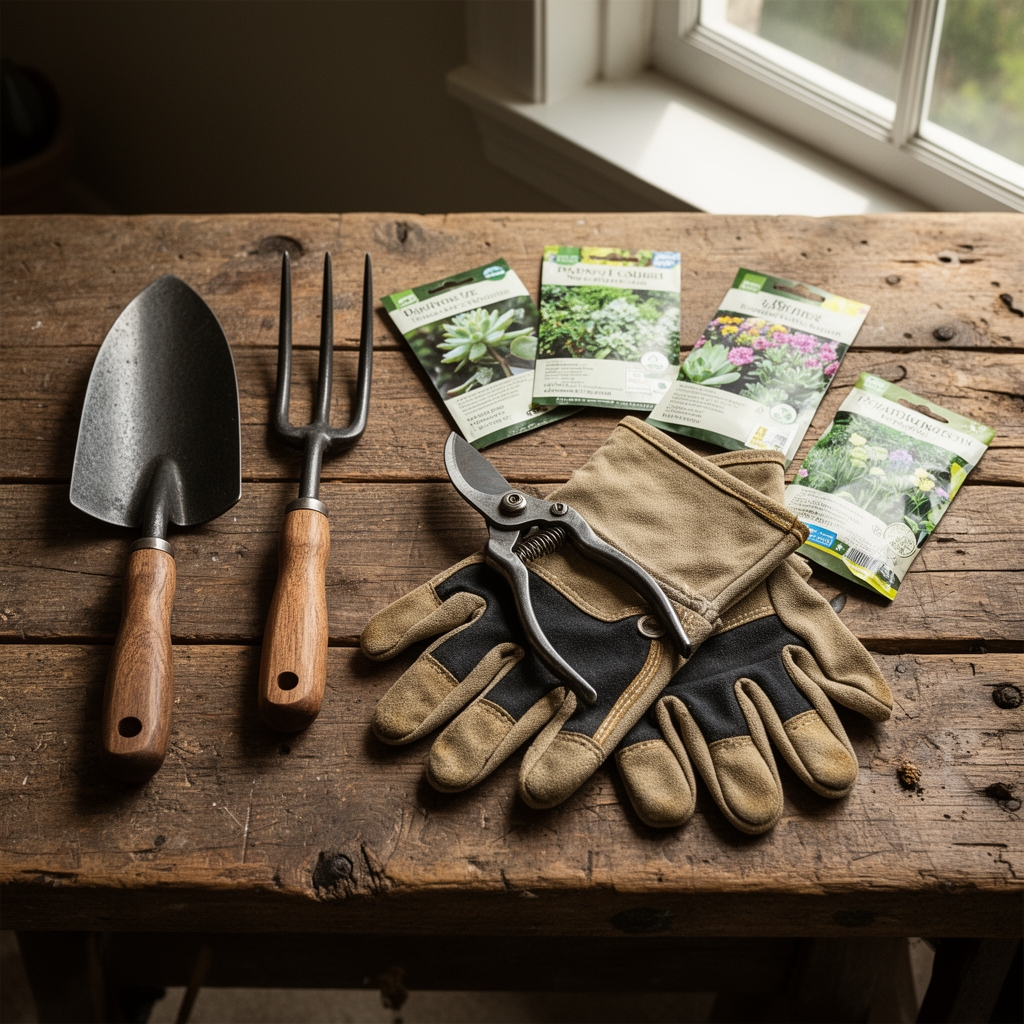
Materials
Select a decorative bowl between 4 and 12 inches in diameter. Ceramic, concrete, and terra cotta work best due to their porosity, which wicks excess moisture from the substrate. If the bowl lacks drainage holes, plan for a 1-inch gravel layer at the base using pumice or crushed granite with particle sizes between 0.25 and 0.5 inches.
The substrate must be coarse-textured with minimal organic matter. Combine three parts inorganic material (pumice, perlite, or coarse sand with grain diameter above 1 mm) with one part potting mix rated at pH 6.0 to 7.0. Avoid fertilized blends. If amendment is necessary, use a balanced 4-4-4 organic meal at one-quarter the recommended rate, as succulents adapted to oligotrophic soils demonstrate root burn when nitrogen exceeds 40 ppm. The cation exchange capacity of this mix should remain below 10 meq/100g to prevent waterlogging.
Gather activated charcoal granules (0.5 cups per 6-inch bowl) to sequester organic acids and inhibit anaerobic bacterial growth. Mycorrhizal fungi inoculant is optional but improves phosphorus uptake in genera such as Crassula and Haworthia. Prepare 70% isopropyl alcohol for sterilizing shears and a soft brush for root debris removal.
Timing
Execute repotting during the active growth phase. For USDA Hardiness Zones 9 through 11, late March through May offers soil temperatures between 65°F and 75°F, which stimulates auxin distribution and lateral root formation. In Zones 7 and 8, delay until two weeks after the last frost date, typically mid-April to early May, when nighttime temperatures stabilize above 50°F.
Avoid repotting during summer dormancy (July through August) in hot-summer climates or winter dormancy (November through February) in cold-winter regions. Succulents repotted during dormancy exhibit suppressed root regeneration and increased susceptibility to Fusarium wilt and crown rot pathogens.
Phases
Step 1: Remove and Inspect
Withhold water for 7 days before repotting to reduce root fragility. Invert the nursery pot and tap the rim to release the root ball. Examine roots for mealybugs (white, waxy clusters at root nodes) and black, mushy tissue indicating Pythium infection. Sterilize shears and remove damaged roots with cuts at 45-degree angles, 0.25 inches above healthy tissue.
Pro-Tip: Dip cut surfaces in powdered sulfur to create a hydrophobic barrier against fungal spores.
Step 2: Construct the Drainage Layer
Place a 1-inch layer of pumice or gravel at the bowl's base. Spread 0.5 inches of activated charcoal granules over the stone layer. This dual-phase system creates an air gap that reduces substrate saturation by 30% compared to soil-only bowls.
Step 3: Position and Anchor
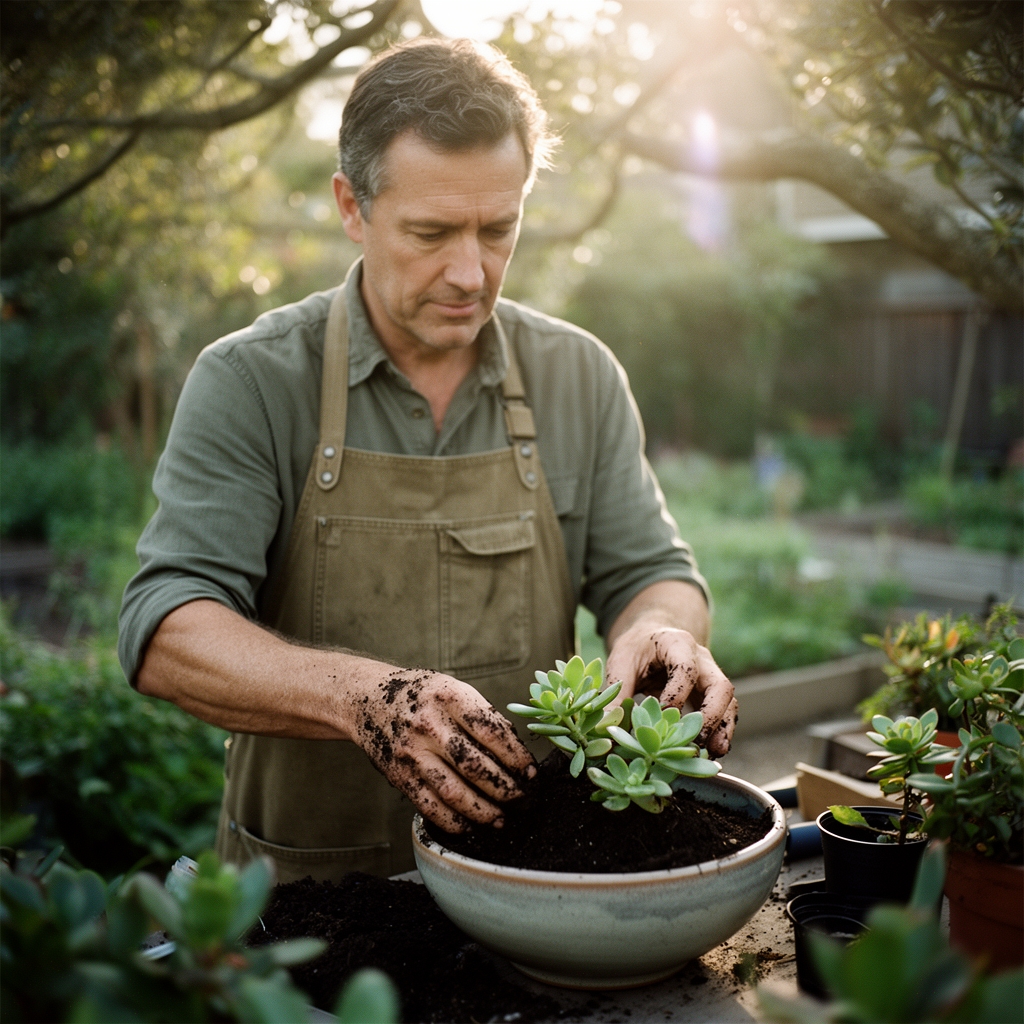
Add substrate to fill the bowl two-thirds full. Create a shallow depression matching the root ball's diameter. Position the succulent so the crown (where stem meets roots) sits 0.5 inches below the bowl's rim. This elevation prevents water accumulation around the meristem, the primary site of rot initiation.
Pro-Tip: For multi-plant arrangements, space rosettes 1.5 times their mature diameter apart to allow air circulation and prevent etiolation.
Step 4: Backfill and Settle
Add substrate around the root ball, tapping the bowl's sides to eliminate air pockets. Avoid compressing the mix; maintain 40% pore space for gas exchange. The substrate surface should remain loose enough that a finger inserted to the first knuckle encounters no resistance.
Step 5: Top-Dress
Apply a 0.5-inch layer of crushed granite, fine gravel, or decomposed granite over the substrate. This mulch layer reduces surface evaporation by 25%, moderates soil temperature fluctuations of up to 10°F, and prevents basal leaf contact with moist soil.
Pro-Tip: Incorporate 1 tablespoon of mycorrhizal inoculant into the substrate beneath the root ball to colonize feeder roots within 14 days.
Step 6: Cure and Acclimate
Place the bowl in bright, indirect light (2,000 to 3,000 foot-candles) for 5 to 7 days. Withhold water during this period to allow root wounds to suberize and form protective callus tissue. After the curing window, transition the bowl to its permanent location with appropriate light exposure for the species.
Troubleshooting
Symptom: Leaves wrinkle and soften within one week of repotting.
Solution: Root damage exceeded 30% of total root volume. Reduce light intensity to 1,000 foot-candles and mist leaves lightly every 48 hours until new root hairs emerge (typically 10 to 14 days).
Symptom: Brown, crispy leaf tips appear on lower leaves.
Solution: Salt accumulation from municipal water (TDS above 400 ppm). Flush substrate with distilled water at twice the bowl's volume, then switch to rainwater or reverse osmosis water.
Symptom: Leaves stretch and pale within two weeks.
Solution: Insufficient light triggers etiolation. Move bowl to a location receiving at least 4 hours of direct morning sun or supplement with a grow light delivering 100 to 150 µmol/m²/s.
Symptom: Black spots with yellow halos spread from lower to upper leaves.
Solution: Alternaria fungal infection from overhead watering. Remove affected leaves, apply copper fungicide at 0.5% concentration, and water only at soil level.
Maintenance
Water when the substrate dries completely to a depth of 2 inches, typically every 14 to 21 days in spring and fall, every 7 to 10 days in summer, and every 28 to 35 days in winter. Apply water at the substrate edge, delivering 0.25 cups per 6 inches of bowl diameter. Avoid wetting leaves or the crown.
Fertilize once in early spring with a liquid fertilizer diluted to one-quarter strength (achieving an N-P-K ratio near 2-4-4). Excess nitrogen produces weak, water-filled tissues prone to rot.
Rotate the bowl 90 degrees weekly to ensure even light exposure and prevent phototropic bending. Prune dead leaves at the base using sterilized shears to improve air circulation.
FAQ
Can I use a bowl without drainage holes?
Yes, but you must construct a 1.5-inch inorganic drainage layer and reduce watering frequency by 40%. Monitor substrate moisture with a probe to prevent saturation below the root zone.
How deep should the bowl be?
Minimum 3 inches for shallow-rooted genera like Echeveria and Sempervivum, 5 inches for deep-rooted species like Aloe and Agave.
When should I repot again?
Every 2 to 3 years, or when roots fill 80% of available substrate volume. Signs include water running straight through the bowl or stunted growth despite adequate light.
Can I mix different succulent species?
Yes, if they share water and light requirements. Pair Crassula ovata with Sedum morganianum, but avoid combining Lithops (minimal water) with Kalanchoe (moderate water).
Why are my succulent's leaves falling off after repotting?
Lower leaf abscission is normal as the plant redirects resources to root regeneration. Loss of more than 20% of leaves indicates transplant shock from root damage or insufficient curing time.