9 Timing Steps to Use a Soil Thermometer for Germination
Using a soil thermometer for indoor seeds transforms guesswork into precision. The difference between a tray of failed germination and a thriving seedling bench often comes down to three degrees Fahrenheit at root level. Professional growers measure substrate temperature at 2-inch depth every morning before supplemental heat kicks in, logging data to identify microclimates within propagation areas. Home gardeners who adopt this practice see germination rates climb from 60% to 95% for warm-season crops. The tool costs less than a bag of premium seed-starting mix, yet it delivers information that artificial lighting and humidity domes cannot provide. Using a soil thermometer for indoor seeds eliminates the most common cause of damping-off and sluggish emergence.
Materials
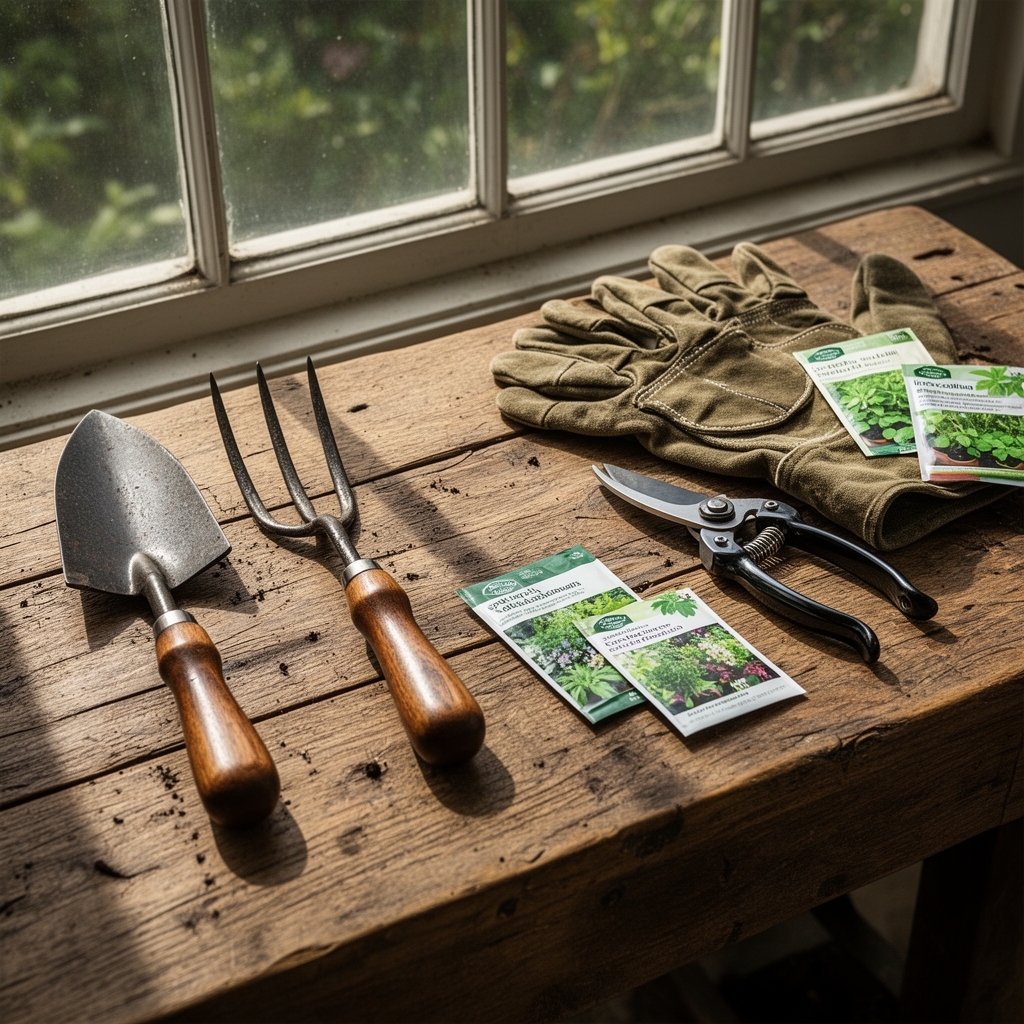
Select a digital probe thermometer with a stainless-steel stem at least 6 inches long and 0.25-second response time. Analog dial thermometers lag by 30 seconds, which matters when you are sampling multiple trays in sequence. For substrate, use a soilless mix with low cation exchange capacity: 70% peat or coco coir, 20% perlite, 10% vermiculite. This ratio holds moisture without compaction. pH should stabilize between 5.5 and 6.2 for most vegetables and herbs. Amend with dolomitic lime at 2 tablespoons per gallon if starting with raw peat. For fertility, incorporate a 4-4-4 organic seed-starter meal at half the label rate, or omit nitrogen entirely until true leaves emerge. Excess ammonium nitrogen before cotyledon expansion invites Pythium and Rhizoctonia. Bottom-heat mats rated at 10 to 20 watts per square foot provide the thermal boost, but only a thermometer confirms delivery at the root zone. Mycorrhizal fungi inoculant can be dusted into cells at 0.1 gram per 72-cell tray to colonize radicles within 48 hours of emergence.
Timing
Hardiness zones dictate outdoor transplant windows, but indoor seed-starting calendars run six to twelve weeks earlier. In Zone 5, tomatoes and peppers go into trays by mid-March for a May 15 frost-free date. Zone 7 gardeners start the same crops in early February. Soil temperature inside a home remains stable near 68°F in most rooms, but basements drop to 58°F and sunny windowsills spike to 78°F by afternoon. Measure at the same hour daily, ideally 6:00 a.m. before solar gain or HVAC cycling skews readings. Germination begins when enzyme systems activate. Lettuce and brassicas wake at 40°F, but peak emergence occurs at 65°F to 70°F. Tomatoes stall below 60°F and suffer above 85°F. Peppers, eggplants, and cucurbits demand 75°F to 80°F for uniform stands. Log seven consecutive days of stable readings before sowing to confirm your propagation station holds target ranges.
Phases

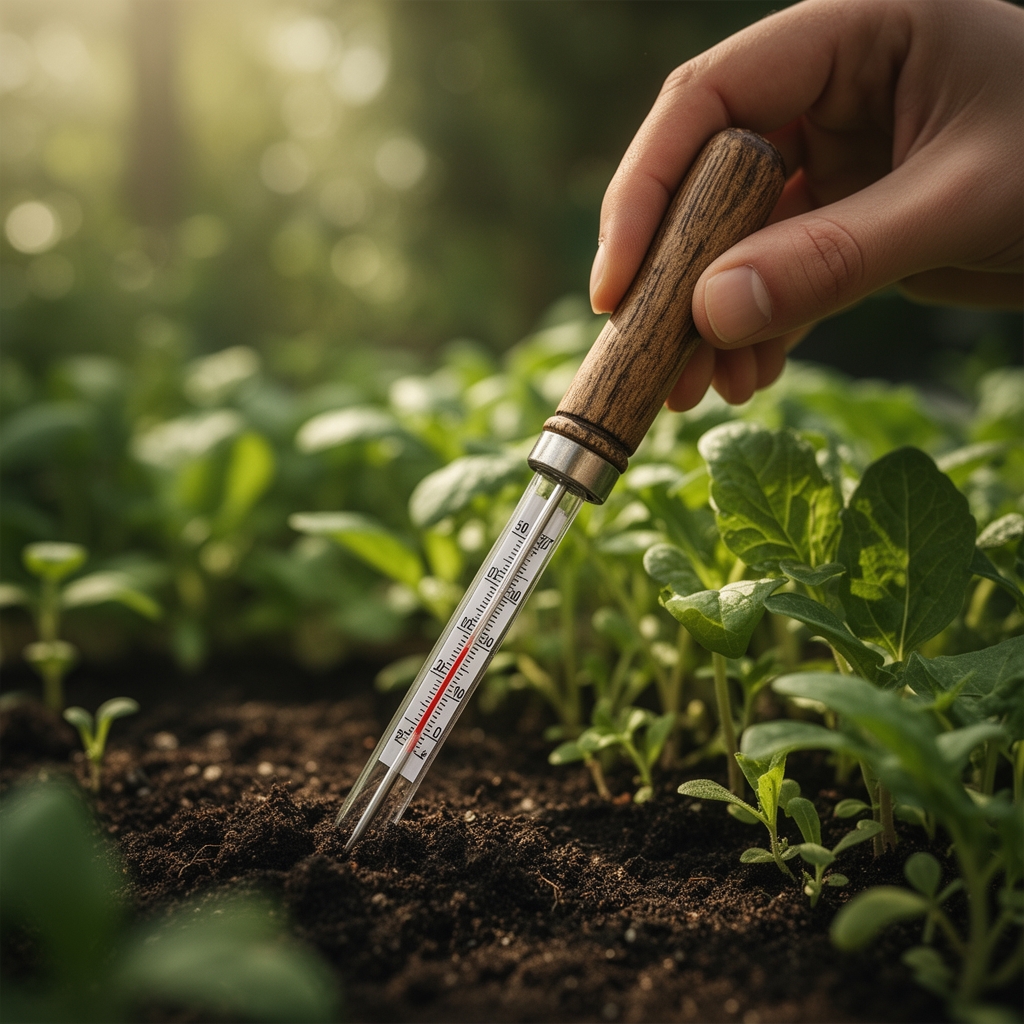
Sowing: Insert the thermometer probe to 2 inches in the center of the tray after filling cells and watering to saturation. Wait five minutes for thermal equilibrium. Record the reading. If substrate reads below target, place bottom-heat mats on a thermostat controller. Recheck in one hour. Adjust mat output until you achieve the desired range. Sow seeds at twice their diameter in depth. Cover trays with humidity domes to retain moisture and heat. Recheck temperature morning and evening for the first 72 hours. Most warm-season seeds germinate within five to seven days at optimum temperature but take fourteen days at suboptimal ranges. Pro-Tip: Apply a dusting of Trichoderma harzianum spores at 1 gram per square foot to outcompete damping-off pathogens during the vulnerable hypocotyl stage.
Transplanting: Once cotyledons fully expand and the first true leaf appears, night temperatures can drop to 60°F for cool-season crops or 65°F for warm-season types. Measure soil temperature in the up-pot container or garden bed one week before transplanting. Outdoor soil lags air temperature by seven to ten days in spring. A bed that reads 52°F will stress tomato transplants even if daytime air hits 70°F. Roots halt auxin distribution below critical thresholds, delaying flowering by two weeks. Pro-Tip: Harden off seedlings by exposing them to outdoor soil temperatures for two hours daily over five days, monitoring substrate with the thermometer to ensure no shock below 50°F.
Establishing: After transplanting, probe soil at root-ball depth weekly. Mulch raises soil temperature by 3°F to 5°F in spring and lowers it by the same margin in summer. In the first ten days post-transplant, root elongation is exponential if temperature holds steady. Fluctuations greater than 10°F between day and night suppress feeder-root proliferation and reduce nutrient uptake efficiency. Pro-Tip: Irrigate in early morning so midday readings reflect natural soil thermal mass rather than evaporative cooling from wet surface layers.
Troubleshooting
Symptom: Seeds germinate but collapse at soil line within 48 hours. Solution: Damping-off fungi thrive in substrates above 75°F with high moisture. Lower mat temperature by 5°F and increase air circulation with a low-speed fan.
Symptom: Germination takes three times longer than packet estimate. Solution: Substrate temperature is below enzyme activation threshold. Confirm thermometer placement at seed depth, not surface. Increase bottom heat or relocate trays to warmer microclimate.
Symptom: Seedlings develop purple undersides on leaves. Solution: Phosphorus uptake stalls below 55°F. Raise soil temperature to 65°F minimum. Foliar spray with a 1-1-1 liquid fertilizer diluted to one-quarter strength until roots recover function.
Symptom: Algae forms green film on substrate surface. Solution: Surface stays too wet and warm. Reduce watering frequency and lower heat mat setting by 3°F.
Symptom: Cotyledons yellow within one week of emergence. Solution: Nitrogen deficiency or root-zone temperature above 85°F, which volatilizes ammonium. Confirm temperature, then apply half-strength 3-1-2 liquid feed.
Maintenance
Water trays from below using capillary mat systems or by pouring into reservoirs beneath cells. Allow top 0.25 inch to dry between irrigations to prevent anaerobic conditions. Once true leaves appear, apply 1 inch of water per week, measured by weighing trays before and after irrigation. A 72-cell tray weighs 3 pounds dry and 5.5 pounds at field capacity. Fertilize every ten days with a balanced 5-5-5 liquid emulsion at half strength, delivering 50 ppm nitrogen per application. Monitor soil temperature during each fertigation event. Cold water (below 60°F) shocks roots and closes stomata for up to six hours. Warm nutrient solution to 65°F before application.
FAQ
What is the ideal soil temperature for tomato seed germination?
75°F to 80°F yields emergence in five to seven days. Below 60°F, germination exceeds fourteen days and invites fungal infection.
How deep should I insert the thermometer probe?
Insert to 2 inches for seed trays, 3 inches for 4-inch pots, and 4 inches for outdoor beds. Measure at root-ball center, not periphery.
Can I use a meat thermometer instead?
Yes, if the probe is at least 5 inches long and reads to 0.5°F accuracy. Instant-read models work for spot checks but not continuous monitoring.
Do I need a thermometer if I use a heat mat?
Absolutely. Heat mats fluctuate based on ambient air, mat age, and tray insulation. Only direct substrate measurement confirms root-zone temperature.
When should I stop using bottom heat?
Remove mats when true leaves appear and stems thicken. Excess heat after establishment diverts energy to foliage instead of root development.