6 Steps to Install a Decorative Plant Shelving Unit
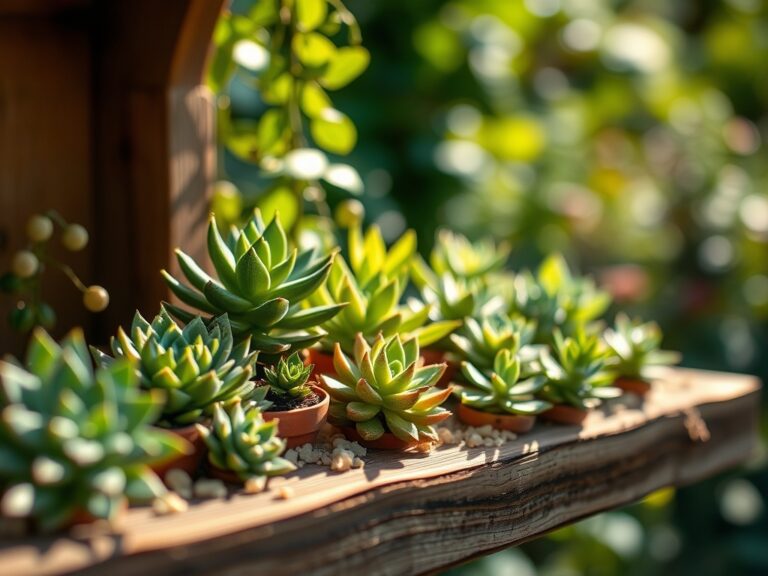
The scent of potting mix and the weight of terra-cotta pots demand order. A well-planned shelving unit transforms chaos into a working vertical ecosystem where light gradients, humidity zones, and root systems coexist. The steps for installing a plant shelving unit require precision in anchor placement, load calculation, and microclimate optimization. Each shelf becomes a distinct growing environment based on proximity to windows and distance from heat sources.
Materials
Select pressure-treated pine or cedar lumber rated for 50 pounds per linear foot. Metal brackets require Grade 5 or higher zinc-plated hardware. Wall anchors must match substrate: toggle bolts for drywall, masonry screws for concrete, and lag bolts for studs.
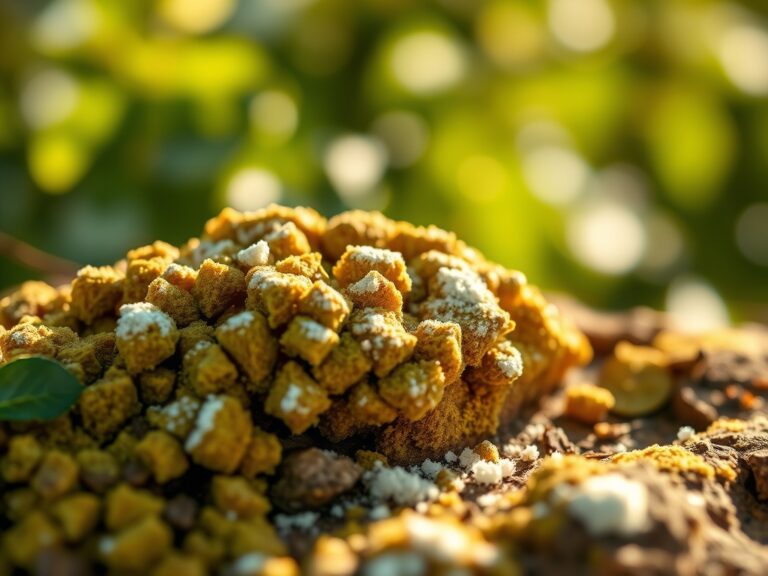
For plant nutrition, stock 4-4-4 organic fertilizer with kelp meal for established specimens. Younger transplants benefit from 3-1-2 ratios that prioritize nitrogen for foliar growth. Keep liquid fish emulsion at 5-1-1 for fast-acting nitrogen supplementation during active growth phases.
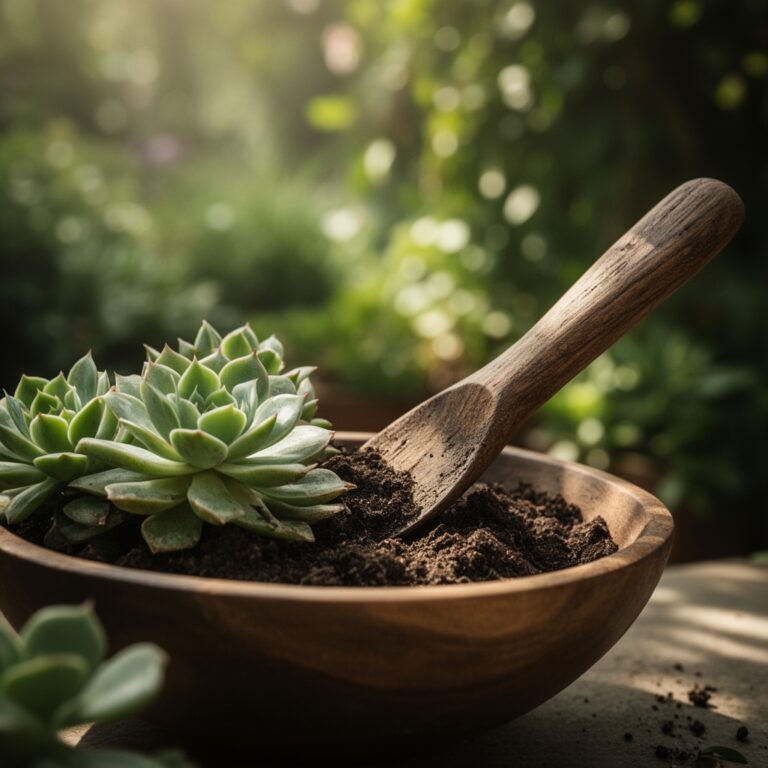
Substrate selection affects cation exchange capacity. A base mix of 40% pine bark fines, 30% peat moss, and 30% perlite provides drainage while retaining nutrients. Amend with dolomitic limestone to buffer pH between 6.0 and 6.8 for most ornamental species. Epiphytic plants require coarse orchid bark with minimal peat content.
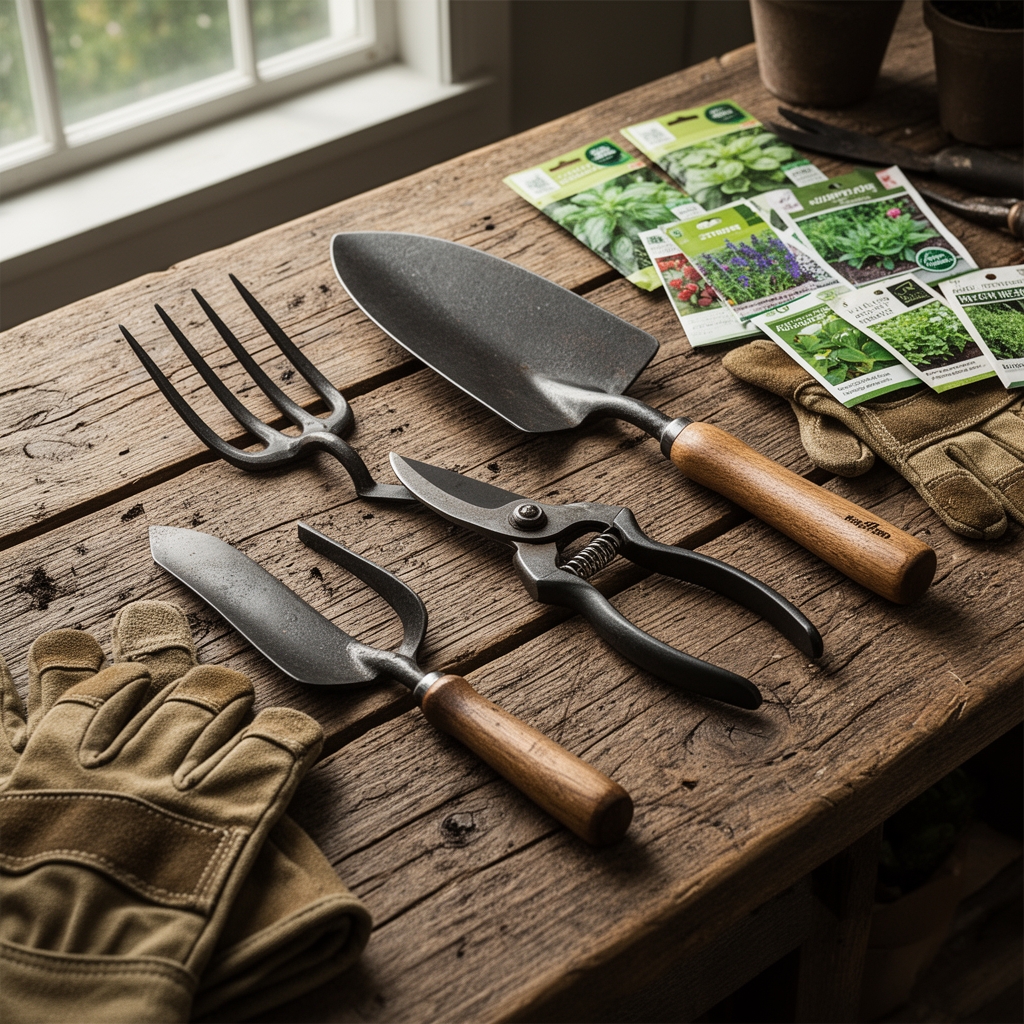
Include a digital level, stud finder, drill with masonry and wood bits, tape measure, and pencil. A laser level eliminates human error in shelf alignment across spans exceeding 36 inches.
Timing
Hardiness Zones 3 through 7 present optimal installation windows between late April and early June when indoor heating systems cycle off. Relative humidity stabilizes above 40% as outdoor temperatures moderate. Zones 8 through 11 allow year-round installation but require attention to summer heat stress when moving established plants.
Avoid installation during periods of extreme outdoor cold. Thermal shock damages tropical species when cold drafts enter through open doors during construction. Plan work during stable weather patterns with outdoor temperatures within 15 degrees Fahrenheit of indoor baseline.
Coordinate installation with plant dormancy cycles. Deciduous species tolerate relocation stress better when leafless between November and March. Evergreen tropicals prefer moves during their slow-growth period in late winter before auxin distribution accelerates in spring.
Phases
Phase 1: Wall Assessment and Layout
Locate studs at 16-inch centers using a stud finder. Mark centerlines with pencil. Calculate total load: combine empty shelf weight, pot weight, saturated soil weight, and plant biomass. A standard 36-inch shelf with six 8-inch pots in clay containers loaded with moist substrate exceeds 45 pounds.
Transfer measurements to wall surface. Use the digital level to establish a true horizontal baseline. Mark bracket positions at both ends and center for spans over 30 inches. Verify clearances below each shelf: 14 inches minimum for 6-inch pots, 18 inches for 10-inch pots with trailing growth habits.
Pro-Tip: Pre-drill pilot holes 1/16 inch smaller than screw diameter to prevent lumber splitting and maintain hold strength in studs.
Phase 2: Bracket Installation
Drill into marked stud locations at perpendicular angles. Insert lag bolts through bracket mounting holes and turn clockwise until bracket seats flush against wall surface. Test each bracket with 60 pounds of downward force before proceeding.
For drywall installations between studs, drill holes sized for toggle bolt wings. Insert wings through drywall, ensure they deploy behind the panel, then tighten until bracket compresses against wall surface. Toggle bolts distribute load across greater drywall area than standard anchors.
Cut shelving boards to length with 1/4-inch clearance on each end. Sand cut edges to 120 grit. Apply polyurethane sealant to end grain to prevent moisture wicking from pot drainage.
Pro-Tip: Install brackets with a 2-degree upward angle at the wall. This prevents pots from sliding forward during watering and improves drainage toward the back edge.
Phase 3: Shelf Placement and Plant Arrangement
Position boards on installed brackets. Secure with 1.5-inch wood screws driven through pre-drilled countersink holes into bracket tops. Space screws 8 inches apart along bracket length.
Arrange plants by light requirements. Top shelves receive maximum photosynthetically active radiation. Place high-light species like Crassula ovata and Sansevieria trifasciata within 12 inches of the ceiling. Lower shelves suit shade-tolerant genera: Aspidistra, Aglaonema, and Epipremnum.
Consider root respiration needs. Tight spacing reduces air circulation and elevates ethylene concentrations. Maintain 3 inches between pot rims for adequate gas exchange and fungal disease prevention.
Pro-Tip: Inoculate transplant root balls with mycorrhizal fungi granules at 1 teaspoon per 6-inch pot during placement to improve phosphorus uptake efficiency by 40%.
Troubleshooting
Symptom: Shelf sag exceeding 1/4 inch at center span.
Solution: Add a center bracket or reduce load by 30%. Redistribute heavy clay pots to end positions where structural support is greatest.
Symptom: Yellow lower leaves on top-shelf plants with brown margins.
Solution: Light intensity exceeds tolerance. Relocate species to lower shelves or install a 30% shade cloth 6 inches above shelf surface.
Symptom: White powdery coating on leaf surfaces (powdery mildew).
Solution: Increase spacing between pots to 4 inches. Reduce relative humidity below 60% with increased ventilation. Apply sulfur-based fungicide at 0.5 ounces per gallon every 7 days.
Symptom: Fungus gnats emerging from soil surface.
Solution: Allow top 2 inches of substrate to dry between waterings. Apply Bacillus thuringiensis israelensis drench at label rates. Top-dress with 1/2 inch of horticultural sand to disrupt larval habitat.
Symptom: Stems elongate with weak, pale growth (etiolation).
Solution: Insufficient photosynthetically active radiation. Supplement with full-spectrum LED grow lights providing 200-400 micromoles per square meter per second for 12-14 hours daily.
Maintenance
Water when the top inch of substrate feels dry to touch. Most 6-inch pots require 8-12 ounces of water per session. Bottom shelves need watering every 10-14 days; top shelves every 5-7 days due to increased evapotranspiration from heat accumulation.
Apply diluted fertilizer at half-strength every 21 days during active growth from March through September. Withhold fertilization from October through February when photoperiod reduction slows metabolic processes.
Rotate pots 90 degrees every 14 days to ensure even auxin distribution and prevent phototropic leaning. Prune dead foliage immediately to reduce pathogen reservoirs.
Inspect shelf integrity quarterly. Tighten loose screws. Check for water damage on wood surfaces and apply additional sealant to compromised areas. Monitor for pest populations weekly by examining leaf undersides and soil surfaces.
FAQ
How much weight can each shelf support?
Standard 3/4-inch pine shelving on proper brackets holds 50 pounds per linear foot when mounted into studs. Distribute weight evenly and avoid concentrating mass at centers.
What shelf spacing works for mixed plant sizes?
Install 16-inch vertical clearances for 8-inch pots, 20-inch clearances for 10-inch pots with upright growth, and 24-inch clearances for trailing or vining species.
Should I seal wood shelving?
Yes. Apply three coats of water-based polyurethane to all surfaces. This prevents moisture absorption that causes warping and creates fungal habitat in wood grain.
How do I prevent pest spread between shelves?
Quarantine new plants for 14 days before integration. Inspect weekly for spider mites, scale, and mealybugs. Treat infestations immediately with horticultural oil at 2% concentration.
Can I install shelving on exterior walls?
Exterior walls experience greater temperature fluctuations. Install 1-inch rigid foam insulation behind shelving units on exterior walls to buffer thermal swings that stress tropical plants.