6 Expert Tips for Professional Tool Restoration
The smell of damp earth and the high turgor pressure of a healthy leaf signify a garden in peak physiological condition. Maintaining this state requires more than just biological knowledge; it demands mechanical precision. Using a repair lesson for garden tools ensures that every cut is surgical and every soil penetration is efficient. Dull blades crush vascular tissues like xylem and phloem, leading to necrosis and opportunistic fungal infections. A professional horticulturist treats their equipment as an extension of the plant's own structural integrity.
Materials:
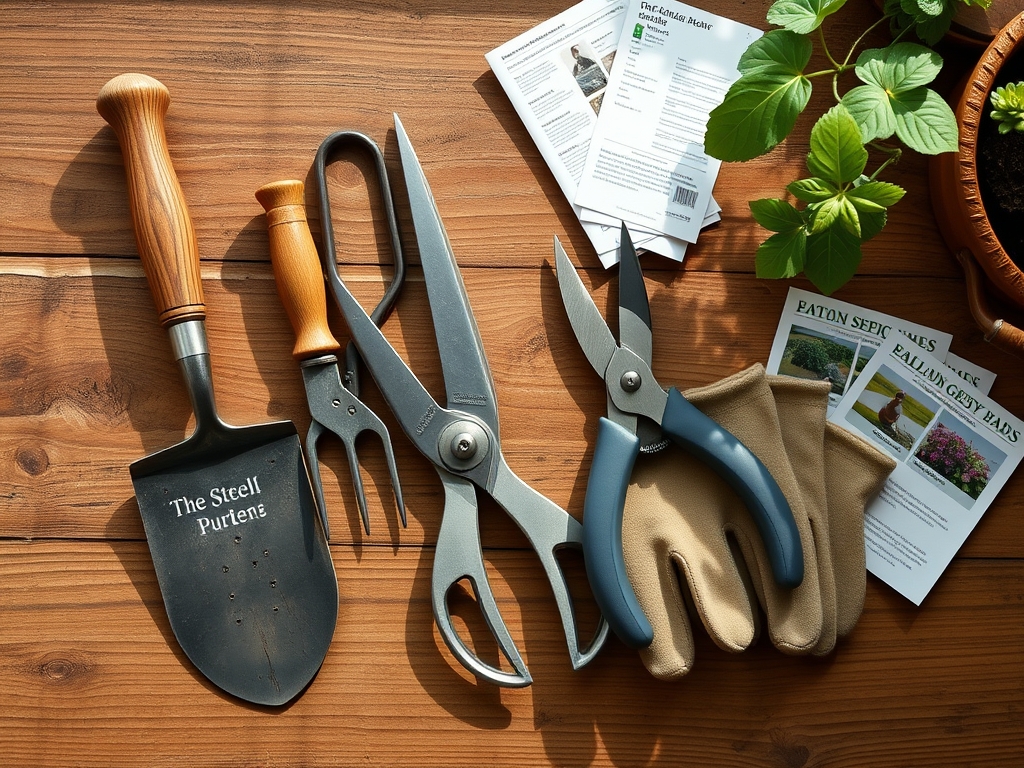
Restoration begins with understanding the environment where these tools operate. The ideal substrate for most temperate crops is a friable loam with a **pH between 6.2 and 6.8**. This acidity level optimizes the Cation Exchange Capacity (CEC), allowing the soil to hold onto essential nutrients like ammonium and potassium. When working in these soils, tools encounter abrasive silicates and corrosive organic acids. To counter this, you need a high-carbon steel sharpening stone and mineral oil.
For the plants themselves, maintain a balanced NPK ratio of 10-10-10 during the vegetative state to support structural proteins. As plants transition to reproductive stages, shift to a 5-10-15 ratio to prioritize phosphorus for root development and potassium for osmotic regulation. The physical texture of your soil must remain crumbly; if it plates or clods, the mechanical stress on your hand tools increases, necessitating more frequent edge maintenance.
Timing:
Tool restoration must align with the biological clock of the garden. In Hardiness Zones 5 through 7, the primary window for heavy maintenance occurs during the dormant season, typically between the first hard frost in November and the final thaw in late March. This timing prevents the spread of pathogens that are active during the growing season.
Plants operate on a strict photoperiod. As day length decreases, perennial species enter senescence, withdrawing carbohydrates into their root systems. This is the moment to sharpen your bypass pruners. Pruning during dormancy reduces the risk of sap loss and ensures that the plant has maximum energy reserves to seal wounds once spring temperatures hit a consistent 55 degrees Fahrenheit. Using a repair lesson for garden tools during this window prepares you for the high-intensity labor of the spring equinox.
Phases:

Sowing
Precision in sowing requires a clean, calibrated seeder or a sharp hori-hori knife to create uniform furrows. Soil temperature must reach a minimum of 65 degrees Fahrenheit for thermophilic seeds like peppers or tomatoes.
Pro-Tip: Maintain a sharp edge on your digging tools to minimize soil compaction. Compaction destroys the macropores necessary for oxygen to reach the rhizosphere, preventing anaerobic conditions that lead to root rot.
Transplanting
When moving a seedling from a controlled environment to the field, the goal is to maintain root-to-soil contact. Use a restored trowel to create a hole twice the width of the root ball. Ensure the soil is moist to maintain turgor pressure during the transition.
Pro-Tip: Avoid glazing the sides of the planting hole. A dull tool creates a smooth, hard surface that roots cannot penetrate. This is known as "pot-binding" in the ground; a sharp tool leaves a rough surface that encourages lateral root expansion.
Establishing
The establishment phase focuses on biomass production. This requires consistent moisture monitoring using a soil moisture meter to ensure the root zone stays at 60 percent field capacity.
Pro-Tip: Use clean, sharp bypass pruners for early "pinning" or "topping." This suppresses apical dominance by removing the source of auxin, a hormone produced in the terminal bud. This redirection of energy stimulates lateral branching and a more robust structural habit.
The Clinic:
Physiological disorders often stem from poor tool hygiene or nutrient imbalances.
- Symptom: Ragged, brown edges on leaf tissue after pruning.
Solution: This is mechanical necrosis. Sharpen your blades to a 20-degree angle to ensure a clean cell-wall shear.
- Symptom: Interveinal chlorosis (yellowing between green veins) on new growth.
Solution: This indicates an Iron deficiency, often caused by a pH above 7.0. Apply chelated iron and recalibrate your soil pH with elemental sulfur.
- Symptom: Stunted growth and purple tint on the underside of leaves.
Solution: Phosphorus deficiency. This often occurs in cold soils below 50 degrees Fahrenheit. Increase soil temperature using black plastic mulch or wait for the seasonal shift.
- Fix-It (Nitrogen Chlorosis): If older leaves turn uniformly yellow, the plant is scavenging nitrogen for new growth. Apply a high-nitrogen liquid fertilizer with a ratio of 20-5-5 for immediate uptake through the xylem.
Maintenance:
A professional garden requires 1.5 inches of water per week delivered directly at the drip line to avoid foliar diseases. Use a soil moisture meter daily to check the top 6 inches of the profile.
After every use, wipe your hori-hori knife and bypass pruners with a 10 percent bleach solution or 70 percent isopropyl alcohol. This kills pathogens like Fusarium and Verticillium that reside in the soil film. Apply a light coat of linseed oil to wooden handles to prevent desiccation and splintering. Store tools in a bucket of sand mixed with motor oil to prevent oxidation on the metal surfaces.
The Yield:
Harvesting is the final mechanical act of the season. For leafy greens, harvest in the early morning when turgor pressure is at its peak. This ensures the cells are fully hydrated, extending the post-harvest shelf life. For fruiting bodies like tomatoes or pome fruits, use a sharp snip to leave a small portion of the pedicel attached. This prevents the "open wound" at the top of the fruit from losing moisture or inviting mold.
Store harvested produce at 35 to 40 degrees Fahrenheit with high humidity to slow down respiration rates. By reducing the metabolic speed of the harvested plant, you preserve the sugars and complex carbohydrates developed during the peak of the growing season.
FAQ:
How do I remove rust from old carbon steel tools?
Soak the tool in a bath of white vinegar for 24 hours. Use a wire brush or steel wool to scrub the oxidized layers. Rinse with water, dry immediately, and apply a protective layer of mineral oil.
What is the best angle for sharpening pruning shears?
Maintain a factory-set angle, typically between 20 and 30 degrees. Only sharpen the beveled side of the blade. Sharpening the flat side will create a gap between the blades, leading to crushed plant tissue and poor cuts.
How often should I calibrate my soil moisture meter?
Calibrate your meter at the start of every season. Insert the probe into a container of distilled water to check the "wet" baseline; then check it in air for the "dry" baseline. Replace batteries annually to ensure sensor accuracy.
Can I use motor oil to lubricate my garden tools?
While motor oil prevents rust, it can introduce petroleum hydrocarbons into your soil. Use food-grade mineral oil or linseed oil instead. These are biodegradable and will not negatively impact the microbial health of your rhizosphere.