9 Classic Ways How to Build a Lattice Fence
Damp cedar mulch releases a sharp, acidic scent as the morning dew evaporates from the garden floor. This moisture maintains the turgor pressure in nearby perennials; however, it also signals the need for structural support before the peak growing season begins. Learning how to build a lattice fence is not merely a carpentry project but a strategic intervention in the garden ecosystem. A well constructed lattice manages airflow and light penetration, preventing the stagnant humidity that fosters fungal pathogens in the lower canopy.
Establishing a perimeter requires understanding the physical load of climbing biomass. A mature Clematis or Wisteria can exert hundreds of pounds of downward force when saturated with rain. By integrating a lattice system, you provide a scaffolding that encourages vertical growth, maximizing the photosynthetic surface area within a limited footprint. This guide details the technical specifications for nine classic variations of lattice construction, ensuring your garden remains structurally sound and biologically optimized for the long term.
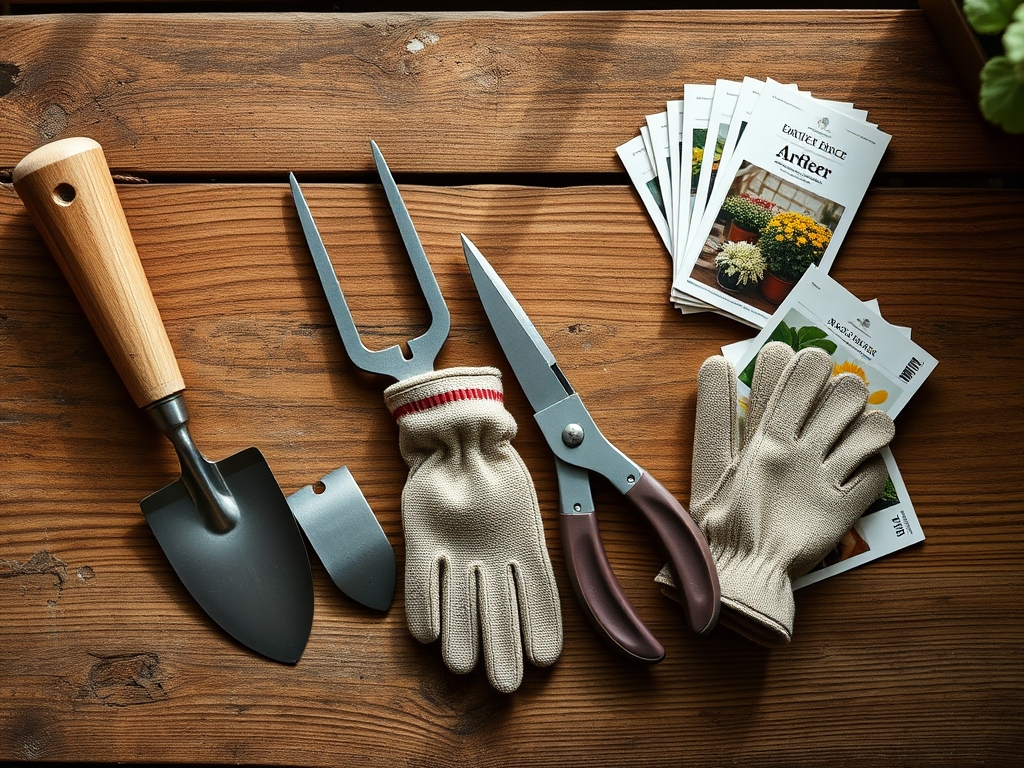
Materials:
The foundation of any vertical structure begins in the rhizosphere. Soil stability is dictated by the Cation Exchange Capacity (CEC) and the moisture content of the substrate. For fence post installation, you must assess the soil texture. A **friable loam** with a **pH between 6.0 and 7.0** is ideal for the plants that will eventually scale the lattice.
To support the heavy nitrogen demands of climbing vines, prepare the soil around the base with a 10-10-10 NPK ratio fertilizer. This balanced approach ensures steady vegetative growth without triggering excessive salt accumulation. If your soil is heavy clay, the high CEC will hold nutrients well but may cause drainage issues around the wooden posts. Use pressure-treated timber or naturally rot-resistant species like Western Red Cedar. You will also need 3-inch galvanized deck screws, a power drill, level, and post-hole digger. For the lattice itself, select panels with a minimum thickness of 1/4 inch to prevent warping under high UV exposure.
Timing:
Construction should occur during the dormant season or early spring before the "Biological Clock" triggers the transition from vegetative to reproductive stages. In Hardiness Zones 4 through 7, this window typically falls between late February and early April. You must complete the installation before the first flush of growth to avoid damaging emerging root systems or disrupting the delicate mycorrhizal networks in the soil.
The timing is critical because once the photoperiod extends beyond 12 hours, plants begin rapid auxin production. Installing a lattice fence during this period allows you to train young shoots immediately, utilizing their natural phototropism to fill the grid efficiently. Avoid construction during the heat of mid-summer; high transpiration rates make plants less resilient to the localized soil compaction that occurs while digging post holes.
Phases:

Sowing the Foundation
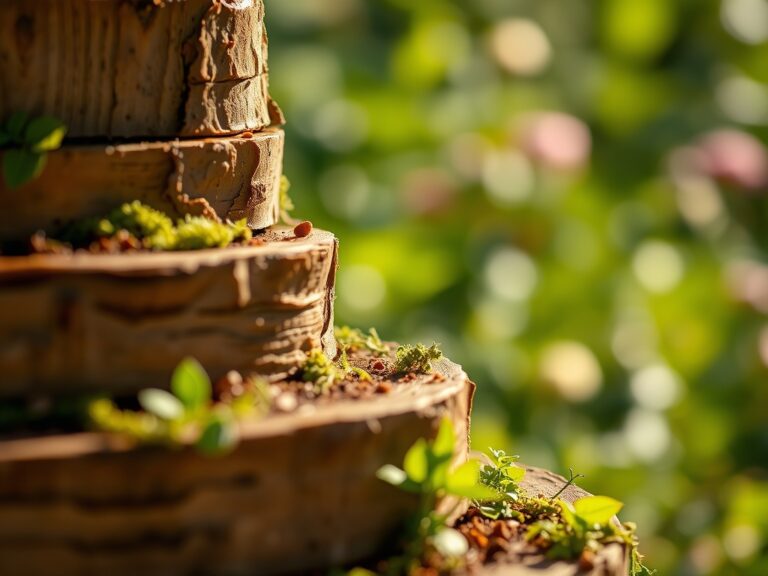
Begin by marking your post locations at 6-foot or 8-foot intervals. Dig holes to a depth of at least 24 inches, or below the frost line in colder climates, to prevent heaving. Add a 4-inch layer of crushed stone at the bottom of each hole to facilitate drainage away from the wood.
Pro-Tip: Proper drainage prevents anaerobic conditions at the post base. In waterlogged soil, the lack of oxygen leads to root rot in nearby specimens and accelerates the fungal decomposition of the timber.
Transplanting the Structure
Set your posts in the holes and use a level to ensure they are perfectly vertical. Secure them with fast-setting concrete, stopping the pour 3 inches below the soil surface. Once the concrete cures, attach horizontal 2×4 rails between the posts. These rails provide the structural "skeleton" that will support the lattice panels.
Pro-Tip: Use a soil moisture meter to ensure the surrounding earth remains at a consistent 25 percent to 30 percent moisture level during backfilling. This prevents the soil from pulling away from the concrete as it dries, maintaining a tight seal.
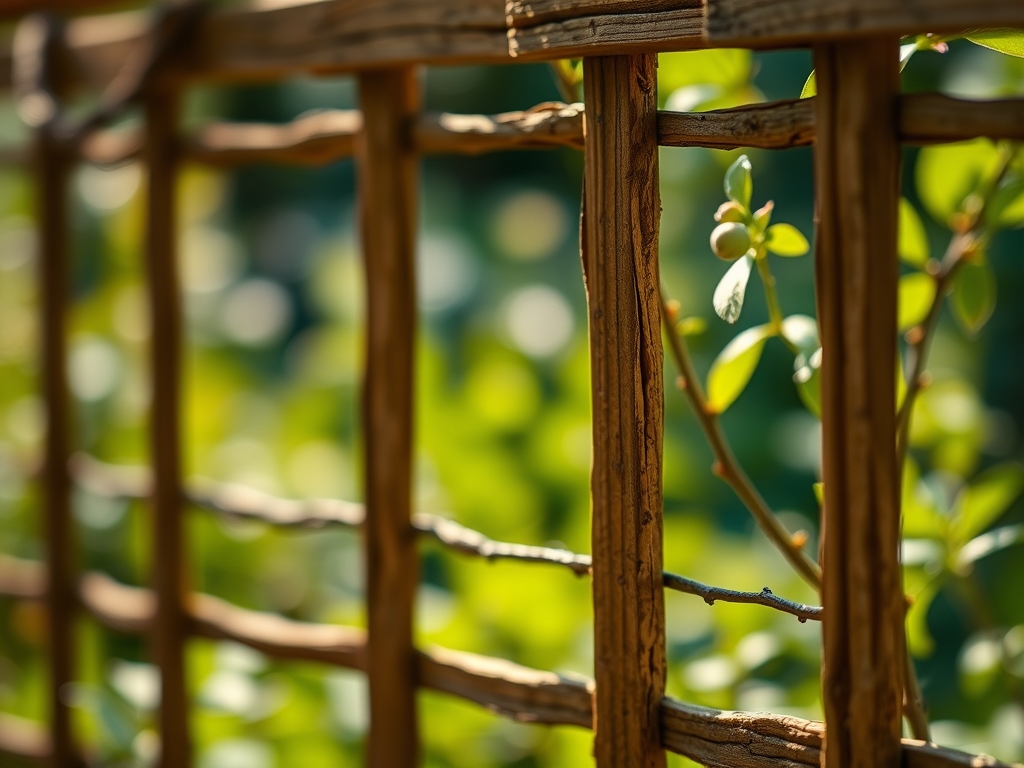
Establishing the Lattice
Attach the lattice panels to the rails using galvanized screws. If you are using a "sandwich" method, place the lattice between two sets of trim boards for a finished look. Ensure there is a 2-inch gap between the bottom of the lattice and the soil line.
Pro-Tip: Raising the lattice off the ground prevents "wicking," where the wood draws moisture directly from the soil. This gap also allows for better air circulation in the boundary layer of the plant canopy, reducing the incidence of powdery mildew through improved transpiration.
The Clinic:
Physiological disorders often manifest when a lattice is improperly placed or maintained.
- Symptom: Interveinal chlorosis (yellowing leaves with green veins).
- Solution: This often indicates a micronutrient deficiency, such as iron or manganese, caused by high soil pH near concrete footings. Leach the area with water and apply a chelated iron supplement.
- Symptom: Leaf scorch or marginal necrosis.
- Solution: Reflective heat from a light-colored lattice can increase local temperatures. Increase irrigation frequency or paint the lattice a darker, matte tone to absorb rather than reflect UV radiation.
- Symptom: Stunted growth and small, pale leaves.
- Fix-It: This is typically Nitrogen chlorosis. Apply a high-nitrogen fertilizer with a 20-10-10 NPK ratio to stimulate chlorophyll production and vegetative vigor.
Maintenance:
A lattice fence requires active management to remain a functional horticultural tool. Inspect the structure every spring for loose fasteners or signs of wood decay. Use a hori-hori knife to remove any invasive weeds competing for nutrients at the base of your climbing plants.
Irrigation is paramount; climbing plants have high transpiration rates due to their increased surface area exposure. Provide 1.5 inches of water per week at the drip line, ensuring the water reaches the deep root zone. Use bypass pruners to thin out dead wood and "deadhead" spent blooms. This practice redirects the plant's energy from seed production back into vegetative growth and root development.
The Yield:
When using a lattice for edible crops like pole beans or cucumbers, harvest timing is determined by fruit size and skin tension. For flowers like Sweet Peas, harvest when the lower two blossoms are open but the top bud is still closed. Use sharp snips to make a clean cut at a 45-degree angle. To maintain "day-one" freshness, immediately plunge the stems into cool water to maintain turgor pressure and slow the process of senescence. For vegetables, harvesting frequently encourages the plant to continue its reproductive cycle, significantly increasing the total seasonal yield.
FAQ:
How deep should I set the fence posts?
Set posts at least 24 inches deep or below the local frost line. This prevents the structure from shifting during freeze-thaw cycles, which can snap the delicate tendrils of climbing plants attached to the lattice.
What is the best wood for a lattice fence?
Western Red Cedar or Redwood are superior choices due to their natural tannins. These compounds resist rot and insect infestation, providing a lifespan of 15 to 20 years without the need for heavy chemical treatments.
Can I grow heavy vines like grapes on a lattice?
Yes, but you must use heavy-duty 4×4 posts and reinforced horizontal rails. Grapes produce significant biomass; a mature vine requires a structure capable of supporting over 50 pounds per linear foot during the fruiting stage.
How do I prevent mold on my lattice?
Maintain a 2-inch clearance from the ground and ensure the lattice is not shaded by dense overhanging trees. Improving airflow around the structure reduces the duration of leaf wetness, which is the primary driver of fungal growth.
When should I prune plants on a lattice?
Prune most climbers in late winter or early spring while they are dormant. This timing minimizes sap loss and allows the plant to heal before the spring surge of growth begins, ensuring maximum structural coverage.