7 Essential Steps to Prepare an Essential Oil Plant Mister
The scent of damp earth and the crisp snap of a leaf under high turgor pressure define the success of a controlled indoor microclimate. Maintaining this cellular hydration requires more than sporadic watering; it demands a systematic approach to atmospheric moisture. Learning how to prepare a DIY plant mister allows a grower to regulate the transpiration rates of tropical understory species and Mediterranean herbs alike. By delivering a fine particulate spray directly to the leaf cuticle, you manipulate the boundary layer of air surrounding the stomata. This prevents the desiccating effects of low-humidity environments, which often drop below 30 percent in climate-controlled buildings. A precise mister serves as a mechanical extension of the plant's hydraulic system, ensuring that the xylem remains pressurized and the foliage remains functionally efficient. Mastering this tool is the first step in managing the physiological demands of high-value botanical specimens within a closed environment.
Materials:
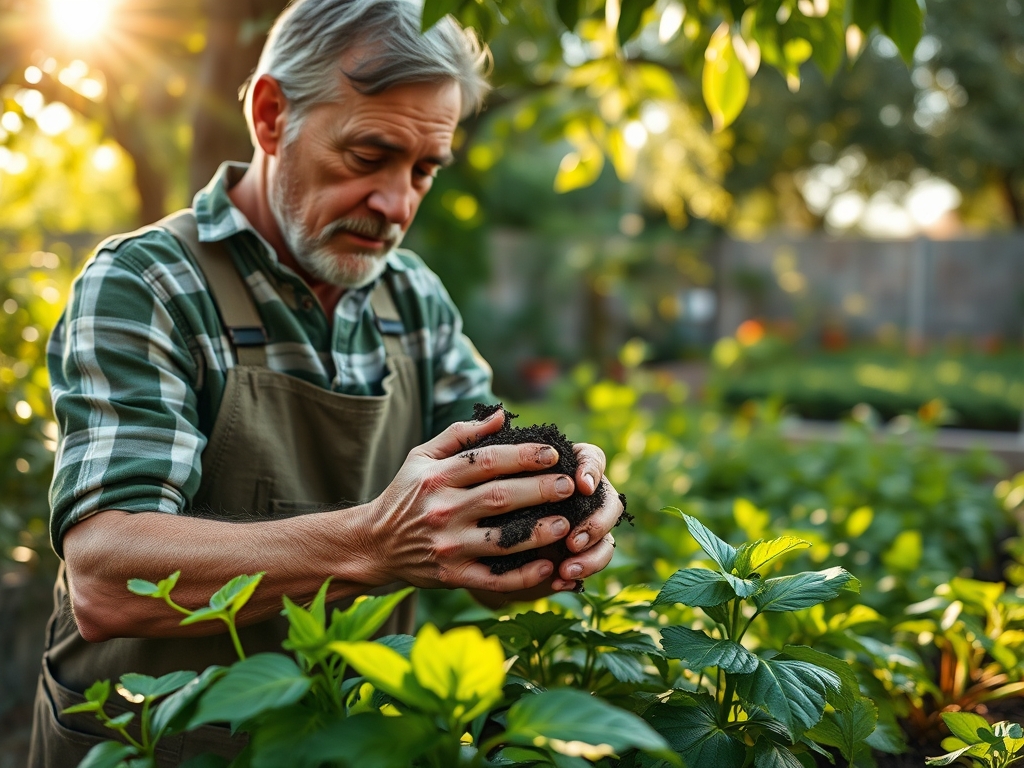
To optimize the health of plants receiving supplemental misting, the underlying substrate must be technically sound. Use a **friable loam** with a high Cation Exchange Capacity (CEC) to ensure nutrient retention. The ideal soil pH for most essential oil-producing plants, such as Lavandula or Rosmarinus, sits between **6.0 and 7.0**. For the mister itself, utilize a glass or high-density polyethylene (HDPE) bottle to prevent chemical leaching.
The nutrient profile of the soil should follow a strict NPK ratio based on the growth stage. During the vegetative phase, a 10-5-5 ratio supports foliar expansion. Transitioning to a 5-10-10 ratio encourages the synthesis of secondary metabolites like terpenes. The substrate must be porous, consisting of 40 percent peat or coco coir, 30 percent perlite, and 30 percent composted organic matter. This structure prevents anaerobic conditions in the rhizosphere while maintaining the moisture necessary to complement your misting routine.
Timing:
Successful misting and cultivation schedules are dictated by Hardiness Zones and the biological clock of the specimen. In Zones 8 through 10, many essential oil plants can remain outdoors year-round, but in Zones 7 and below, the first frost date marks a critical transition. You must move sensitive plants indoors when nighttime temperatures consistently drop below 50 degrees Fahrenheit.
The biological clock governs the transition from the vegetative stage to the reproductive stage. This shift is triggered by the photoperiod; as daylight hours decrease, the plant redirects energy from leaf production to flower and oil synthesis. Misting should occur during the early morning hours, between 6:00 AM and 8:00 AM. This allows excess moisture to evaporate before the heat of the day or the coolness of the evening, preventing the growth of fungal pathogens on the leaf surface.
Phases:
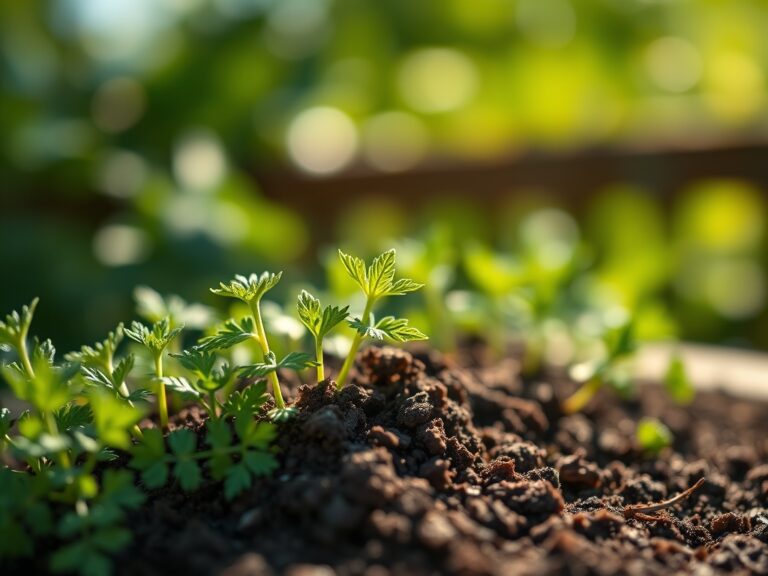
Sowing
Start seeds in a sterile medium at a depth of one-eighth inch. Maintain a consistent soil temperature of 70 to 75 degrees Fahrenheit using a heat mat. Use your DIY mister to keep the surface tension of the soil broken without dislodging the delicate seeds.
Pro-Tip: Maintaining high humidity during germination prevents the seed coat from hardening. This is critical for epigeal germination, where the hypocotyl must lift the cotyledons above the soil surface without resistance.
Transplanting
Move seedlings when they develop their second set of true leaves. Use a hori-hori knife to lift the root ball, ensuring the mycorrhizal symbiosis remains intact. Space plants 12 to 18 inches apart to allow for adequate airflow, which reduces the risk of powdery mildew.
Pro-Tip: Minimize transplant shock by misting the foliage immediately after moving. This reduces the transpiration pull, allowing the damaged root hairs time to recover without the plant wilting from water loss.
Establishing
Once the plant reaches six inches in height, focus on structural integrity. Prune the apical meristem to encourage lateral branching. This process, known as pinching, redirects the flow of auxins from the tip to the axillary buds, creating a bushier, more productive plant.
Pro-Tip: Regular misting during this phase helps maintain turgor pressure in new cell walls. This hydraulic support is essential for the plant to maintain an upright posture before lignin fully reinforces the stems.
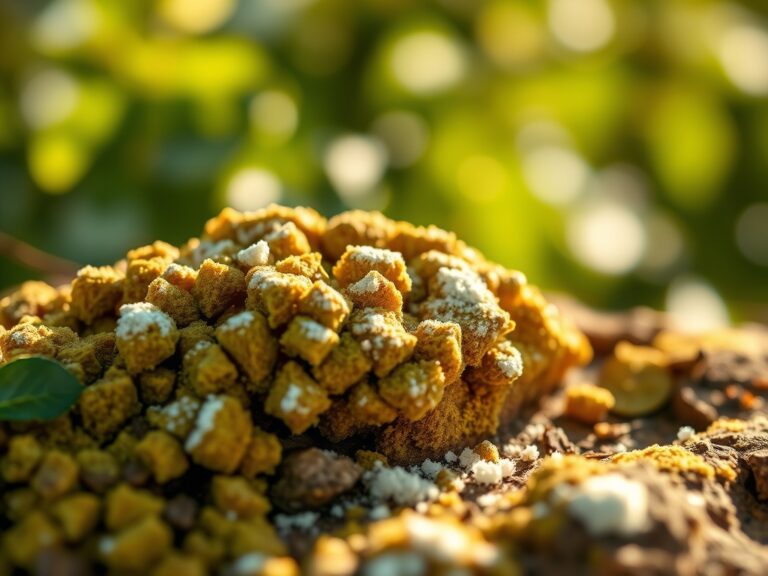
The Clinic:
Physiological disorders often manifest through visual cues on the foliage. Identifying these early is vital for crop survival.
- Symptom: Interveinal chlorosis (yellowing between green veins) on new leaves.
Solution: This indicates an Iron deficiency, often caused by a pH above 7.5. Lower the pH using elemental sulfur. - Symptom: Leaf tip burn or marginal necrosis.
Solution: This suggests salt accumulation in the substrate. Flush the soil with distilled water equal to three times the volume of the pot. - Symptom: Lower leaves turning completely yellow and dropping (senescence).
Solution: This is Nitrogen chlorosis. Apply a water-soluble fertilizer with a high N-value (20-10-10) at half strength. - Symptom: Wilting despite moist soil.
Solution: This indicates root rot (Phytophthora). Improve drainage by adding coarse sand to the mix and reduce misting frequency.
Maintenance:
Precision maintenance prevents mechanical and biological failure. Deliver 1.5 inches of water per week at the drip line, rather than the base of the stem, to encourage outward root expansion. Use a soil moisture meter to verify that the root zone is at 40 to 60 percent capacity before re-watering.
Keep your bypass pruners sharp and disinfected with 70 percent isopropyl alcohol to prevent the spread of pathogens. When using your DIY mister, use distilled or reverse-osmosis water to avoid calcium carbonate buildup on the leaf cuticle. This buildup can block stomata and reduce photosynthetic efficiency. Wipe the leaves once a month with a damp cloth to remove dust, ensuring the maximum amount of light reaches the chloroplasts.
The Yield:
Harvesting essential oil plants requires precise timing to capture peak volatile oil concentrations. For most herbs, harvest just as the flower buds form but before they open. This is when the trichomes (oil-producing glands) are most engorged. Perform the harvest in the early morning after the dew has evaporated but before the sun reaches its zenith.
Use sharp shears to cut the top one-third of the plant. To maintain "day-one" freshness, place the stems immediately into a bucket of cool water or a sealed container in a dark, cool environment. If drying, hang the bunches upside down in a room with 50 percent humidity and constant airflow. This slow desiccation process preserves the chemical integrity of the oils and prevents the leaves from becoming brittle and losing their aromatic potency.
FAQ:
How often should I use the DIY plant mister?
Mist most tropical plants two to three times per week. Increase frequency if the ambient humidity drops below 40 percent. Always mist in the morning to allow foliage to dry before nightfall, preventing fungal growth.
Can I add nutrients to the mister water?
Yes, this is called foliar feeding. Use a water-soluble fertilizer diluted to 25 percent of the recommended strength. Ensure the pH of the solution is between 5.5 and 6.0 for maximum absorption through the leaf stoma.
What is the best water for a DIY mister?
Use distilled or rainwater. Tap water often contains chlorine and heavy minerals that leave white deposits on leaves. These deposits can clog the plant's respiratory pores and interfere with light absorption during photosynthesis.
Why are my plant's leaves turning brown after misting?
This usually results from magnified sunlight or fungal pathogens. If water droplets remain on leaves in direct midday sun, they can act as lenses and burn the tissue. Ensure good airflow to dry leaves within four hours.