8 Simple Steps to Plant Mexican Tarragon
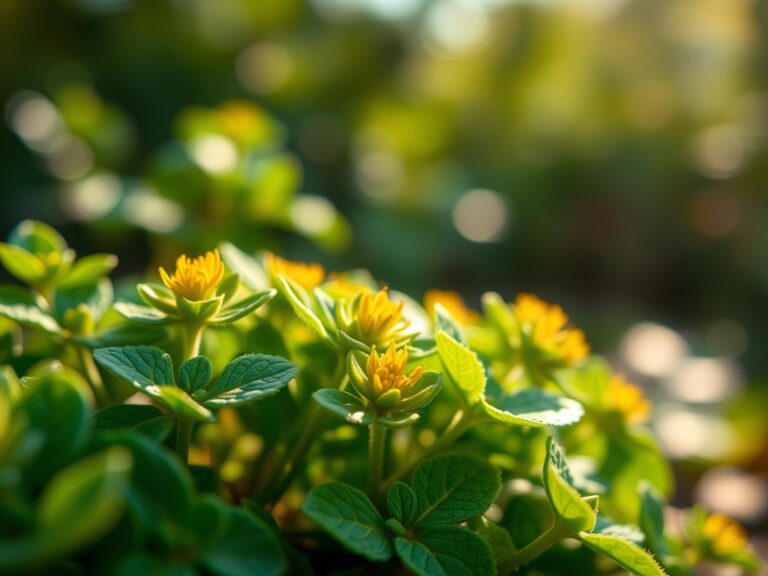
The smell of damp earth and the distinct anise scent of crushed foliage define the experience of working with Tagetes lucida. Success depends on maintaining turgor pressure through consistent hydration and selecting a site with optimal solar exposure. To master the steps to plant mexican tarragon, one must understand that this perennial thrives on heat and well drained substrates. It is a robust alternative to French tarragon in humid climates where the latter often succumbs to root rot.
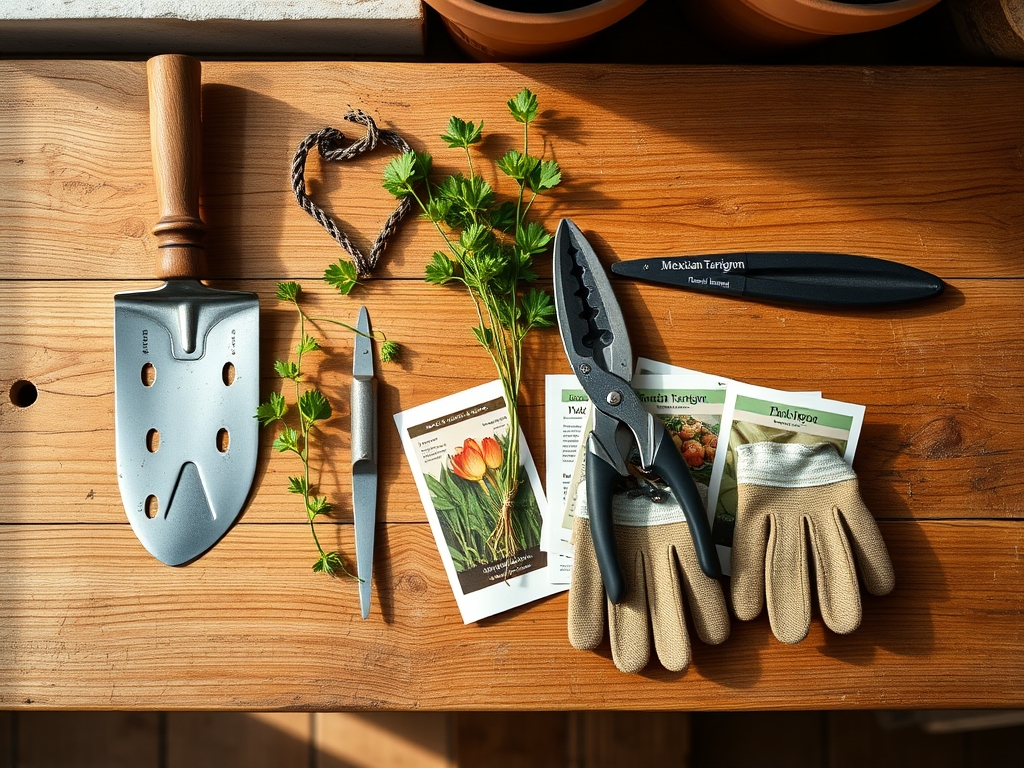
Materials:
The ideal substrate is a friable loam with a high sand content to facilitate drainage. Mexican tarragon requires a soil pH between 6.5 and 7.5. A Cation Exchange Capacity (CEC) of 15 to 25 meq/100g ensures the plant can access necessary minerals without the risk of toxicity. Before planting, incorporate a balanced fertilizer with an NPK ratio of 10-10-10 at a rate of 1 pound per 100 square feet. Avoid high nitrogen blends; excessive nitrogen promotes rapid vegetative growth at the expense of essential oil concentration and structural integrity. The physical texture should be gritty. If the soil clumps into a ball when squeezed, integrate 20 percent perlite or coarse horticultural sand to improve macropore space for root respiration.
Timing:
Mexican tarragon is hardy in USDA Zones 8 through 11. In colder regions, it is treated as a tender annual. The biological clock of this species is dictated by the photoperiod. It remains in a vegetative state during the long days of summer and transitions to its reproductive stage as day length decreases in late summer and autumn. Planting must occur after the final frost date when soil temperatures consistently reach 65 degrees Fahrenheit. If the soil is colder than 55 degrees Fahrenheit, the roots will enter a state of dormancy or suffer from fungal pathogens. Establish plants at least six to eight weeks before the first autumn frost to ensure the root system is sufficiently developed to survive seasonal shifts.
Phases:
Sowing and Germination
Start seeds indoors six to eight weeks before the last frost. Surface sow the seeds as they require light for germination. Maintain a constant temperature of 70 to 75 degrees Fahrenheit. Use a fine mist to keep the medium moist but not saturated. Germination typically occurs within 10 to 14 days.
Pro-Tip: This species exhibits positive photoblastism. Light triggers the hormonal shift required to break seed dormancy. Covering seeds with even a thin layer of soil can result in a 40 percent reduction in germination rates.
Transplanting
Once seedlings reach three to four inches in height and have developed at least two sets of true leaves, begin the hardening off process. Move them outdoors for increasing intervals over seven days. Dig a hole twice the width of the root ball using a hori-hori knife. Space plants 12 to 18 inches apart to allow for adequate airflow and to prevent the microclimate around the foliage from becoming too humid.
Pro-Tip: Administer a kelp based solution during transplanting to foster mycorrhizal symbiosis. These beneficial fungi expand the surface area of the root system, increasing the plant's ability to uptake phosphorus and water during the critical establishment phase.
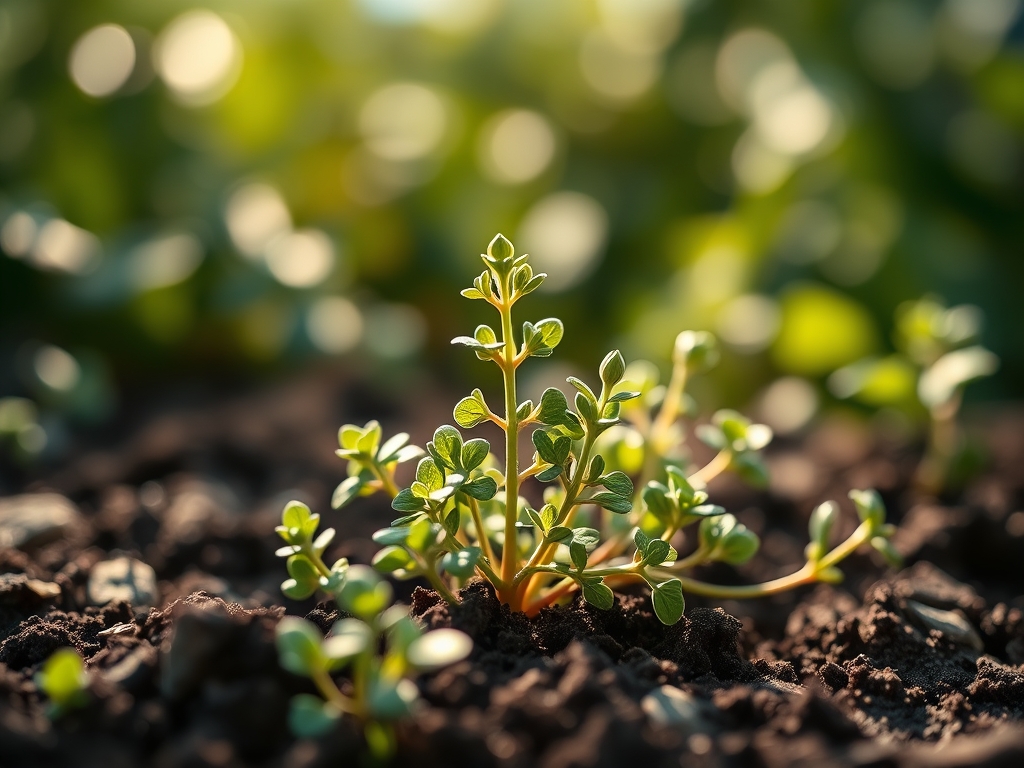
Establishing the Rhizosphere
During the first 21 days, the focus is on root expansion rather than vertical growth. Maintain consistent moisture in the top four inches of soil. If the plant begins to flower prematurely, pinch off the buds. This redirects energy from reproduction back to the root zone through auxin suppression in the apical meristem.
Pro-Tip: Pinching the central leader encourages lateral branching. By breaking apical dominance, you stimulate the axillary buds, resulting in a bushier plant with a higher density of foliage for future harvest.
The Clinic:
Physiological disorders often stem from environmental stressors rather than pathogens. Observe the foliage closely for deviations from the standard deep green hue.
- Symptom: Yellowing of lower leaves while veins remain green (Interveinal Chlorosis).
- Solution: This indicates a Magnesium deficiency. Apply a foliar spray of Epsom salts (magnesium sulfate) at a concentration of one tablespoon per gallon of water.
- Symptom: Stunted growth and purple tinting on the underside of leaves.
- Solution: This is a sign of Phosphorus deficiency, often caused by cold soil temperatures (below 60 degrees Fahrenheit) which lock out phosphorus uptake. Increase soil temperature with organic mulch or wait for seasonal warming.
- Symptom: Wilting despite moist soil.
- Solution: This indicates root hypoxia or "wet feet." The soil lacks sufficient oxygen. Improve drainage by elevating the planting bed or adding grit to the substrate.
Fix-It for Nitrogen Chlorosis: If the entire plant appears pale green or yellow, it lacks nitrogen. Apply a liquid 5-1-1 fish emulsion to provide an immediate bioavailable nitrogen source to the rhizosphere.
Maintenance:
Precision is required for long term health. Use a soil moisture meter to ensure the substrate is dry to a depth of two inches before re-watering. Mexican tarragon requires approximately 1.5 inches of water per week delivered at the drip line. Avoid overhead irrigation; water on the foliage increases the risk of powdery mildew.
Pruning is essential. Use bypass pruners to remove the top one third of the plant in mid summer. This prevents the stems from becoming woody and encourages a second flush of tender growth. Keep the area free of weeds that compete for the cation exchange capacity of the soil. A thin layer of wood chips or straw can suppress competitors while maintaining a stable soil temperature.
The Yield:
Harvesting should occur in the morning after the dew has evaporated but before the heat of the day causes volatile oils to dissipate. Use sharp shears to cut stems four inches from the ground. Do not remove more than one third of the total biomass at one time to avoid plant shock.
For post harvest handling, place the stems in a glass of water at room temperature. This maintains turgor pressure and prevents wilting. If drying, hang bundles in a dark, well ventilated area with temperatures between 70 and 80 degrees Fahrenheit. Once the leaves are brittle, store them in airtight glass containers away from direct sunlight to prevent the degradation of the aromatic compounds.
FAQ:
How much sun does Mexican tarragon need?
Mexican tarragon requires six to eight hours of direct sunlight daily. Insufficient light leads to leggy growth, weak stems, and a significant reduction in the concentration of essential oils within the leaf tissues.
Can I grow Mexican tarragon in containers?
Yes. Use a 12 inch deep pot with multiple drainage holes. Use a high quality potting mix amended with 20 percent coarse sand. Container plants require more frequent monitoring of moisture levels and nutrient depletion.
Why is my Mexican tarragon not flowering?
Flowering is triggered by shortening day lengths in late summer. If your plant is near artificial night lighting, such as street lamps, the photoperiod is disrupted. This prevents the plant from transitioning into its reproductive stage.
Is Mexican tarragon the same as French tarragon?
No. They are different species. French tarragon (Artemisia dracunculus) prefers cool climates. Mexican tarragon (Tagetes lucida) is a member of the marigold family and thrives in high heat and humidity where French tarragon fails.
How do I prevent root rot?
Ensure the soil has a high infiltration rate. Avoid heavy clay. Allow the top two inches of soil to dry completely between watering cycles. Use a hori-hori knife to check soil moisture depth before adding water.