6 Easy Ways How to Grow Culantro Seeds
The smell of damp, anaerobic mud transitioning into a rich, friable loam marks the beginning of a successful crop. Culantro (Eryngium foetidum) is not for the casual gardener who prefers the delicate, fleeting nature of cilantro. This is a robust, biennial herb that demands heat, humidity, and a specific understanding of tropical soil mechanics. Learning how to grow culantro seeds requires a disciplined approach to moisture management and light exposure to prevent premature bolting.
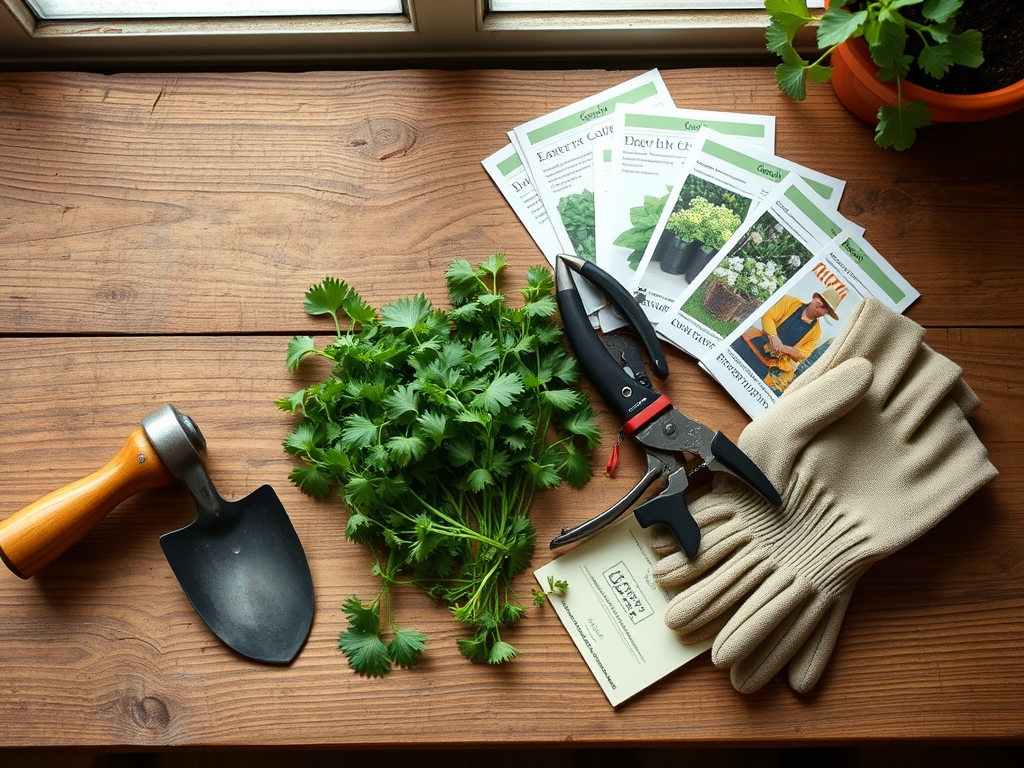
Materials:
Substrate quality determines the Cation Exchange Capacity (CEC), which governs how effectively the plant absorbs nutrients. Culantro thrives in a soil pH range of 6.0 to 7.5. The physical texture must be a well-draining, friable loam that prevents root rot while maintaining consistent hydration.
For the initial growth phase, use a seed-starting mix with a low-salt conductivity. Once the seedlings establish their first true leaves, transition to a fertilizer with an NPK ratio of 10-10-10 or 20-20-20. High nitrogen levels are essential to support the rapid development of serrated, lanceolate leaves. Avoid heavy clay soils that compact easily; these restrict oxygen in the rhizosphere and lead to stunted growth. Incorporating organic matter like composted leaf mold will improve the soil structure and nutrient retention.
Timing:
Culantro is native to tropical America and is hardy in USDA Zones 8 through 11. In cooler climates, it must be treated as an annual or grown in a controlled greenhouse environment. The biological clock of Eryngium foetidum is dictated by the photoperiod and temperature. It enters a reproductive stage (bolting) when exposed to long days and high light intensity.
Wait until the soil temperature consistently reaches 70 degrees Fahrenheit (21 degrees Celsius) before sowing outdoors. In temperate zones, this usually occurs two to three weeks after the last frost. The transition from the vegetative stage to the reproductive stage is marked by the emergence of a central, spiny flower stalk. To maximize leaf production, you must manipulate the environment to delay this senescence.
Phases:
Sowing the Seeds
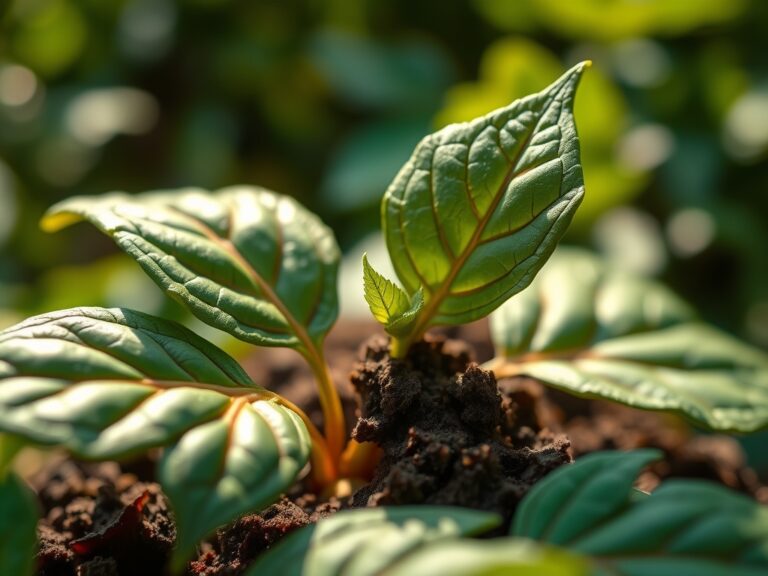
Culantro seeds are photoblastic, meaning they require light to trigger germination. Do not bury them. Surface-sow the seeds onto a pre-moistened substrate and press them gently to ensure soil contact. Maintain a consistent temperature of 75 to 80 degrees Fahrenheit. Germination is notoriously slow; expect to wait 14 to 28 days for the first signs of life.
Pro-Tip: Maintain high humidity during germination by using a clear plastic dome. This prevents the seed coat from drying out, which is a common cause of germination failure. The biological why involves maintaining the turgor pressure within the seed to allow the radicle to break through the seed coat.
Transplanting
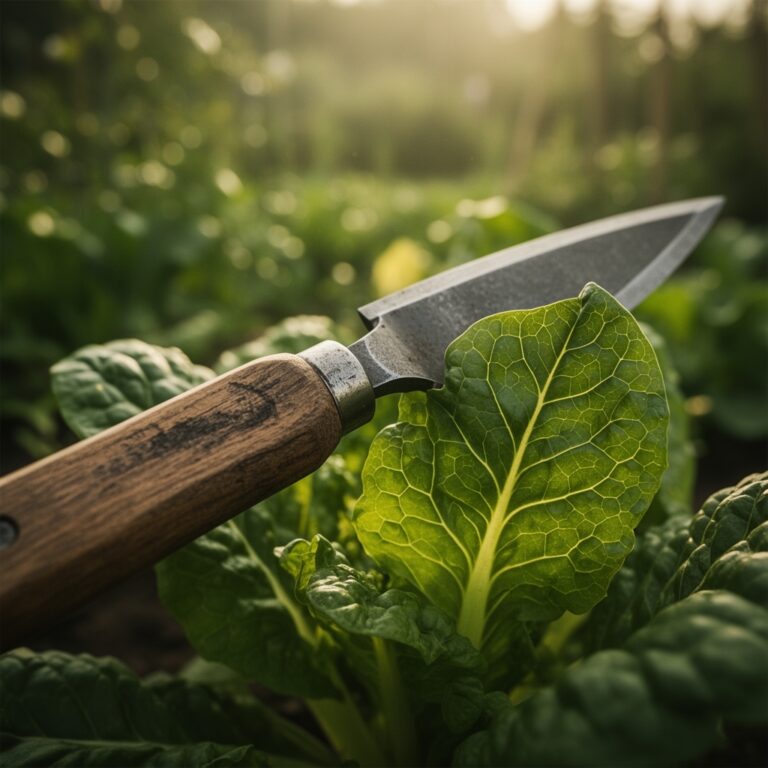
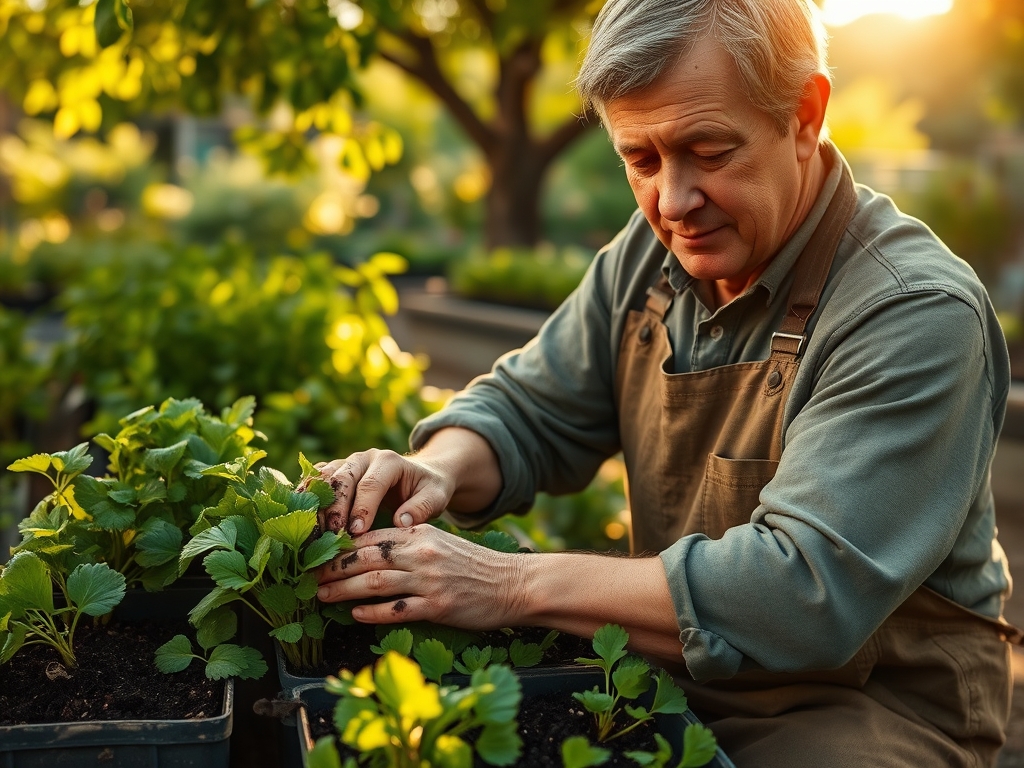
When seedlings reach two inches in height and have at least two sets of true leaves, they are ready for transplanting. Space plants 8 to 12 inches apart to allow for adequate airflow. Use a hori-hori knife to create a deep enough hole to accommodate the entire root plug without bending the taproot.
Pro-Tip: Avoid disturbing the rhizosphere during transplanting. Culantro roots are sensitive to mechanical damage. The biological why is related to mycorrhizal symbiosis; keeping the root ball intact preserves the beneficial fungal networks that assist in phosphorus uptake.
Establishing the Crop
During the establishment phase, culantro requires partial shade. Direct, intense sunlight will trigger the plant to bolt prematurely. Aim for 60 percent shade if growing in a high-heat environment. This mimics the plant's natural understory habitat.
Pro-Tip: Pinch off any emerging flower stalks immediately using bypass pruners. This redirects the plant's energy from seed production back to leaf development. The biological why is auxin suppression; removing the apical meristem reduces the dominance of reproductive hormones and encourages lateral leaf growth.
The Clinic:
Physiological disorders in culantro often stem from environmental stressors or nutrient imbalances. Monitoring the plant's appearance provides immediate feedback on its health.
Symptom: Yellowing of older leaves (Chlorosis).
Solution: This is typically a nitrogen deficiency. Apply a water-soluble nitrogen-rich fertilizer at half strength.
Fix-It: Check the soil pH. If the pH is above 7.5, iron and manganese become chemically locked in the soil, making them unavailable to the plant.
Symptom: Purple or reddish tint on leaves.
Solution: This indicates a phosphorus deficiency or cold stress.
Fix-It: Increase the soil temperature or apply a bone meal amendment to boost phosphorus levels.
Symptom: Tip burn on new growth.
Solution: This is often caused by calcium deficiency or inconsistent watering.
Fix-It: Ensure the plant receives 1.5 inches of water per week at the drip line. Use a soil moisture meter to verify that the root zone remains consistently damp but not waterlogged.
Maintenance:
Precision is the hallmark of a master horticulturist. Culantro requires a steady hand and regular monitoring. Water the plants at the base to avoid wetting the foliage, which can encourage fungal pathogens. Use a soil moisture meter to maintain a consistent moisture level of 60 to 70 percent capacity.
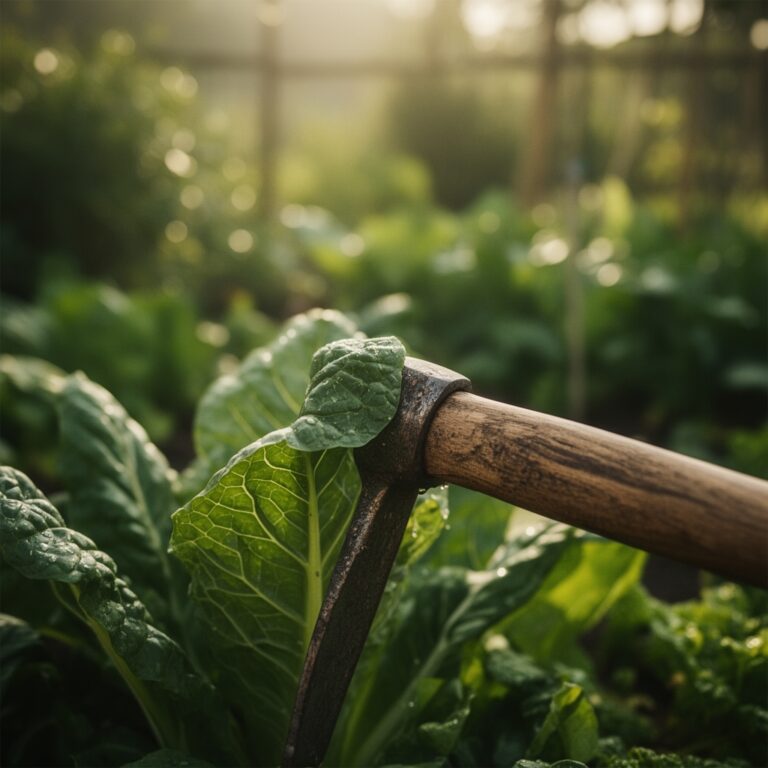
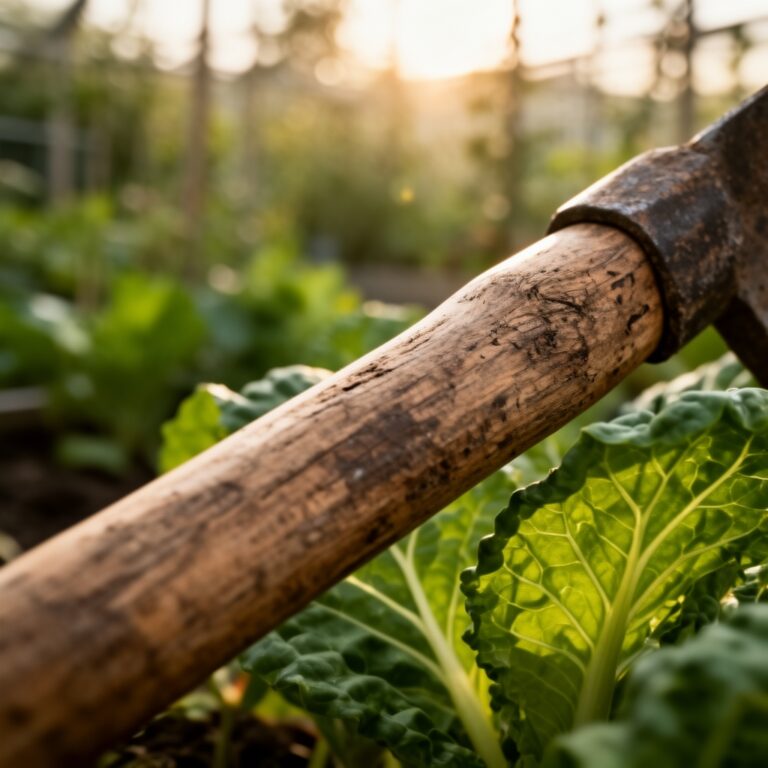
Mulching with organic straw or bark helps regulate soil temperature and suppress weeds that compete for nutrients. Every four weeks, side-dress the plants with a balanced organic fertilizer to sustain the high metabolic demands of leaf production. If you notice the soil compacting, use a hori-hori knife to gently aerate the perimeter of the root zone, being careful not to strike the main root mass.
The Yield:
Harvesting begins when the leaves are at least four to six inches long. Use sharp bypass pruners to cut the outermost leaves from the base of the plant. This allows the center of the rosette to continue producing new growth. Do not harvest more than one-third of the plant at a time to avoid physiological shock.
To maintain "day-one" freshness, harvest in the early morning when turgor pressure is at its peak. Immediately place the cut ends in a container of cool water or wrap the leaves in a damp paper towel and refrigerate. Properly handled culantro will retain its aromatic oils and structural integrity for up to two weeks. If the plant begins to flower and you wish to save seeds, allow the flower head to turn brown and dry on the stalk before harvesting the tiny, dark seeds for the next season.
FAQ:
Why are my culantro seeds not germinating?
Culantro seeds require light and consistent warmth to germinate. Ensure they are surface-sown and not covered with soil. Maintain a temperature of 75 to 80 degrees Fahrenheit and keep the surface moist for up to 28 days.
How do I stop my culantro from bolting?
Provide the plant with partial shade and consistent moisture. High light intensity and heat trigger the reproductive cycle. Use bypass pruners to remove any emerging flower stalks immediately to prolong the vegetative leaf-production phase.
Can I grow culantro indoors?
Yes, provided you use high-intensity discharge (HID) or LED grow lights. Maintain high humidity and a temperature above 70 degrees Fahrenheit. Use a well-draining potting mix with a 6.0 to 7.5 pH and provide adequate airflow to prevent damping-off.
What is the best fertilizer for culantro?
Use a balanced fertilizer with an NPK ratio of 10-10-10. Nitrogen is critical for leaf development. Apply every four weeks during the growing season. If leaves show signs of chlorosis, increase nitrogen application or check soil pH levels.
Is culantro the same as cilantro?
No. While they share a similar flavor profile due to the presence of aliphatic aldehydes, culantro (Eryngium foetidum) is a hardy biennial with serrated leaves. It is more heat-tolerant and has a much stronger aroma and flavor than cilantro.