7 Vital Steps to Plant Curry Leaf
Crushing a fresh leaf between your thumb and forefinger releases a volatile oil profile dominated by caryophyllene and linalool. This pungent aroma signifies high oil concentration and healthy metabolic function. Success begins with the physiological state of the sapling. You must maintain high turgor pressure within the vascular system to ensure the plant survives the transition from nursery to permanent substrate. Following the specific steps to plant curry leaf (Murraya koenigii) ensures the specimen establishes a robust root architecture before the first seasonal shift. This process requires a precise understanding of the rhizosphere and the environmental triggers that dictate growth cycles.
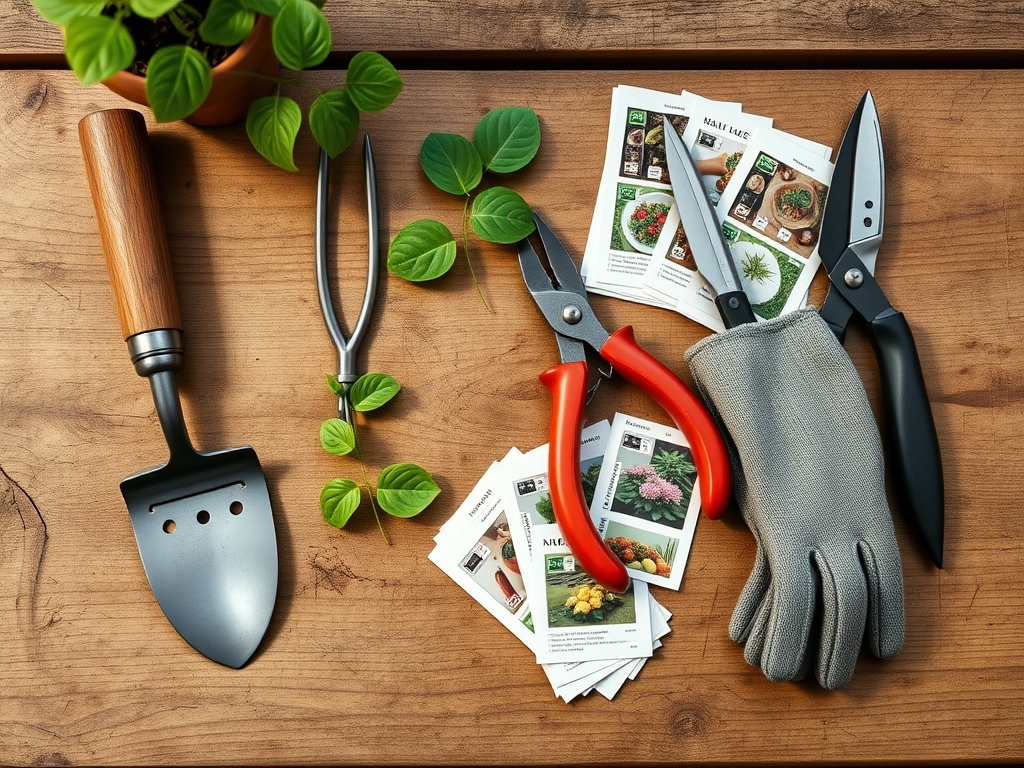
Materials:
The substrate is the most critical variable for long term health. Murraya koenigii requires a pH range between 6.0 and 7.0. In acidic soils below 5.5, the availability of phosphorus and magnesium drops significantly. The ideal physical texture is a friable loam consisting of 40 percent sand, 40 percent silt, and 20 percent clay. This ratio ensures a high Cation Exchange Capacity (CEC), allowing the soil to retain essential nutrients like potassium and calcium.
For the initial planting phase, use a fertilizer with an NPK ratio of 10-15-10. The elevated phosphorus levels stimulate early root development and ATP production. Avoid high nitrogen fertilizers during the first 30 days to prevent leggy, weak growth that is susceptible to environmental stress. You will also need a soil moisture meter to monitor the saturation levels at a depth of six inches.
Timing:
Murraya koenigii is a tropical to subtropical perennial typically suited for USDA Hardiness Zones 9 through 12. If you are in Zone 8 or lower, you must utilize container gardening to facilitate indoor overwintering. The biological clock of the plant is sensitive to soil temperature. Do not transplant until the soil consistently maintains a temperature of 65 degrees Fahrenheit (18 degrees Celsius).
The transition from the vegetative stage to the reproductive stage is triggered by photoperiod and temperature. In late spring, the plant enters a period of rapid cell division. Planting during this window allows the root system to synchronize with the natural surge in auxin production. Avoid planting within 60 days of the first expected frost date to prevent cellular rupture caused by freezing sap.
Phases:
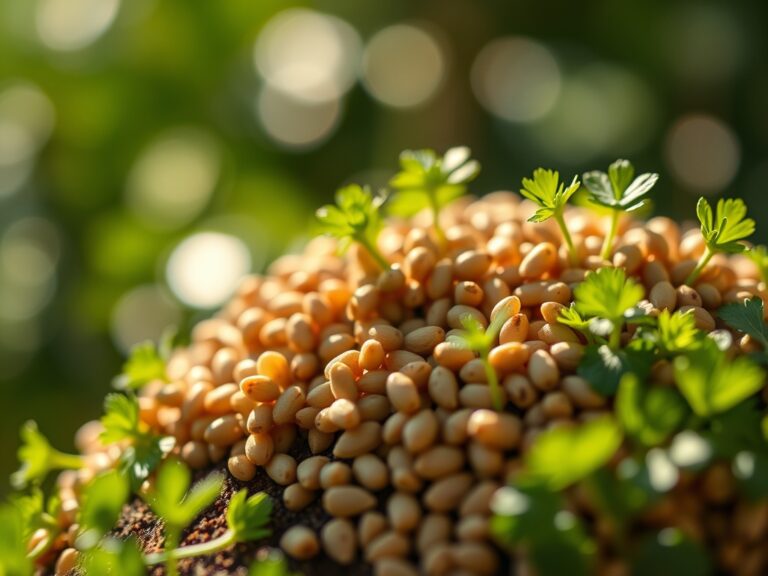
Sowing and Germination
If starting from seed, use only fresh, depulped "stones." Dried seeds have a germination rate of less than 10 percent due to the rapid senescence of the embryo. Plant the seeds 0.5 inches deep in a sterile seed starting mix. Maintain a constant temperature of 80 degrees Fahrenheit.
Pro-Tip: Maintain high humidity to prevent the seed coat from hardening. This supports the emergence of the radicle by reducing mechanical resistance; a biological necessity for species with non-dormant seeds.
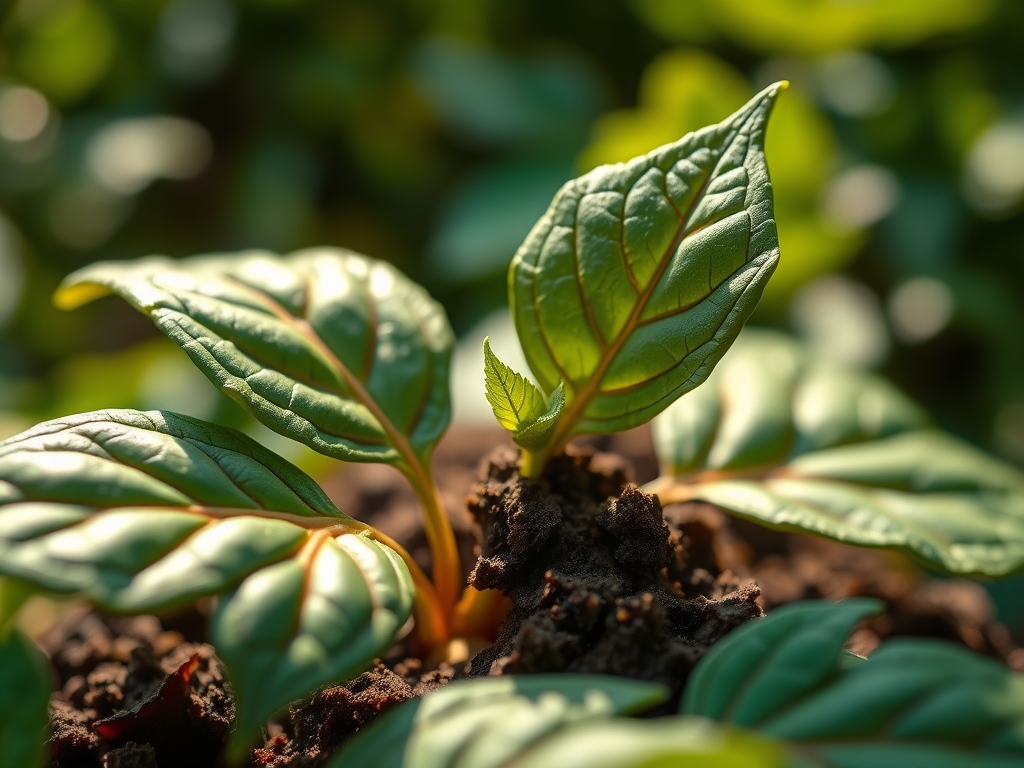
Transplanting
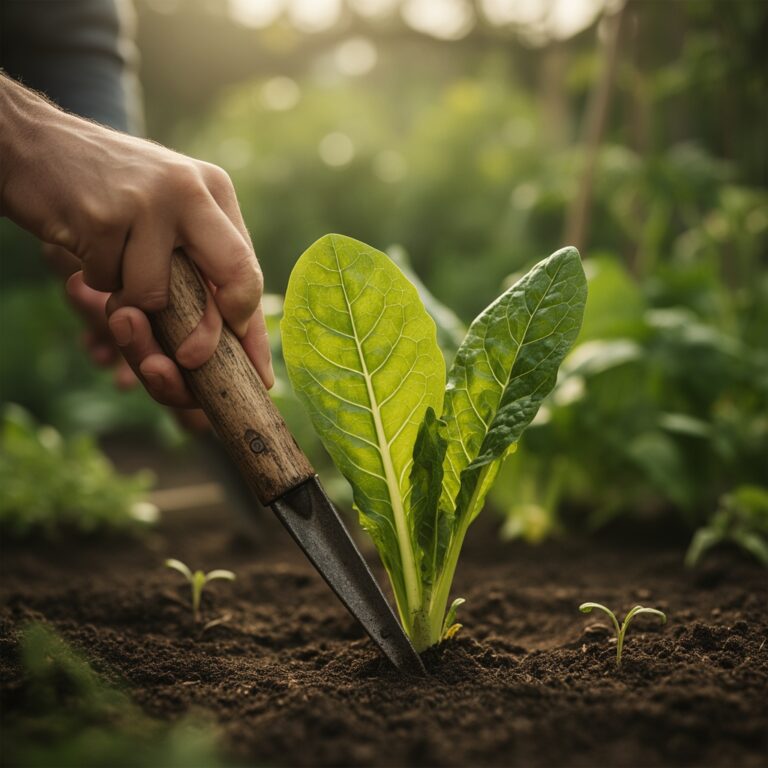
When the seedling reaches 4 inches in height and possesses at least two sets of true leaves, it is ready for transplanting. Dig a hole twice as wide as the root ball but no deeper. Use a hori-hori knife to gently tease out any circling roots. This prevents "girdling," which can choke the vascular system as the plant matures.
Pro-Tip: Inoculate the planting hole with endomycorrhizal fungi. This creates a symbiotic relationship where the fungi extend the root reach by 100 times, significantly increasing the uptake of immobile nutrients like phosphorus.
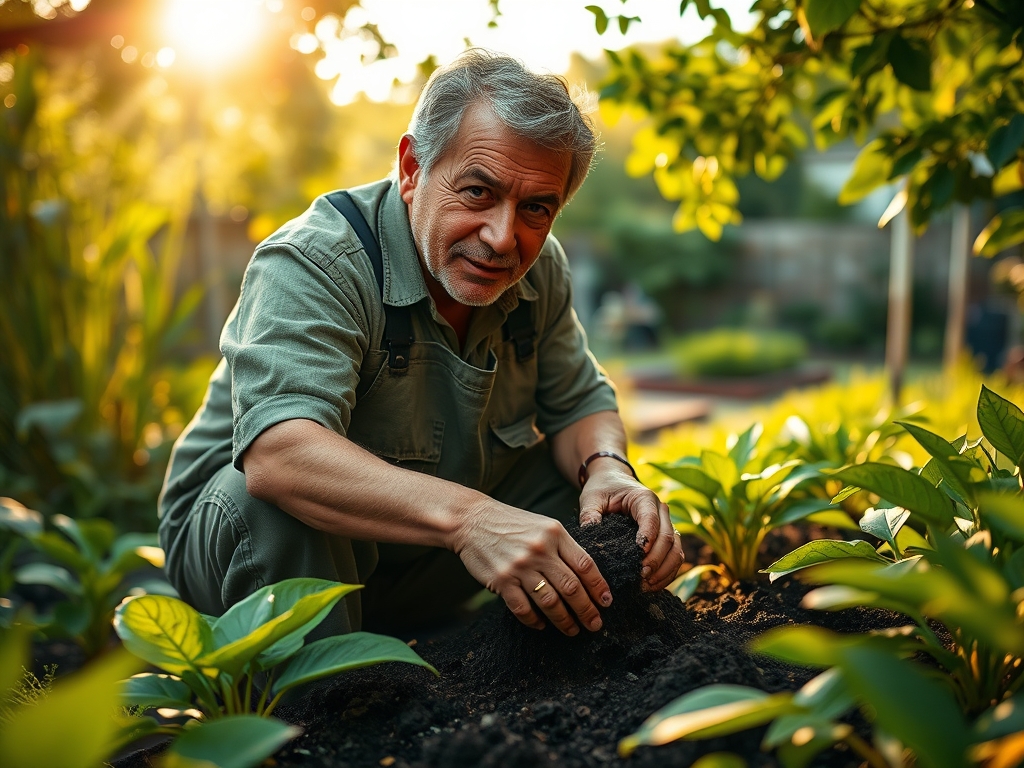
Establishing
The first 90 days are the establishment phase. The plant must prioritize root expansion over canopy growth. If the plant attempts to flower during this period, pinch off the terminal buds. This redirects energy from reproductive structures back to the root system through a process called apical dominance suppression.
Pro-Tip: Minimize light intensity for the first 7 days post-transplant. This reduces the transpiration rate, allowing the damaged root hairs to recover without the pressure of replacing massive water loss from the leaves.
The Clinic:
Physiological disorders often mimic pathogen attacks. Accurate diagnosis is essential for effective intervention.
- Nitrogen Chlorosis: Older leaves turn pale yellow while veins remain slightly green.
- Fix-It: Apply a water soluble fertilizer with a high Nitrogen (N) value or blood meal to restore chlorophyll production.
- Iron Deficiency: New growth appears yellow or white, but the veins remain dark green. This usually occurs in high pH soils (above 7.5).
- Fix-It: Apply chelated iron as a soil drench to lower the local pH and increase iron bioavailability.
- Edema: Small bumps or blisters appear on the underside of leaves. This is caused by the plant taking up water faster than it can transpire.
- Solution: Improve air circulation and reduce watering frequency; ensure the substrate has adequate drainage.
- Leaf Margin Burn: The edges of the leaves turn brown and crispy. This indicates salt accumulation from synthetic fertilizers or tap water.
- Solution: Flush the soil with three times the volume of the pot using distilled or rainwater to leach out excess salts.
Maintenance:
Precision irrigation is the backbone of curry leaf maintenance. Provide 1.5 inches of water per week at the drip line. Do not water the trunk, as this encourages fungal pathogens in the crown. Use a soil moisture meter to ensure the top two inches of soil are dry before re-irrigating.
Pruning is required to maintain a bushy habit. Use sharp bypass pruners to make 45 degree cuts just above a leaf node. This angle prevents water from pooling on the wound, which reduces the risk of infection. Annually, top-dress the root zone with 2 inches of organic compost to replenish micronutrients and maintain soil structure.
The Yield:
Harvesting can begin once the plant reaches a height of 12 to 18 inches. Never remove more than 30 percent of the total leaf mass at one time. Removing too much foliage reduces the photosynthetic capacity, leading to stunted growth.
For maximum oil retention, harvest in the early morning when the dew has dried but before the sun reaches its zenith. Use shears to snip entire leaf stalks rather than individual leaflets. To maintain "day-one" freshness, place the stalks in a sealed glass jar in the refrigerator. This slows the rate of respiration and prevents the volatile oils from oxidizing.
FAQ:
How much sun does a curry leaf plant need?
Murraya koenigii requires at least 6 to 8 hours of direct sunlight daily. Insufficient light leads to "etiolation," where the stems become weak and elongated as the plant searches for a light source to drive photosynthesis.
Why are my curry leaf plant leaves falling off?
Sudden leaf drop is usually a response to environmental shock or overwatering. Check the roots for signs of rot. If the soil is waterlogged, the roots cannot access oxygen, leading to cellular death and subsequent leaf abscission.
What is the best fertilizer for curry leaf plants?
Use a balanced, slow release fertilizer with a ratio like 10-10-10 during the growing season. Supplement with magnesium sulfate (Epsom salts) twice a year at a rate of 1 tablespoon per gallon of water to support chlorophyll synthesis.
Can I grow curry leaf in a pot?
Yes, use a container with a minimum 5 gallon capacity and multiple drainage holes. Use a high quality potting mix amended with perlite to ensure the drainage mimics the plant's natural well-drained volcanic or loamy habitat.