7 Prep Steps to Prepare an Indoor Greenhouse Cabinet
Learning how to prepare an indoor greenhouse cabinet transforms a bare enclosure into a controlled ecosystem where temperature, humidity, and light converge under your command. The cabinet's metal frame stands cold to the touch before preparation begins. Air inside registers the same temperature as the surrounding room, inert and unready. Proper preparation activates this space through substrate selection, environmental calibration, and structural modification. Each step builds the foundation for predictable plant response and vigorous growth.
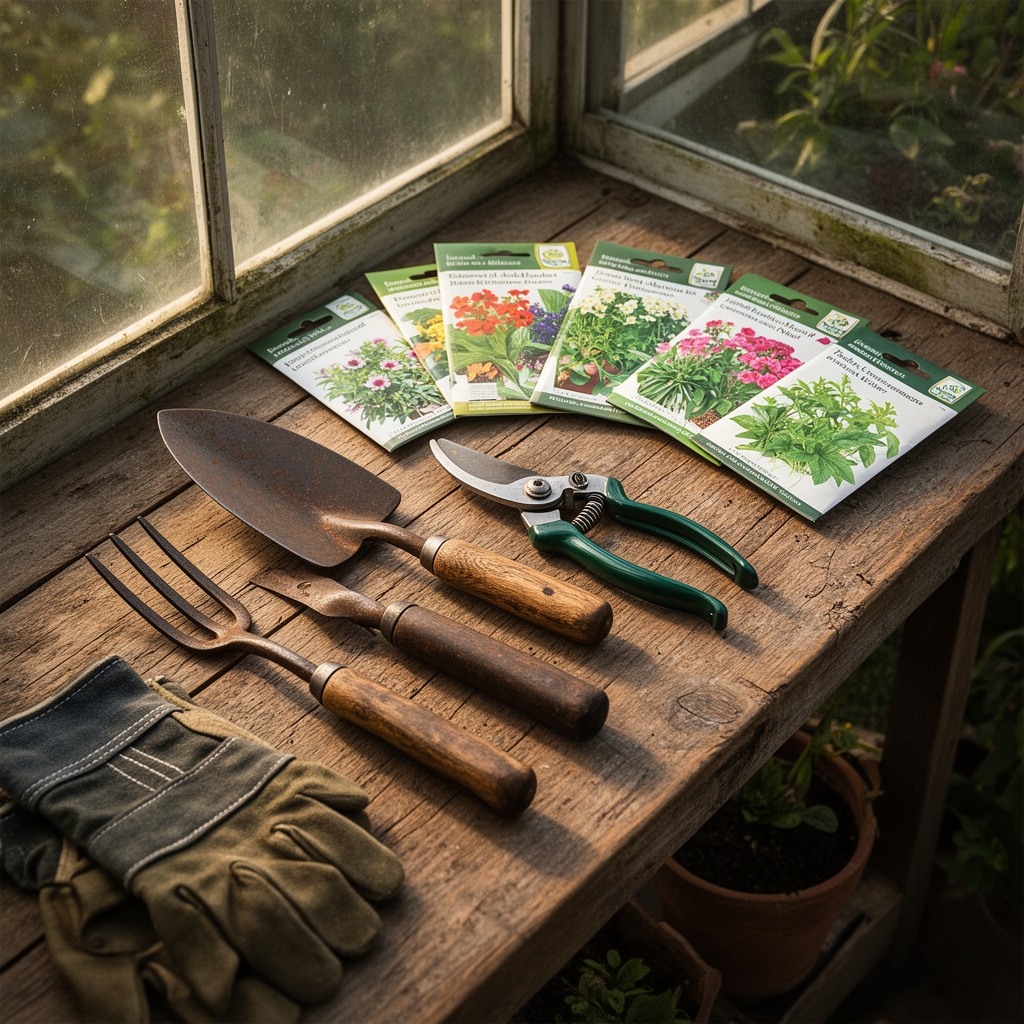
Materials
The substrate base requires a soilless mix with a pH of 5.8 to 6.3 for most crop species. Combine 60% Canadian sphagnum peat moss, 30% perlite (grade 3), and 10% vermiculite (medium grade). This blend offers a cation exchange capacity of 12-18 meq/100g, sufficient for nutrient retention without waterlogging.
Amend the base mix with a balanced organic fertilizer rated at 4-4-4 NPK. Add 2 tablespoons per gallon of substrate. Kelp meal (1-0.1-2 NPK) supplies trace minerals and cytokinins at 1 tablespoon per gallon. Mycorrhizal fungi inoculant (Glomus intraradices) should be mixed at the manufacturer's specified rate, typically 1 teaspoon per gallon.
Structural materials include reflective Mylar sheeting (90% reflectivity), full-spectrum LED grow lights delivering 400-600 micromoles per square meter per second (PPFD), a circulation fan rated for cabinet cubic footage, and a digital hygrometer with probe accuracy within 2% relative humidity. A timer with 15-minute increments controls photoperiod precision.
Timing
Indoor greenhouse cabinets sidestep hardiness zone constraints, but seasonal ambient conditions still influence preparation timing. In USDA Zones 5-7, prepare cabinets between March 15 and April 30 when indoor heating systems transition off. Baseline room temperatures stabilize between 65-72°F, reducing the cabinet's thermal regulation burden.
For zones 8-10, October through November offers ideal preparation windows. Outdoor heat dissipates, and air conditioning demand drops. The cabinet's environmental controls operate more efficiently when not fighting extreme ambient conditions. Year-round operation remains possible in any zone, but energy costs rise when external temperatures deviate beyond 55-80°F.
Phases

Sowing Phase
Line the cabinet floor with waterproof sheeting, then install drainage trays with 0.5-inch lips. Position the LED fixture 24 inches above the growing surface. Attach reflective Mylar to interior walls using spray adhesive, ensuring no gaps at seams. The reflective surface redirects 90% of stray photons back to plant surfaces.
Fill seed-starting trays with moistened substrate mix. Sow seeds at twice their diameter depth. Maintain substrate temperature at 72-75°F using a seedling heat mat. Photoperiod should run 16 hours on, 8 hours off. Humidity must remain at 70-80% during germination. Mist the surface twice daily with pH 6.0 water.
Pro-Tip: Apply a Trichoderma harzianum spore suspension (1 x 10^6 CFU/ml) to substrate before sowing. This fungal species colonizes root zones and suppresses damping-off pathogens.
Transplanting Phase
Seedlings reach transplant readiness when the second true leaf pair fully expands, typically 14-21 days post-germination. Prepare 4-inch pots with the same substrate formula. Water transplants with a solution containing soluble seaweed extract (0-0-1 NPK) at 1 tablespoon per gallon to reduce transplant shock and stimulate auxin distribution.
Adjust LED height to 18 inches above canopy. Reduce humidity to 60-65%. Introduce air circulation via the cabinet fan set to low speed. Air should move gently across foliage without causing visible leaf flutter. This movement strengthens stems through thigmomorphogenesis.
Pro-Tip: Transplant during the evening or dark cycle. Stomata close in darkness, reducing water loss through transpiration by 40-60% during the critical recovery window.
Establishing Phase
Plants achieve establishment when new vegetative growth appears, usually 7-10 days post-transplant. Increase light intensity by lowering the fixture to 12-14 inches from the canopy. Begin feeding with a balanced liquid fertilizer (10-10-10 NPK) at half-strength every 7 days.
Monitor leaf angle daily. Petioles angled 45 degrees from the stem indicate optimal light and water status. Angles above 60 degrees signal excess light or water stress. Prune lower foliage that receives less than 100 PPFD to redirect energy into productive tissue.
Pro-Tip: Measure substrate EC (electrical conductivity) weekly with a handheld meter. Maintain readings between 1.2-1.8 mS/cm for vegetative growth. Readings above 2.0 indicate salt accumulation requiring substrate leaching with pH-balanced water.
Troubleshooting
Symptom: Chlorosis on Lower Leaves
Solution: Nitrogen deficiency. Apply fish emulsion (5-1-1 NPK) at label rate. Nitrogen is mobile in plants and preferentially moves to new growth, leaving older leaves pale. Response appears within 5-7 days.
Symptom: Interveinal Chlorosis on New Growth
Solution: Iron deficiency caused by high substrate pH. Test pH using a slurry method. If above 6.5, apply sulfur at 1 teaspoon per gallon of substrate or use chelated iron (Fe-EDDHA) at 1 gram per gallon of water as a drench.
Symptom: White Powdery Coating on Leaf Surfaces
Solution: Powdery mildew (Erysiphe cichoracearum). Lower humidity to 45-50% and increase air circulation. Apply potassium bicarbonate solution (1 tablespoon per quart water) as a foliar spray every 3 days for 2 weeks.
Symptom: Leaf Edges Browning and Curling
Solution: Potassium deficiency or salt accumulation. Flush substrate with 2x the container volume of pH 6.0 water. After drainage completes, apply a potassium sulfate solution (0-0-50 NPK) at 0.5 teaspoon per gallon.
Symptom: Webbing on Leaf Undersides with Stippling
Solution: Two-spotted spider mites (Tetranychus urticae). Apply insecticidal soap (potassium salts of fatty acids) to leaf undersides until runoff. Repeat every 3 days for 3 applications. Raise humidity above 60% to suppress mite reproduction.
Maintenance
Water when the substrate surface dries to 0.5 inch depth. Apply 1 inch of water per irrigation event, measuring with a rain gauge placed in the drainage tray. This volume saturates the root zone without creating anaerobic conditions.
Clean reflective surfaces monthly with a 10% isopropyl alcohol solution to maintain 90% reflectivity. Dust accumulation reduces light intensity by 15-20% in 30 days. Replace LED fixtures when PPFD output drops below 80% of initial specification, typically after 50,000 hours of operation.
Calibrate the hygrometer quarterly against a saturated salt solution. Sodium chloride creates a 75% RH environment at 68°F. Adjust the meter if readings deviate more than 3%. Temperature and humidity sensors drift over time, compromising environmental control accuracy.
FAQ
How often should cabinet air be exchanged?
Exchange the full cabinet air volume once every 5 minutes during the photoperiod. A 4 cubic foot cabinet requires a fan moving 48 CFM minimum. Fresh air prevents CO2 depletion and ethylene accumulation.
What is the optimal cabinet size for beginners?
A 2-foot width by 4-foot height by 2-foot depth cabinet provides 16 cubic feet of growing space. This accommodates 12-16 four-inch pots or 6-8 one-gallon containers, sufficient for skill development without overwhelming management demands.
Can tap water be used directly in the cabinet?
Test tap water pH and EC first. If pH falls between 6.0-7.0 and EC remains below 0.4 mS/cm, use directly. If chlorine odor is detectable, let water sit uncovered for 24 hours before use. Chlorine dissipates through volatilization.
How long before the cabinet becomes productive?
Fast-growing species like lettuce (Lactuca sativa) reach harvest size in 35-45 days from seed. Fruiting crops such as determinate tomatoes (Solanum lycopersicum) require 75-90 days. Herb species vary from 25 days (cilantro) to 60 days (oregano).
What photoperiod suits most cabinet crops?
Vegetative growth responds best to 16-18 hours of light daily. Flowering crops require species-specific photoperiods: short-day plants need less than 12 hours, long-day plants need more than 14 hours, and day-neutral plants remain indifferent to duration.