7 Simple Steps to Sharpen a Saw with Stone
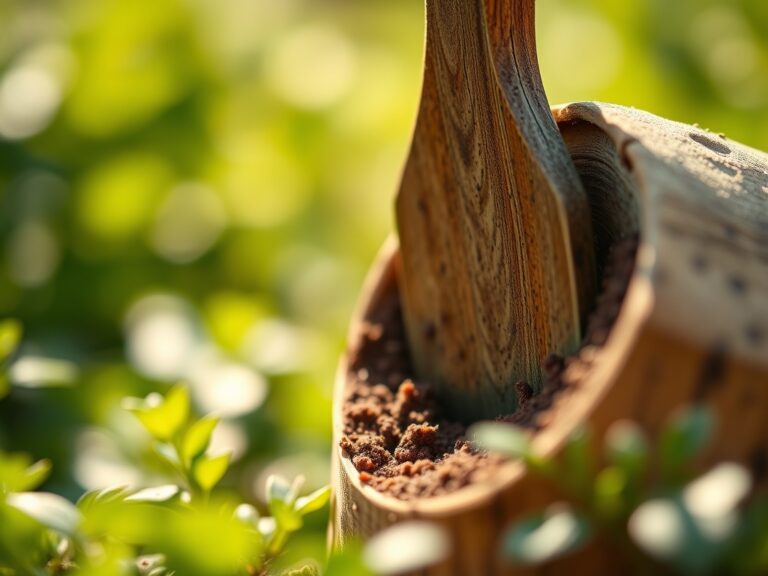
Damp earth releases geosmin as the spade cuts through the rhizosphere; the scent signals a transition from dormant winter to active growth. A dull blade is a liability in the orchard. It crushes vascular tissue instead of slicing it, leading to ragged wounds that invite fungal pathogens. Mastering the steps for sharpening a garden saw with a stone ensures clean, surgical cuts that maintain the turgor pressure of the specimen. Proper maintenance prevents the jagged tearing of the cambium layer, allowing the plant to seal wounds through natural compartmentalization. This technical precision is the difference between a thriving perennial and a necrotic stump.
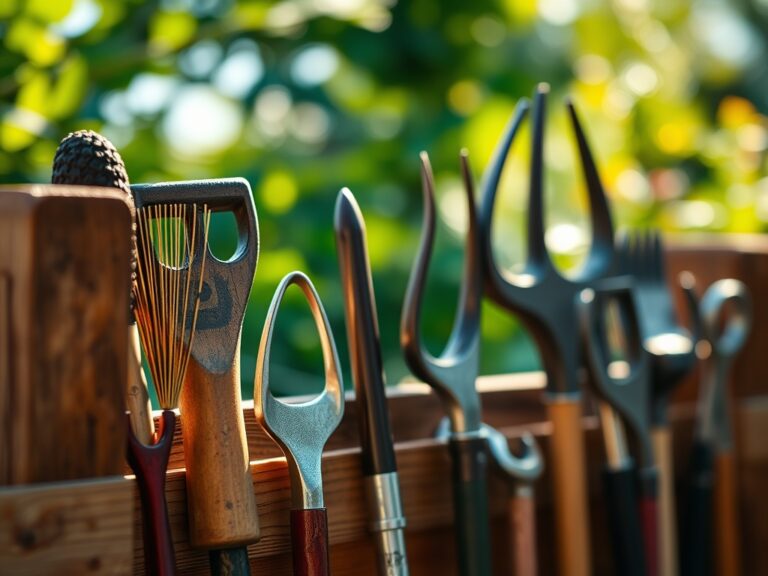
Materials:
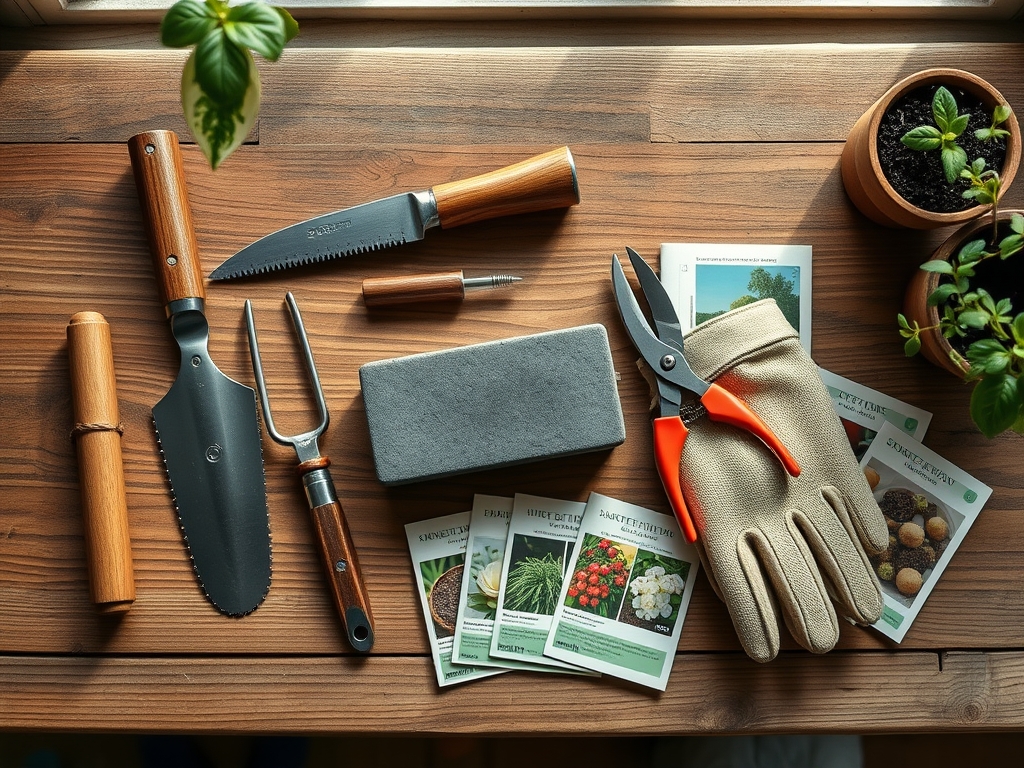
While the saw is a mechanical tool, its performance is dictated by the environment it services. The ideal substrate for the plants you will prune is a **friable loam** with a **Cation Exchange Capacity (CEC) between 15 and 25**. This soil must maintain a **pH level of 6.2 to 6.8** to ensure maximum nutrient bioavailability. When preparing the workspace for sharpening, ensure your hands are free of synthetic fertilizers, particularly those with high salt indexes like **10-10-10 NPK**, which can corrode high-carbon steel. You will require a **600-grit diamond whetstone**, a **feather file** specifically shaped for saw gullets, and a **lightweight mineral oil** to prevent oxidation.
Timing:
Sharpening should occur during the dormant window, typically between Hardiness Zones 4 and 8 from late November to early March. This timing aligns with the plant's "Biological Clock" as it moves from senescence into endodormancy. Pruning with a sharp saw just before the spring flush ensures that as the plant transitions from vegetative to reproductive stages, it can immediately direct auxins to the wound site for rapid healing. Do not sharpen or prune when the ambient temperature is below 25 degrees Fahrenheit; frozen wood fibers are brittle and can snap the teeth of a freshly honed blade.
Phases:

### Sowing the Edge
Begin by securing the saw in a vice with the teeth pointing upward. Use a **flat mill file** to lightly graze the tops of the teeth. This creates a uniform height across the “kerf” of the blade. This process ensures that every tooth engages the wood at the same depth, preventing “chatter” during the stroke.
Pro-Tip: Maintaining a uniform tooth height prevents uneven mechanical stress on the plant's xylem, which can lead to localized cell death and increased susceptibility to wood-boring insects.
Transplanting the Angle
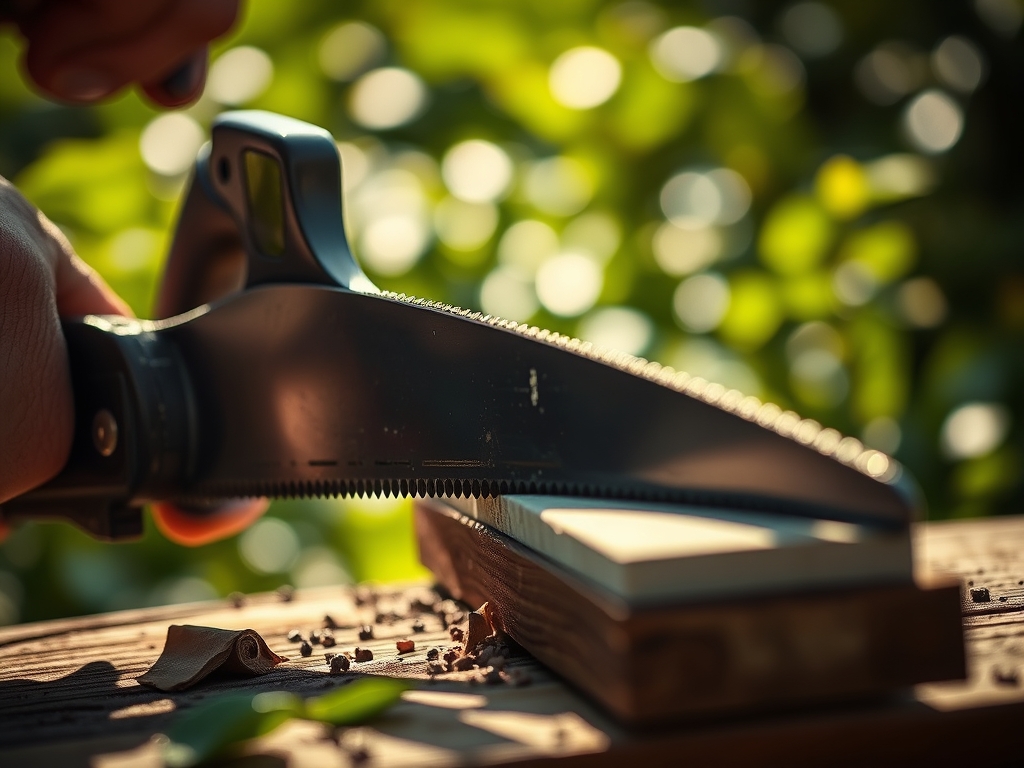
Use a triangular stone or feather file to sharpen the beveled edge of each tooth. Follow the original factory angle, which is typically 20 to 30 degrees. Stroke away from the body in a single, fluid motion. Count your strokes to ensure equal metal removal across the entire length of the tool.
Pro-Tip: A precise bevel angle reduces the friction coefficient during the cut. This minimizes heat buildup, preventing the "cauterization" of the branch collar which would otherwise inhibit the flow of cytokinins necessary for bud break.
Establishing the Set
The "set" refers to the outward bend of the teeth. Use a saw-set tool to ensure the teeth alternate left and right. This creates a cut wider than the blade itself, preventing binding. The gap should be approximately 1.2 to 1.5 times the thickness of the blade plate.
Pro-Tip: Proper tooth set allows for the efficient expulsion of sawdust. This prevents the buildup of moist organic debris in the cut, which can harbor mycelium and lead to internal rot within the host plant.
The Clinic:
Symptom: Ragged Cut Edges
Solution: This indicates a dull blade or improper tooth set. Re-hone using a 1000-grit stone to refine the edge. A ragged cut increases the surface area of the wound, doubling the risk of Botrytis cinerea infection.
Symptom: Blade Binding in Mid-Cut
Solution: The set of the teeth has been lost. Re-align the teeth to a 15-degree offset from the center line. Binding causes mechanical trauma to the plant's phloem, disrupting the transport of photosynthates to the root system.
Symptom: Rust or Oxidation
Solution: Scrub the blade with a wire brush and apply a silicone-based lubricant. Oxidation on the blade can introduce heavy metal toxicity to the rhizosphere if the tool is left in the soil.
Fix-It: Nutrient Deficiencies
If plants exhibit Nitrogen chlorosis (yellowing of older leaves), apply a blood meal or urea-based fertilizer with an NPK of 12-0-0. For Iron chlorosis (interveinal yellowing on new growth), check the soil pH. If it is above 7.5, the iron is locked; apply elemental sulfur to lower the pH and unlock the micronutrients.
Maintenance:
After sharpening, clean the blade with 70 percent isopropyl alcohol to prevent the cross-contamination of pathogens like fire blight. During the growing season, ensure your specimens receive 1.5 inches of water per week at the drip line, measured by a soil moisture meter. Use a hori-hori knife to remove deep-rooted weeds that compete for nitrogen. Always carry bypass pruners for small diameter growth, reserving the saw for limbs exceeding 1.5 inches in diameter. Store the saw in a dry environment with a desiccant pack to maintain the integrity of the sharpened steel.
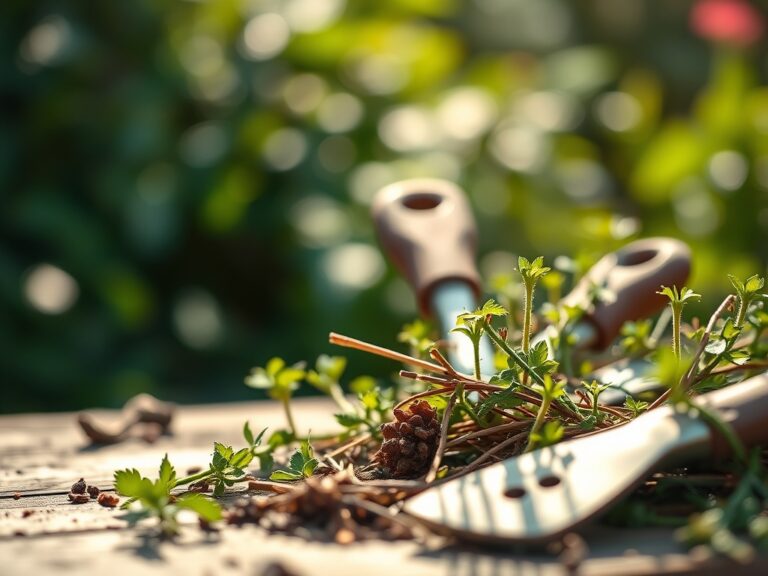
The Yield:
A sharp saw facilitates a clean harvest of woody herbs or fruit-bearing branches. For maximum "day-one" freshness, harvest in the early morning when turgor pressure is at its peak. Immediately submerge the cut ends in 40-degree Fahrenheit water to slow the rate of transpiration. This technique preserves the sugars and essential oils within the tissue. For timber or structural pruning, ensure the final cut is made just outside the branch bark ridge to encourage the formation of a "callus roll," which is the plant's primary defense against decay.
FAQ:
How often should I sharpen my garden saw?
Sharpen the blade every 10 to 15 hours of active cutting time. If you notice increased resistance or "fuzz" on the wood surface, the teeth have lost their edge. Regular honing extends the tool's lifespan and protects plant health.
Can I use a regular whetstone for a saw?
Yes, but a triangular feather file or a narrow diamond stone is required to reach the gullets between the teeth. A standard flat stone will only sharpen the tips, leaving the cutting faces dull and inefficient for deep wood penetration.
Why does my saw blade keep rusting?
Rust occurs when high-carbon steel is exposed to moisture and oxygen. Clean the blade after every use to remove acidic plant sap. Apply a thin layer of camellia oil or mineral oil to create a protective barrier against oxidation.
What is the best angle for sharpening saw teeth?
Most garden saws require a 20 to 30-degree bevel. Maintaining this specific geometry is critical for slicing through the cellulose and lignin fibers of hardwood species without causing excessive mechanical stress or heat damage to the tool.