9 Practical Steps to Build an In-Person Tool Class
The smell of wet clay and the metallic tang of oxidized carbon steel define a productive workspace. To achieve maximum plant health, one must maintain high turgor pressure within the vascular system; this requires tools that produce clean, surgical cuts rather than jagged tears. Learning how to prepare a garden for a tool care class requires transforming a plot into a functional laboratory where mechanical maintenance meets biological necessity. You must organize the space to demonstrate how sharp edges prevent the entry of pathogens into the xylem.
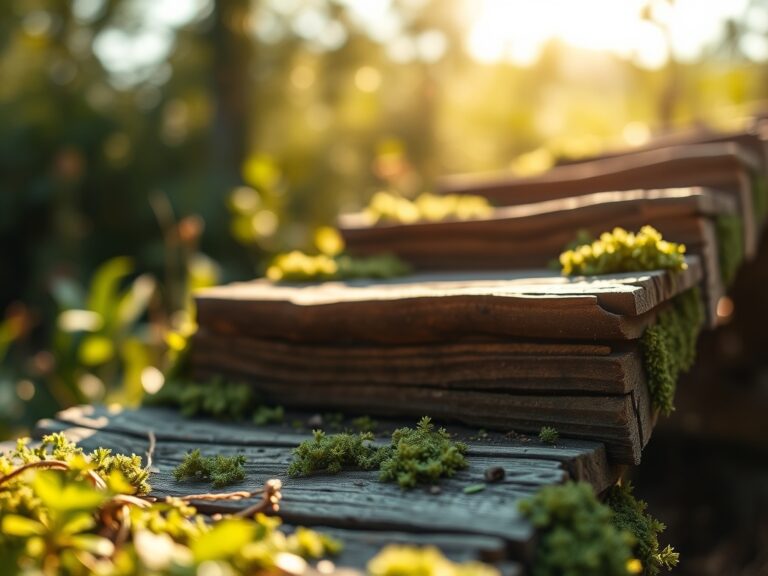
Preparation begins with stabilizing the environment. A garden intended for instruction must be clear of debris to prevent tripping hazards and to ensure that soil microbes do not contaminate the sharpening stones or lubricants used during the session. We focus on the intersection of metallurgy and botany. A dull blade crushes cells; a sharp blade severs them. This distinction is the difference between a plant that heals in forty eight hours and one that succumbs to fungal infection. The goal is to create a station where students can observe the immediate impact of tool precision on live tissue.
Materials:

The foundation of any garden classroom is the substrate. For a tool care class, you need a demonstration plot with **friable loam** containing roughly **40% sand, 40% silt, and 20% clay**. This texture allows for easy insertion of spades and forks to demonstrate proper leverage and soil penetration. The soil pH should be maintained between **6.2 and 6.8** to ensure optimal nutrient availability.
Specific nutrient requirements for the demonstration plants include an NPK ratio of 10-10-10 for general vigor, or a 5-10-15 ratio if you are working with root crops that require higher potassium for cellular wall strength. High Cation Exchange Capacity (CEC) is vital; aim for a CEC rating above 15 milliequivalents per 100 grams (meq/100g). This ensures the soil holds onto the positively charged ions like Calcium and Magnesium which are essential for the structural integrity of the stems you will be pruning.
Timing:
The class should be scheduled according to the local frost-free window, typically between Hardiness Zones 5 and 8. In Zone 6, the ideal window for a tool care clinic is late March or early October. This aligns with the biological clock of the garden. During the transition from the vegetative stage to the reproductive stage, plants redirect energy from leaf production to flower and fruit development.
Pruning demonstrations are most effective during the dormant season or the "silver tip" stage of bud development. At this point, the plant has low sap flow, reducing the risk of nutrient loss through "bleeding" at the cut site. Avoid scheduling the class during peak photoperiods when high temperatures increase transpiration rates; instead, aim for early morning when relative humidity is above 60% to minimize stress on any exposed plant tissues used during the demonstration.
Phases:

Sowing and Site Preparation
Clear a 10-foot by 10-foot area of all perennial weeds. Use a hori-hori knife to extract taproots entirely. Level the ground to provide a stable surface for tool benches. Ensure the rhizosphere is hydrated forty eight hours before the class to allow for easy soil sampling.
Pro-Tip: Maintaining soil moisture before a class is essential because of mycorrhizal symbiosis. Moist soil preserves the delicate fungal hyphae that assist in nutrient uptake; dry, compacted soil shatters these networks when tools are driven into the earth.
Transplanting and Layout
Position "sacrifice" plants in containers or designated rows. These are the specimens students will practice pruning on. Space them 36 inches apart to allow for a full range of motion with long-handled loppers. Label each species to discuss specific wood density and its effect on blade wear.
Pro-Tip: When transplanting for a class, avoid disturbing the root ball to prevent transplant shock. This occurs when the root hairs lose contact with soil particles, causing a sudden drop in turgor pressure and leaf wilting.
Establishing the Maintenance Station
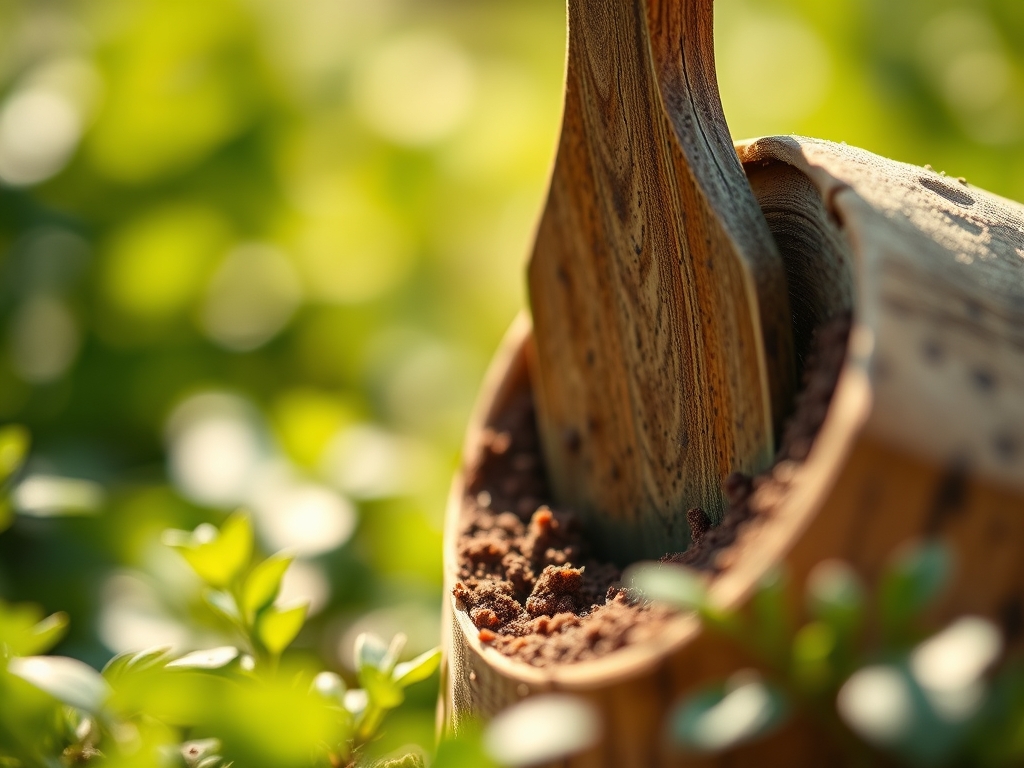
Set up a cleaning station with 90% isopropyl alcohol for sterilization and 3-in-1 oil for rust prevention. Arrange sharpening stones from 400 grit to 1000 grit. Ensure there is a dedicated bin for "green waste" to prevent the spread of soil-borne pathogens.
Pro-Tip: Sterilizing blades between cuts is a biological necessity to prevent the mechanical transmission of viruses. Pathogens can hitchhike on sap residue, moving from an infected plant to a healthy one in seconds.
The Clinic:
Diagnosing plant health is the first step in determining which tool to use. Observe the specimens for these physiological disorders:
- Symptom: Interveinal chlorosis on younger leaves.
- Solution: This indicates an Iron deficiency, often caused by high pH. Apply chelated iron and check the calibration of your soil moisture meter to ensure overwatering isn't leaching nutrients.
- Symptom: Marginal leaf burn or "scorching."
- Solution: Typically a sign of Potassium deficiency or salt buildup. Flush the soil with 2 inches of water and adjust the NPK balance to favor K (Potassium).
- Symptom: Stunted growth with purple tinting on the underside of leaves.
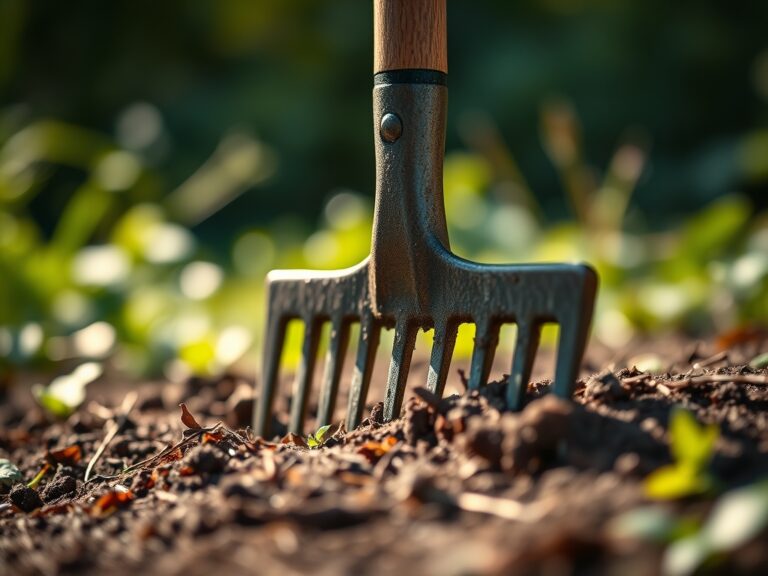
- Fix-It: This is Phosphorus deficiency. Incorporate bone meal or a 0-20-0 superphosphate into the top 3 inches of soil using a hand rake.
Maintenance:
A garden used for instruction requires rigorous upkeep. Deliver 1.5 inches of water per week at the drip line, never overhead, to keep foliage dry and reduce disease pressure. Use a soil moisture meter daily to maintain levels between 20% and 40% volumetric water content.
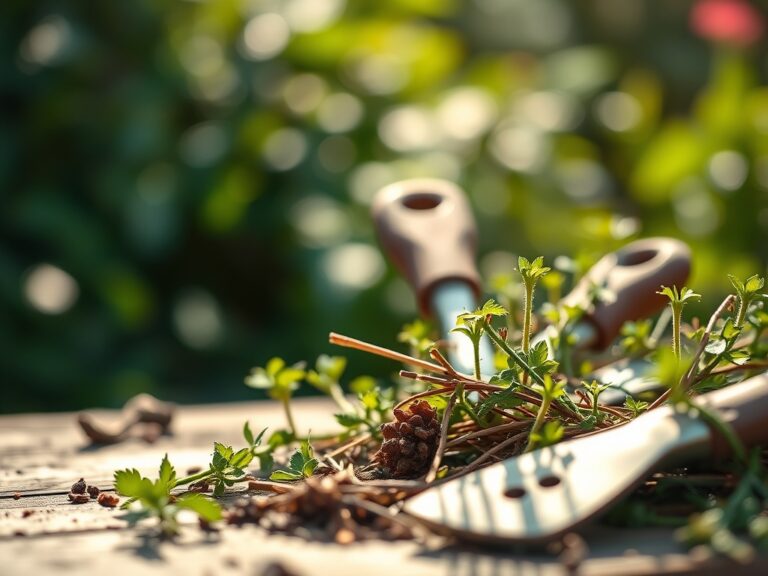
Tools must be stored in a dry, climate-controlled environment. After every class, use bypass pruners to remove any damaged tissue from the demonstration plants. Wipe blades with a microfiber cloth and apply a thin layer of mineral oil. If using a hori-hori knife for weeding, ensure the serrated edge is free of grit, as soil particles act as abrasives that dull the steel over time.
The Yield:
When the class involves harvesting, timing is everything. For woody herbs or flowers, harvest when the dew has evaporated but before the midday sun triggers high transpiration. Use a sharp bypass pruner to make a 45-degree angle cut. This increases the surface area of the xylem for water uptake.
Immediately plunge stems into 40-degree Fahrenheit water. This "cold chain" management slows down the process of senescence (biological aging) and maintains the plant's metabolic integrity. For root crops, use a digging fork to loosen the soil 6 inches away from the base to avoid mechanical injury to the epidermis of the vegetable.
FAQ:
How do I clean rusted garden tools?
Use a wire brush or 80-grit sandpaper to remove surface oxidation. Soak the metal in white vinegar for twelve hours for heavy rust. Neutralize with baking soda and water, dry thoroughly, and apply a protective coat of mineral oil.
What is the best tool for pruning thick branches?
Use bypass loppers for branches up to 1.5 inches in diameter. The scissor action provides a clean cut. For anything thicker, use a folding pruning saw with a pull-stroke action to prevent crushing the cambium layer.
Why are my pruners tearing the bark?
Tearing indicates either a dull blade or a loose pivot bolt. Sharpen the cutting blade with a diamond file and tighten the tension nut. Ensure you are using bypass pruners, as anvil types naturally crush delicate stems.
How often should I calibrate my pH meter?
Calibrate your soil pH meter once a month using a two-point buffer solution (pH 4.0 and 7.0). Accurate readings are essential because nutrient availability drops significantly if the pH fluctuates outside the 6.0 to 7.5 range.