7 Easy Steps to Organize a Community Tool Class
Crushed basalt underfoot and the metallic scent of oxidized carbon steel define the staging area of a functional workspace. High turgor pressure in surrounding perennials indicates a hydrated landscape ready for heavy foot traffic. Learning how to prepare a garden for a tool organization class requires a shift from aesthetic maintenance to structural utility. You must stabilize the rhizosphere against compaction while creating a logical flow for pedagogical demonstrations. Efficiency in the field depends on the rigorous calibration of both the soil and the steel used to manipulate it.
Materials:
The foundation of a high-performance garden site is a **friable loam** with a **Soil Cation Exchange Capacity (CEC) between 15 and 25**. This range ensures the substrate can hold essential nutrients against leaching during heavy irrigation. Target a **soil pH of 6.2 to 6.8** to maximize the bioavailability of phosphorus and micronutrients.
For the demonstration plots, incorporate a slow-release organic fertilizer with an NPK ratio of 5-10-5. The higher phosphorus content supports robust root development and structural integrity of the plant stalks. Avoid high nitrogen inputs (above a 10-x-x ratio) before a public class; excessive nitrogen leads to succulent, weak cellular growth that is easily damaged by student handling or accidental contact. The physical substrate should consist of 40 percent sand, 40 percent silt, and 20 percent clay to provide adequate pore space for oxygen diffusion to the root zone.
Timing:
Schedule your class based on the thermal windows of your specific USDA Hardiness Zone. In Zones 5 through 7, the ideal window for a tool organization class is the shoulder season between the final spring frost and the summer solstice. This period aligns with the vegetative stage of the biological clock, where plants are actively producing biomass but have not yet shifted energy toward senescence or reproductive seed production.
Monitor the photoperiod closely. Classes should be held when daylight exceeds 12 hours to ensure high visibility for sharpening demonstrations and ergonomic assessments. Ensure the soil temperature has stabilized at a minimum of 55 degrees Fahrenheit at a depth of four inches. Working in colder, saturated soils leads to anaerobic conditions and severe compaction that can take multiple seasons to remediate.
Phases:

Sowing and Site Leveling
Clear all debris from the demonstration area to prevent tripping hazards. Level the grade to a 2 percent slope to ensure proper drainage away from the tool storage lockers. If sowing a cover crop for a live digging demonstration, utilize winter rye or crimson clover. These species provide a dense root mat that protects the soil structure from the impact of multiple participants.
Pro-Tip: Utilize a mycorrhizal inoculant during soil preparation. This fosters a symbiotic relationship between fungi and roots, extending the reach of the root system and improving the plant's ability to withstand the physical stress of a high-traffic event.
Transplanting and Staging
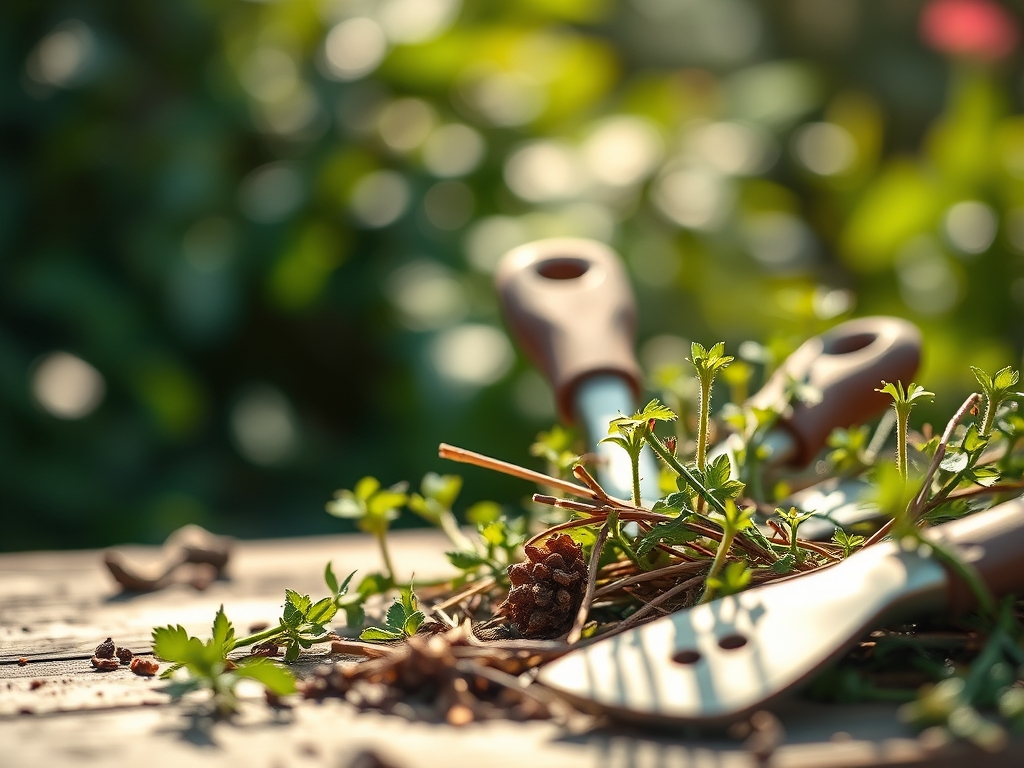
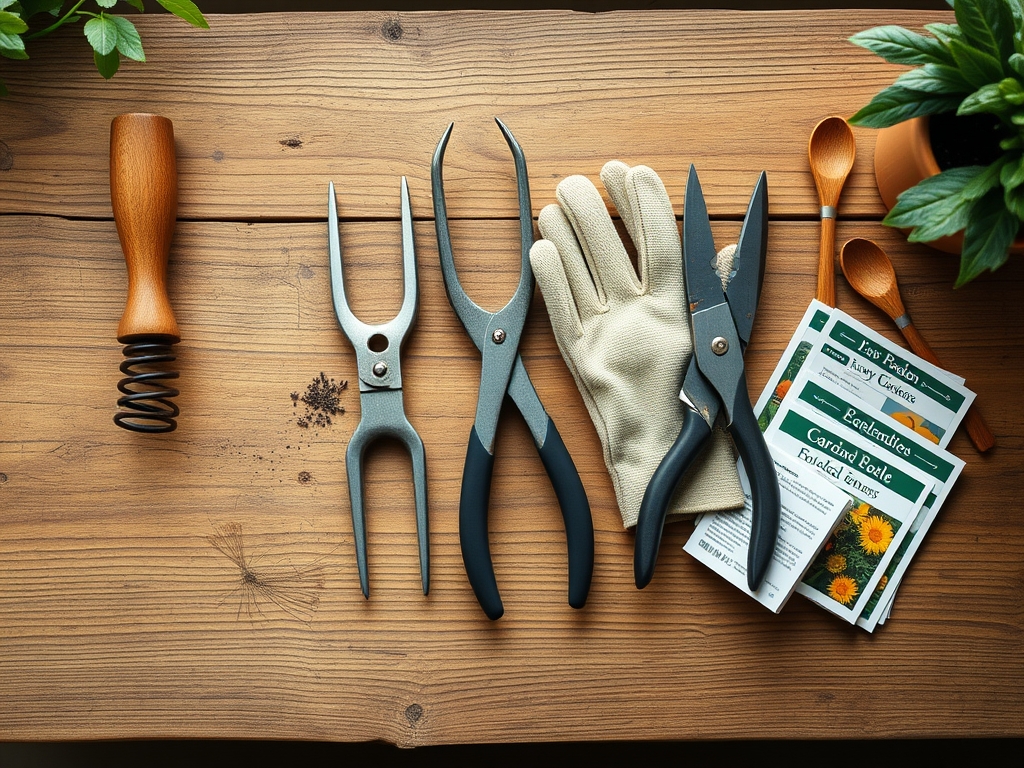
Move potted specimens into the "maintenance zone" 48 hours before the class. This allows the plants to overcome transplant shock and stabilize their internal water potential. Group tools by function: cutting, digging, and cultivation. Each station should have a clear 36-inch radius of workspace to comply with ergonomic safety standards.
Pro-Tip: When pruning plants to show tool efficacy, always cut at a 45-degree angle just above a lateral bud. This manages auxin suppression, directing the plant's growth hormones toward the remaining buds to ensure rapid recovery and bushy regrowth.
Establishing the Flow
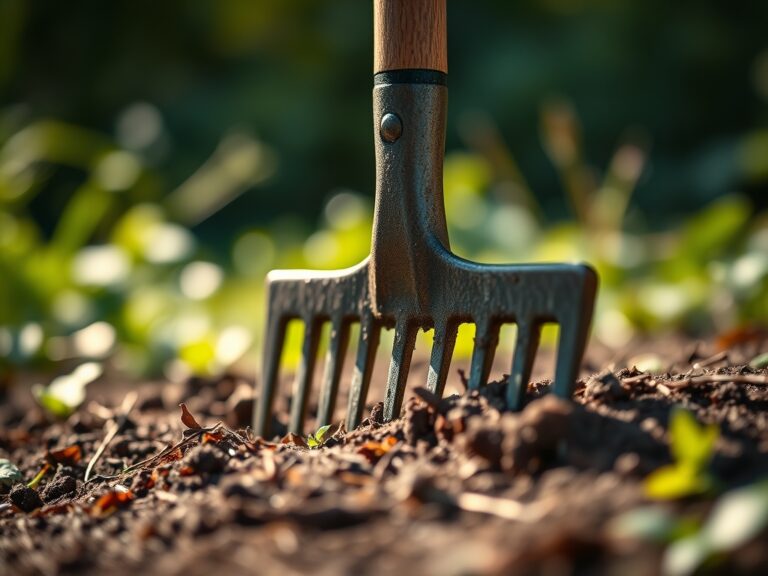
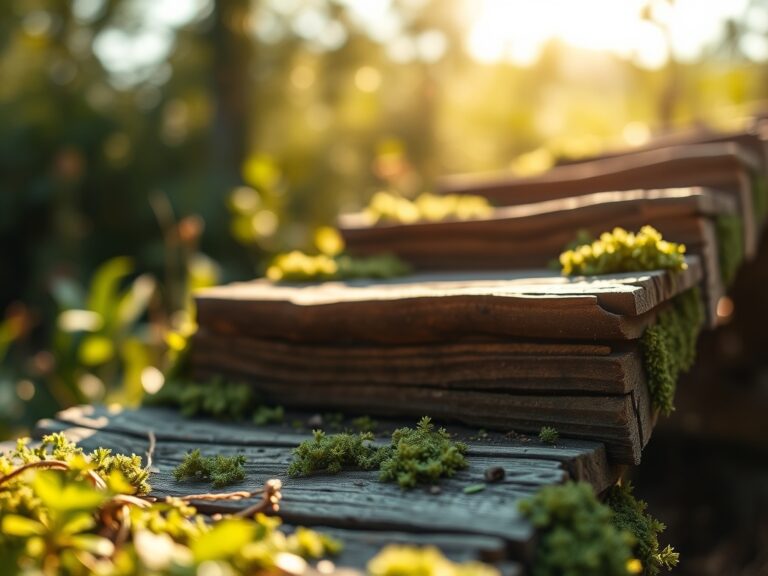
Mark tool "shadow boards" with high-contrast paint. This visual management system ensures that every hori-hori knife and bypass pruner returns to its designated station. Install temporary timber headers or gravel paths to direct foot traffic. This prevents the destruction of the soil's macro-pores, which are essential for gas exchange between the atmosphere and the roots.
Pro-Tip: Maintain a consistent mulch layer of 2 to 3 inches. Mulching prevents phototropism in weed seeds by blocking light, while simultaneously insulating the soil against rapid temperature fluctuations that can stress established plants during the class.
The Clinic:
Physiological disorders in the garden often stem from improper tool use or poor soil chemistry. Use these diagnostics to prepare your demonstration specimens.
- Symptom: Interveinal chlorosis (yellowing leaves with green veins) on new growth.
- Solution: This indicates an Iron (Fe) deficiency, often caused by a pH above 7.0.
- Fix-It: Apply chelated iron or lower the pH using elemental sulfur to a target of 6.5.
- Symptom: Uniform yellowing of older, lower leaves.
- Solution: Nitrogen (N) chlorosis. The plant is scavenging nitrogen from old tissue to support new growth.
- Fix-It: Side-dress with blood meal or a high-nitrogen liquid feed (10-0-0).
- Symptom: Ragged, brown edges on leaf margins.
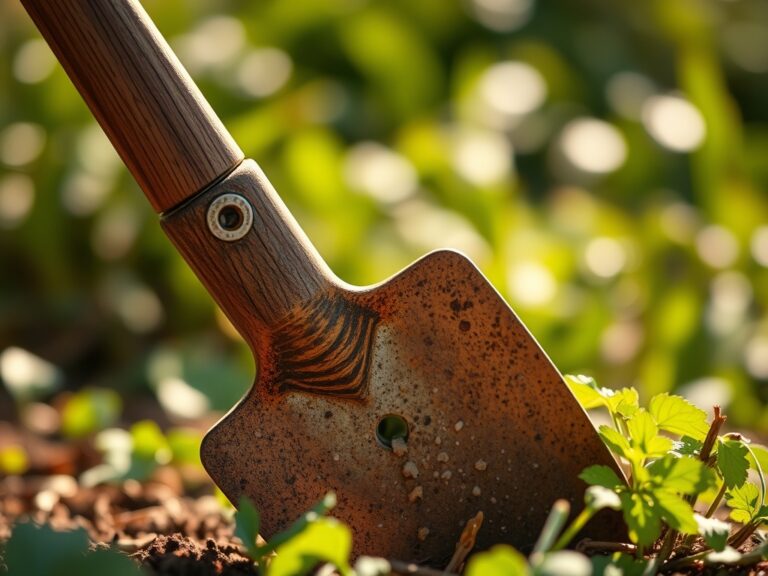
- Solution: Mechanical damage from dull bypass pruners or a hori-hori knife.
- Fix-It: Use the class to demonstrate sharpening techniques using a 400-grit whetstone to restore a surgical edge.
Maintenance:
Post-class maintenance is critical to prevent long-term site degradation. Deliver exactly 1.5 inches of water per week at the drip line of all woody ornamentals. Use a soil moisture meter to verify that moisture has penetrated to a depth of 6 to 8 inches.
Inspect all metal tools for sap accumulation. Use a stiff brush and isopropyl alcohol to remove organic residue, then apply a thin coat of mineral oil to prevent oxidation. Check the tension on all pruners; the blades should pass each other with minimal friction but no visible gap. If the tool handle shows signs of splintering, sand with 120-grit sandpaper and seal with linseed oil.
The Yield:
When the class concludes, harvest any "demonstration" crops immediately to reduce the metabolic load on the plants. For leafy greens, harvest in the early morning when turgor pressure is at its peak. Use a sharp hori-hori knife to make clean cuts, minimizing the surface area exposed to the air.
Place harvested material into a hydro-cooling bath of 40-degree Fahrenheit water to remove field heat. This process slows the rate of respiration and preserves the crispness of the cellular structure. For perennial herbs, do not remove more than one-third of the total biomass to ensure the plant has enough photosynthetic surface area to recover before the next frost.
FAQ:
How do I prevent soil compaction during the class?
Lay down 0.75-inch plywood sheets or heavy wood chips in high-traffic zones. This distributes the downward force of footsteps, protecting the soil pore space and maintaining oxygen levels for the root systems of nearby plants.
What is the best way to clean tools between users?
Wipe blades with a 70 percent isopropyl alcohol solution. This kills pathogens like Fusarium or Botrytis without damaging the steel. It ensures that any physiological issues are not transferred from one demonstration plant to another during the session.
How do I know if my soil is ready for a class?
Perform the "squeeze test." Take a handful of soil from a 4-inch depth and compress it. If it crumbles under slight pressure, the moisture content is ideal. If it forms a hard ribbon, it is too wet.
Which tools are essential for a beginner organization class?
Every station requires a hori-hori knife, a pair of bypass pruners, a hand trowel, and a sharpening stone. These four items cover 90 percent of garden maintenance tasks and provide the best platform for teaching ergonomic grip and tool care.