9 Steps to Prepare a Garden for a Vertical Trellis
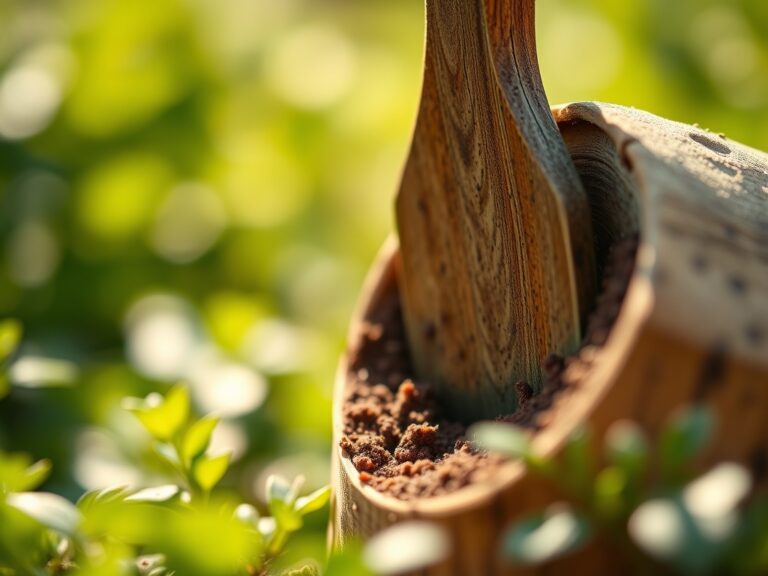
Crushing a handful of damp, friable loam reveals the structural integrity of your rhizosphere. The scent is geosmin; the result of Actinobacteria breaking down organic matter. Success in vertical viticulture or legume production depends on structural preparation before the first seed hits the dirt. Learning how to prepare a garden for a trellis requires a technical understanding of soil mechanics and plant physiology to ensure high turgor pressure in climbing stems.
Vertical gardening is not merely about aesthetics; it is a calculated engineering feat. A mature indeterminate tomato plant or a heavy-fruiting squash vine can exert over 50 pounds of downward force on a support system during peak production. If the substrate is loose or the nutrient density is insufficient, the system collapses under its own weight. You must transition from a horizontal mindset to a vertical one, focusing on root anchorage and nutrient mobility. This guide provides the technical framework to build a high-yield vertical environment from the ground up.
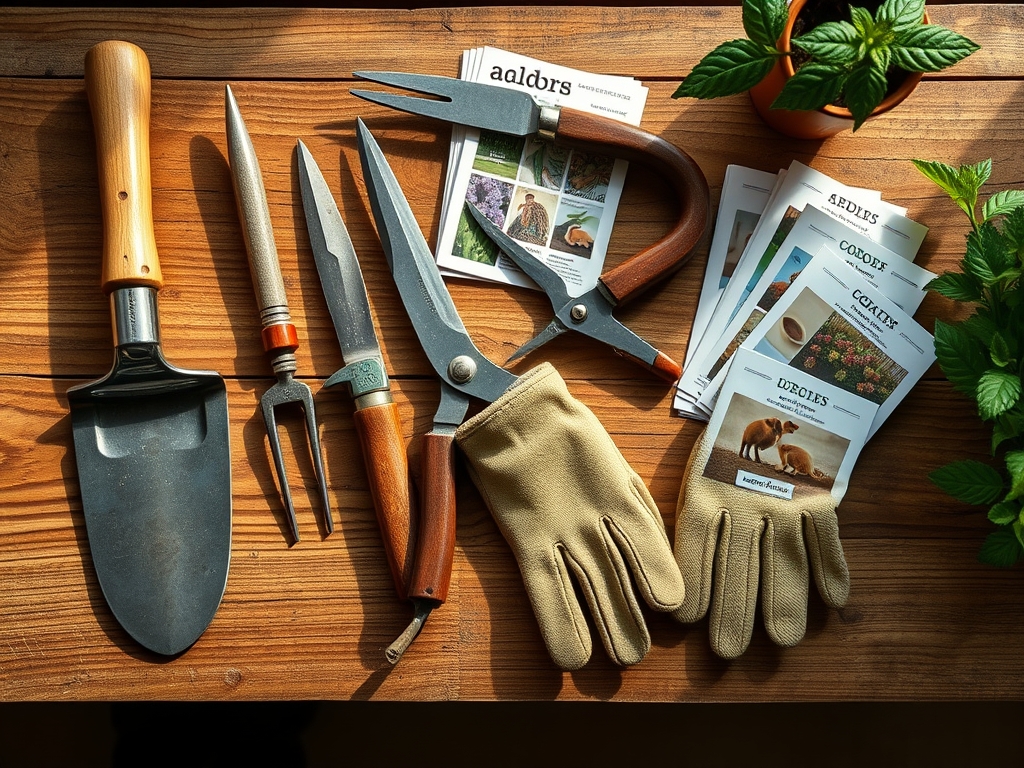
Materials:
The foundation of a vertical garden is the Cation Exchange Capacity (CEC) of the soil. High CEC ensures that the substrate can hold and deliver essential nutrients to the plant. For most vertical climbers, aim for a pH range of 6.2 to 6.8.
- Substrate Texture: You require a friable loam. This is a specific ratio of roughly 40% sand, 40% silt, and 20% clay. This composition allows for rapid root penetration while maintaining moisture.
- Base Nutrients (NPK): Before installation, incorporate a slow-release organic fertilizer with an NPK ratio of 5-10-10. The lower nitrogen (N) prevents excessive soft vegetative growth that attracts aphids, while the higher phosphorus (P) and potassium (K) support the lignification of stems and robust root development.
- Organic Matter: Integrate 3 inches of well-aged compost or leaf mold. This increases the microbial activity necessary for nutrient cycling.
- Structural Hardware: Use 14-gauge galvanized cattle panels or heavy-duty cedar posts. Avoid plastic netting; it lacks the tensile strength to support heavy biomass.
Timing:
Timing is dictated by the United States Department of Agriculture (USDA) Hardiness Zones. For zones 5 through 7, trellis preparation must begin 4 to 6 weeks before the last predicted frost. This allows the soil to settle and the microbial community to stabilize after amendment.
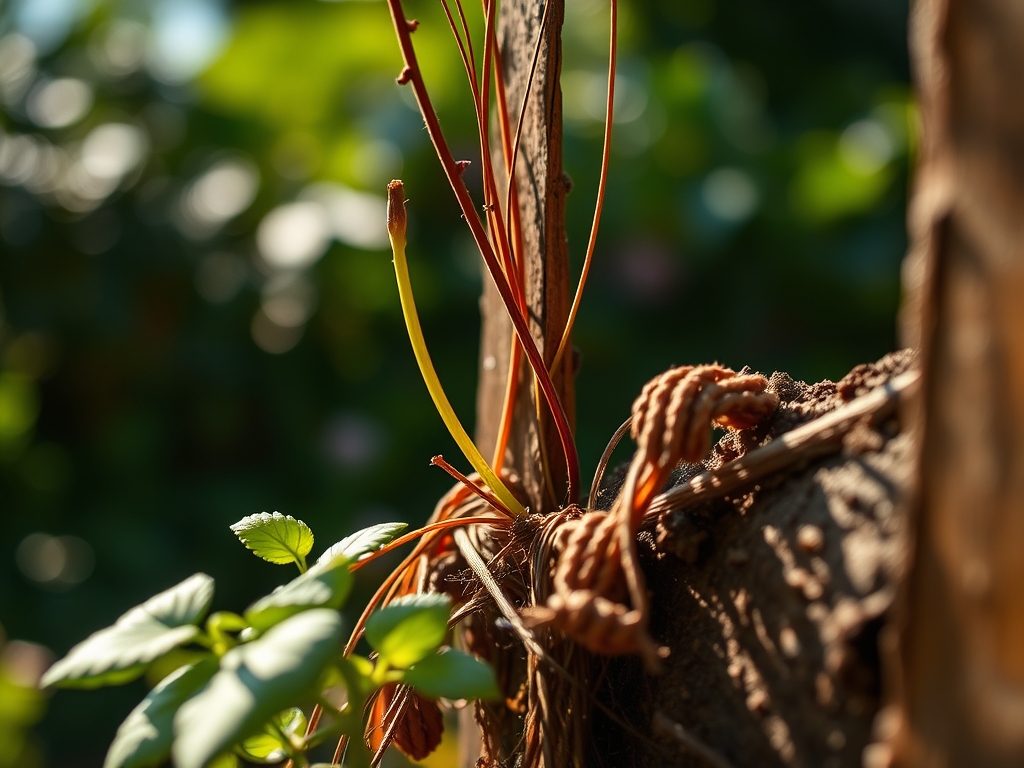
The "Biological Clock" of a vertical plant is governed by the photoperiod. Most vining crops transition from the vegetative stage to the reproductive stage as day length increases. You must have your structure in place before the plant reaches 6 inches in height. Once a plant begins its rapid elongation phase, the production of auxins at the apical meristem triggers a search for physical support. If no support is found, the plant may sprawl, leading to stem trauma and reduced sap flow once you finally attempt to tie it up.
Phases:

Sowing and Site Prep
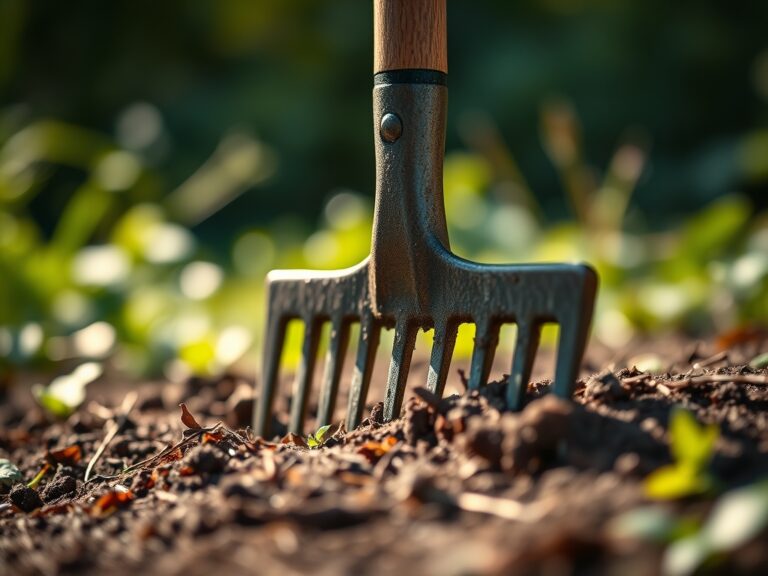
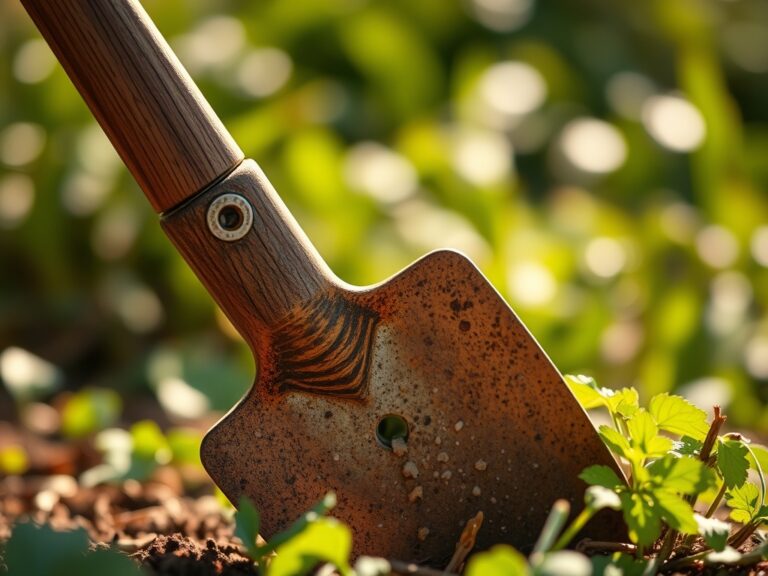
Clear all debris from a 24-inch wide strip where the trellis will sit. Dig a trench 12 inches deep to loosen the subsoil. This prevents "J-rooting," where roots turn upward because they cannot penetrate compacted earth.
Pro-Tip: Mycorrhizal fungi inoculation at the time of sowing increases the surface area of the root system by up to 1,000 times. This symbiosis is critical for vertical plants that must pull water against gravity to maintain turgor in leaves located 6 feet above the soil line.
Transplanting and Anchorage
When moving seedlings to the trellis base, bury the root ball 1 inch deeper than it was in its nursery pot. For tomatoes, you can bury the stem up to the first set of true leaves to encourage adventitious root growth.
Pro-Tip: Use a soft jute twine to create a "Figure-8" loop between the plant and the trellis. This prevents "girdling," which occurs when the stem expands and the tie cuts into the phloem, choking off the transport of photosynthates from the leaves to the roots.
Establishing and Training
As the plant grows, manually guide the leading shoots toward the support. Use the apical dominance of the plant to your advantage by keeping the main leader vertical while allowing lateral branches to spread horizontally along the trellis wire.
Pro-Tip: This method utilizes thigmotropism, the physiological response of a plant to touch. When a vine makes contact with a solid surface, it increases the production of ethylene, causing the cells on the contact side to shorten and the cells on the opposite side to elongate, creating a natural curl or grip.
The Clinic:
Vertical plants are susceptible to specific physiological stressors due to their exposure to wind and rapid transpiration.
- Symptom: Interveinal Chlorosis. The leaves turn yellow while the veins remain green.
Solution: This is typically a Magnesium deficiency. Apply 1 tablespoon of Epsom salts per gallon of water as a foliar spray to bypass soil lockout. - Symptom: Blossom End Rot. A dark, leathery spot appears on the bottom of the fruit.
Solution: This is caused by localized Calcium deficiency, often due to inconsistent moisture. Maintain a steady soil moisture level of 60% to 70% field capacity. - Symptom: Leaf Scorch. The edges of the leaves become brown and brittle.
Solution: This indicates high transpiration rates exceeding the roots' ability to supply water. Increase mulch depth to 4 inches to cool the rhizosphere.
Fix-It for Nitrogen Chlorosis: If the entire plant is pale green and stunted, apply a high-nitrogen liquid feed (NPK 10-0-0) like fish emulsion. Nitrogen is a mobile nutrient; the plant will move it from old growth to new growth to survive.
Maintenance:
Precision is the difference between a garden and a laboratory. Use a soil moisture meter to ensure the root zone stays at the optimal hydration level. Vertical gardens require 1.5 inches of water per week, delivered directly at the drip line via soaker hoses to prevent foliar diseases like powdery mildew.
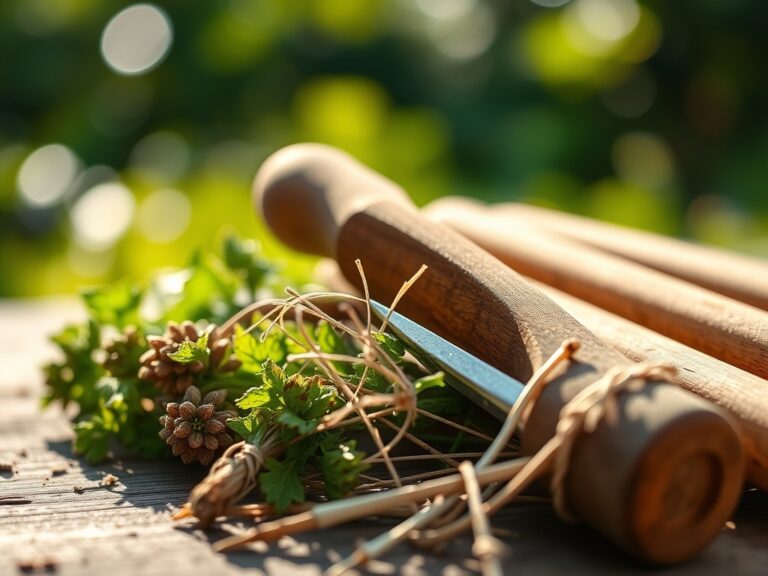
Keep your bypass pruners sharp and sanitized with 70% isopropyl alcohol between plants. Prune "suckers" or non-fruiting lateral shoots to improve airflow and focus the plant's energy on fruit production. Use a hori-hori knife to remove deep-rooted weeds that compete for the limited nutrient pool at the base of the trellis.
The Yield:
Harvesting from a trellis requires timing based on "physiological maturity." For legumes, harvest when the pods are firm but the seeds have not yet bulged, indicating peak sugar content. For indeterminate fruits, harvest when the "breaker stage" is reached (about 30% color change).
To maintain "day-one" freshness, harvest in the early morning when the plant has maximum turgor pressure. Use sharp snips to leave a small portion of the pedicel attached to the fruit. This prevents the entry of rot-inducing bacteria. Immediately move the harvest to a cool, shaded area to reduce field heat and slow down the process of senescence.
FAQ:
How deep should trellis posts be buried?
Drive support posts at least 18 to 24 inches into the ground. For heavy crops like melons, use concrete or a secondary "deadman" anchor to prevent the structure from leaning under the weight of the mature canopy.
What is the best NPK for trellis starting?
Use a 5-10-10 ratio. High phosphorus and potassium levels are essential for early root establishment and the structural development of the vascular system, which must support the plant's vertical weight throughout the season.
Can I reuse trellis netting every year?
Nylon netting degrades under UV exposure. Replace it every two seasons to avoid structural failure. If using galvanized steel, sanitize it with a 10% bleach solution each winter to kill dormant fungal spores and pathogens.
Why are my vertical leaves wilting despite watering?
This is often "Vascular Wilt," caused by soil-borne pathogens like Fusarium. These fungi clog the xylem, preventing water transport. Ensure your soil pH is above 6.5 and improve drainage to mitigate pathogen proliferation in the rhizosphere.