8 Best Natural Stones for Aesthetic Garden Paths
Damp earth releases geosmin as the spade bites into the clay; the scent of microbial activity signals a healthy rhizosphere ready for structural intervention. Successful landscaping requires more than visual appeal; it demands an understanding of how mineral density and thermal mass affect the microclimate of your beds. Selecting the best stones for garden paths is a technical decision that impacts soil compaction, drainage rates, and the turgor pressure of flanking vegetation. A path is a thermal battery; it absorbs solar radiation during the photoperiod and releases it at night, potentially extending the growing season for sensitive cultivars. Choosing the wrong material can lead to localized pH spikes or root zone overheating. To maintain the structural integrity of the garden, the stone must provide a stable walking surface while allowing for the gas exchange necessary for subterranean health. Every choice in masonry dictates the hydraulic conductivity of the surrounding soil, making material selection a foundational exercise in horticultural engineering.
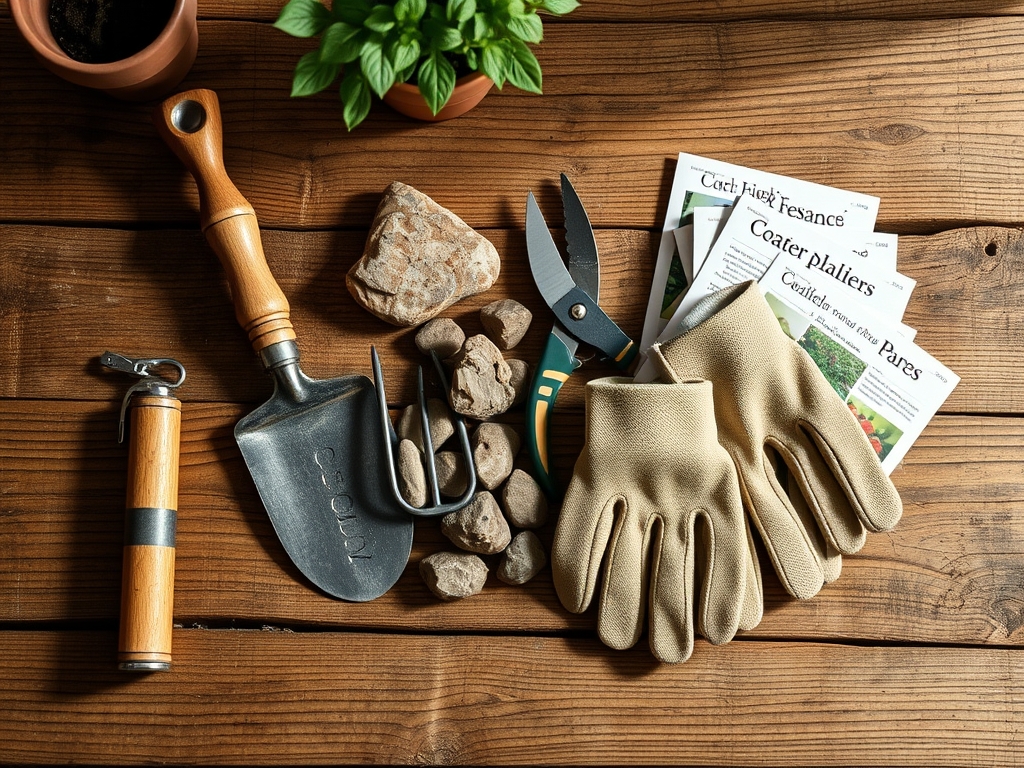
Materials:
Path construction begins with the substrate. The ideal base is a **friable loam** with a **Cation Exchange Capacity (CEC) between 15 and 25 meq/100g**. This ensures that the soil beneath the stone can still hold essential nutrients like Ammonium (NH4+) and Potassium (K+). If the path borders heavy feeders, maintain a **Nitrogen-Phosphorus-Potassium (NPK) ratio of 10-10-10** in the surrounding beds to offset the leaching caused by runoff from non-porous stones.
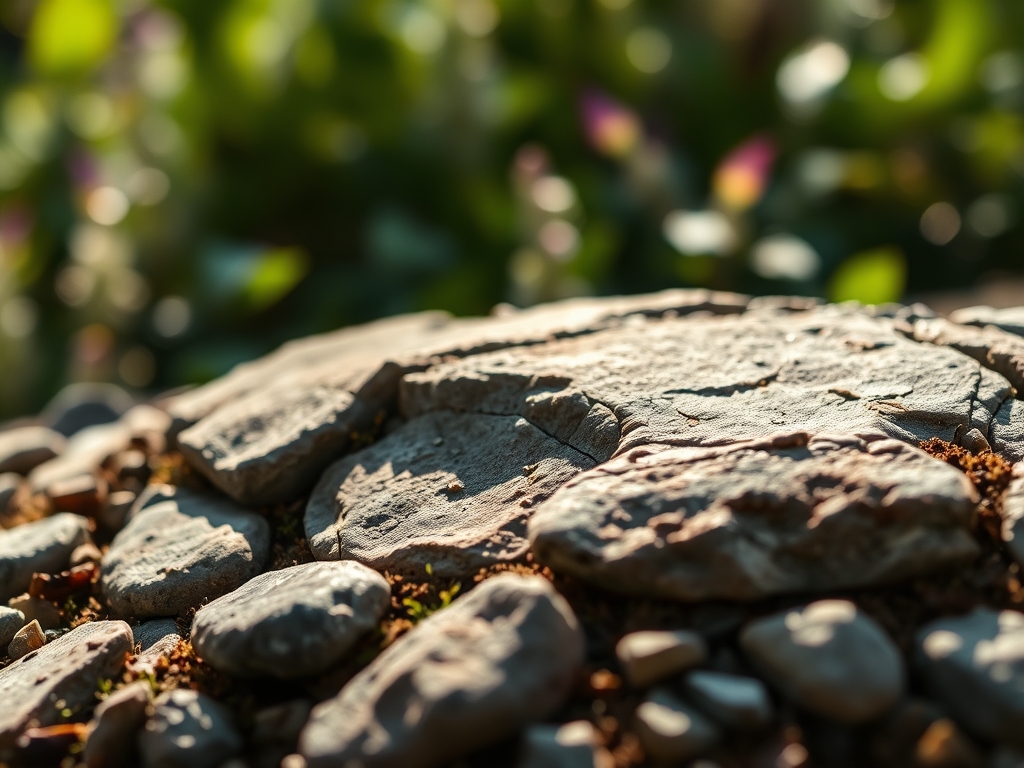
- Flagstone (Sandstone/Limestone): High thermal mass; ideal for Zone 5 to 9.
- Decomposed Granite (DG): Excellent permeability; maintains a neutral pH near 7.0.
- Pea Gravel: High drainage rate; prevents crown rot in succulents.
- Slate: Acidic profile; pairs well with Ericaceous plants requiring a pH of 4.5 to 5.5.
- River Rock: Smooth texture; minimizes mechanical damage to low-growing groundcovers.
- Travertine: Reflective surface; keeps the root zone cooler in high-heat environments.
- Basalt: Volcanic origin; high mineral content that slowly weathers into the soil.
- Cobblestone: Deep structural stability; prevents soil compaction in high-traffic zones.
Timing:
Installation must align with the local Hardiness Zone and specific frost-date windows. In Zones 4 through 7, stone placement should occur after the final spring thaw but before the summer solstice to avoid disrupting the peak vegetative growth phase. The "Biological Clock" of the garden dictates that major structural shifts happen when plants are in a state of low metabolic activity. If you install stones during the transition from vegetative to reproductive stages, you risk stressing the plant and inducing premature senescence. Aim for a soil temperature of 55 degrees Fahrenheit at a depth of four inches before beginning excavation. This ensures the soil is workable and that beneficial mycorrhizal fungi are active enough to recover from the localized disturbance of the path footprint.
Phases:

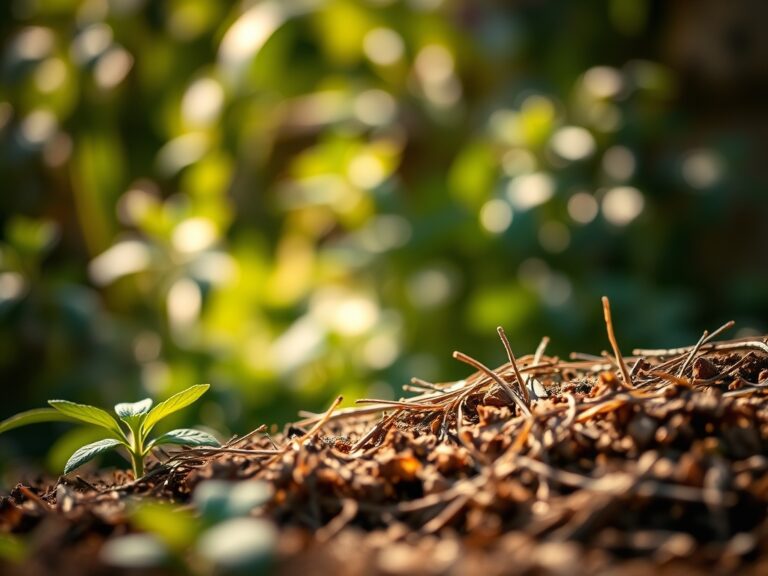
Sowing the Perimeter
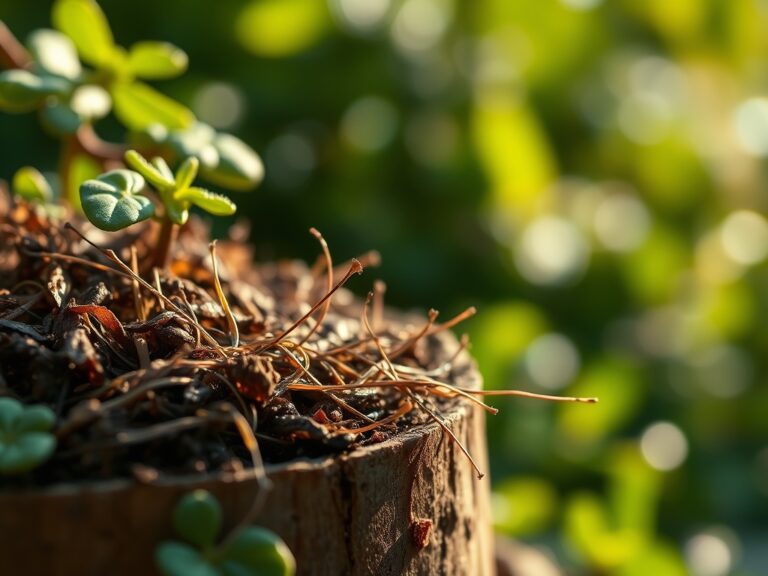
Before laying the stone, address the soil health at the path's edge. Incorporate organic matter to ensure a bulk density of approximately 1.3 g/cm3. This allows for optimal root penetration for edge-dwellers like creeping thyme or sedum.
Pro-Tip: Maintain a 3 percent slope away from the center of the path to prevent anaerobic conditions in the root zone. Biological Why: Excess water saturation displaces oxygen in the soil pores, leading to root asphyxiation and the death of aerobic microbes.
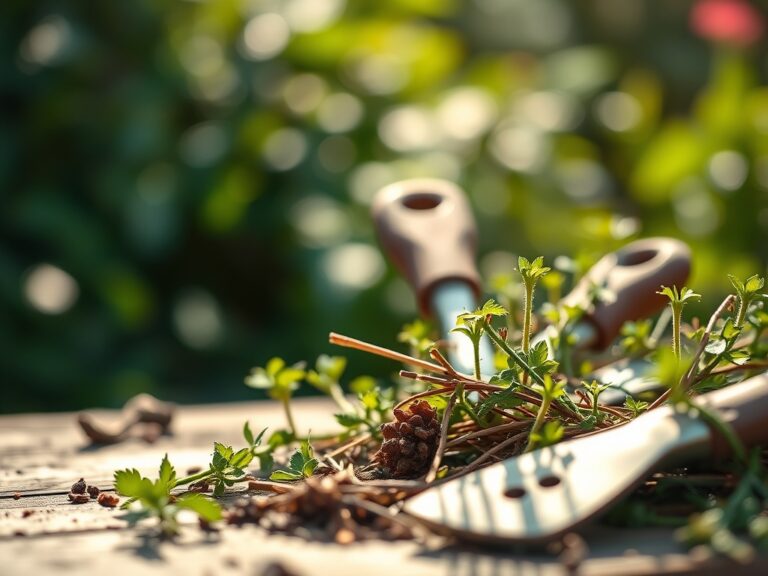
Transplanting Edge Cover
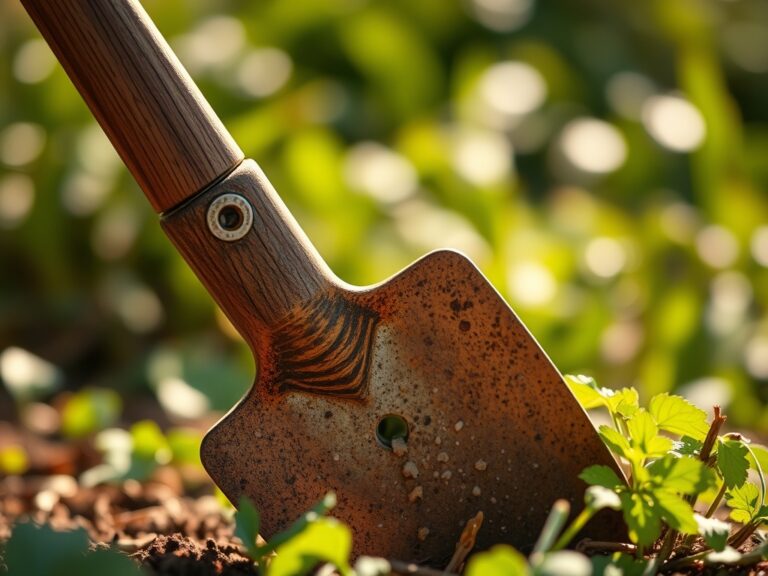
When placing plants between stones, use a hori-hori knife to create a deep, narrow slit. This minimizes the disruption of the existing soil profile and protects the delicate root hairs. Ensure the root ball is level with the stone surface to prevent stem rot.
Pro-Tip: Apply a kelp-based solution after transplanting to stimulate auxin production. Biological Why: Auxins are phytohormones that drive root initiation; they help the plant quickly establish a hydraulic connection with the new soil environment.
Establishing the Microclimate
Once the stones are set, monitor the leaf turgor of nearby plants. The stones will reflect heat and may increase the transpiration rate. Use a soil moisture meter to check levels at the 6-inch depth twice weekly during the first month.
Pro-Tip: Use a thin layer of coarse sand between stones rather than polymeric sand if you want to encourage mycorrhizal symbiosis. Biological Why: Fungal hyphae can penetrate natural sand to transport phosphorus and water to the plants, whereas chemical binders create a sterile barrier.
The Clinic:
Physiological disorders often manifest at the intersection of hardscaping and biology.
- Symptom: Interveinal Chlorosis. The leaves show yellowing while veins remain green.
- Solution: This indicates a Manganese or Iron deficiency, often caused by alkaline runoff from limestone paths. Apply a chelated iron foliar spray to bypass soil pH issues.
- Symptom: Marginal Leaf Burn. Edges of the leaves appear scorched or brown.
- Solution: This is likely Sodium toxicity or heat stress from dark stones like basalt. Increase irrigation by 0.5 inches per week to leach salts and cool the root zone.
- Symptom: Stunted Growth with Purple Tint.
- Solution: This is a classic Phosphorus deficiency common in compacted soils near paths. Use a core aerator to improve oxygen flow and apply a high-phosphate fertilizer (0-20-0).
Fix-It for Nitrogen Chlorosis: If the entire leaf turns pale yellow, the plant lacks Nitrogen. Apply a quick-release 21-0-0 (Ammonium Sulfate) to lower pH and provide immediate N for chlorophyll synthesis.
Maintenance:
Precision is required to keep a stone path from becoming a heat sink that kills your specimens. Deliver 1.5 inches of water per week at the drip line of all path-side plants. Do not spray the stones directly during the heat of the day; this creates a localized humidity spike that can encourage fungal pathogens. Use bypass pruners to remove any foliage that makes direct contact with the stone surface to prevent thermal scorching. Every spring, use a soil moisture meter to calibrate your irrigation system; stones can shift and create "dry shadows" where water cannot reach the rhizosphere. If weeds emerge, use a propane torch for thermal weeding rather than chemicals to preserve the delicate balance of the soil food web.
The Yield:
If your path serves a kitchen garden, harvesting timing is critical. Harvest herbs and leafy greens at dawn when turgor pressure is at its peak. This ensures the cells are fully hydrated, providing the crispest texture. For woody herbs like rosemary growing near heat-absorbing stones, prune the outer 3 inches of growth to encourage a bushier habit. To maintain "day-one" freshness, immediately plunge the stems into 40-degree Fahrenheit water to slow the metabolic rate and prevent the degradation of essential oils.
FAQ:
What is the best stone for high-traffic garden paths?
Flagstone or Cobblestone are superior for high-traffic areas. Their high density and thickness prevent cracking under mechanical stress. They provide a stable surface that minimizes soil compaction in the surrounding rhizosphere, protecting delicate root systems from anaerobic conditions.
How do stones affect soil pH?
Limestone and certain travertines contain calcium carbonate, which can leach into the soil and raise the pH above 7.5. This alkalinity can cause nutrient lockout. Conversely, slate and granite are relatively inert and maintain a more stable, slightly acidic environment.
Which stone stays coolest in summer?
Light-colored stones like White Marble chips or Travertine have a high albedo effect. They reflect solar radiation rather than absorbing it. This keeps the soil temperature lower, preventing root zone heat stress and maintaining optimal turgor pressure in nearby plants.
Can I use stones to improve drainage?
Yes, Pea Gravel and Decomposed Granite are highly permeable. They allow water to infiltrate the soil at a rate of several inches per hour. This prevents surface runoff and ensures that moisture reaches the deeper layers of the soil profile efficiently.