9 Tips to Use a Garden Rake for Seedbed Preparation
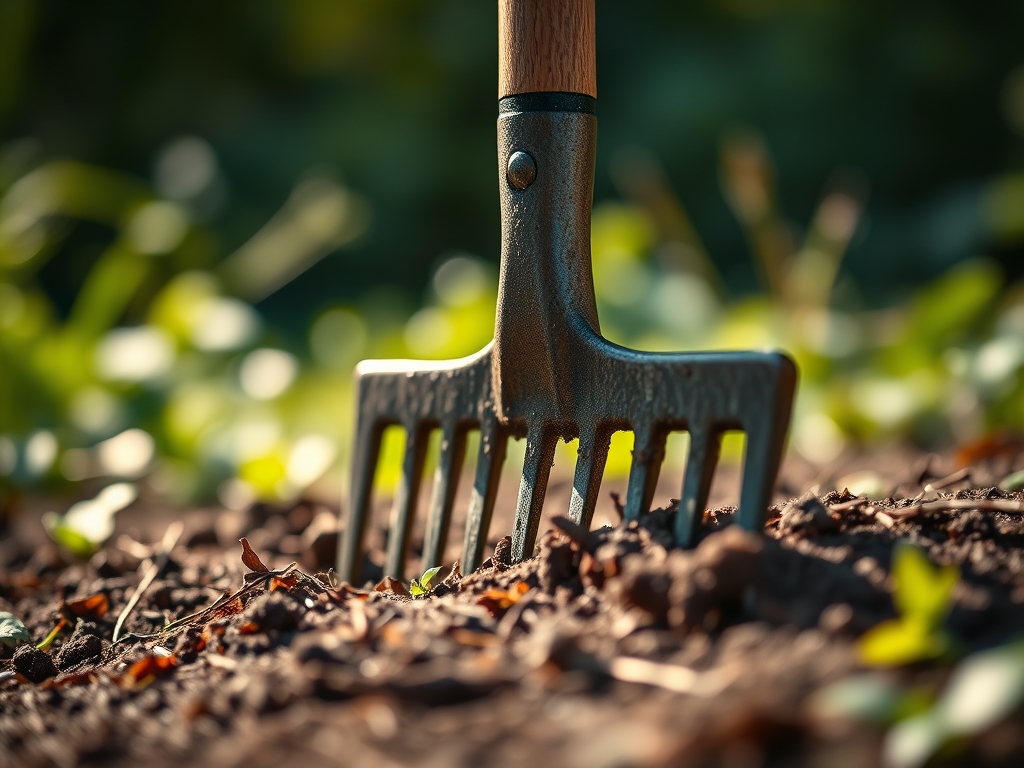
The smell of damp earth after a spring thaw signals the precise moment when soil moisture reaches its field capacity. At this stage, the soil particles should crumble under pressure rather than smear; a state known as friable. Achieving this texture is the primary objective of seedbed preparation. Using a rake for garden leveling is the fundamental mechanical process that creates a uniform surface area for seed-to-soil contact. Without a level plane, irrigation water pools in depressions, leading to localized anaerobic conditions and root rot. Conversely, high spots suffer from rapid desiccation. A level bed ensures that moisture distribution remains consistent across the entire rhizosphere. This consistency is vital for uniform germination rates. When the rake tines break the surface tension of the soil crust, they increase the oxygen diffusion rate into the top three inches of the substrate. This oxygen is the fuel for aerobic microbes that mineralize organic matter into plant-available nutrients. A master gardener views the rake not as a simple leveling tool, but as a precision instrument for gas exchange and moisture management.
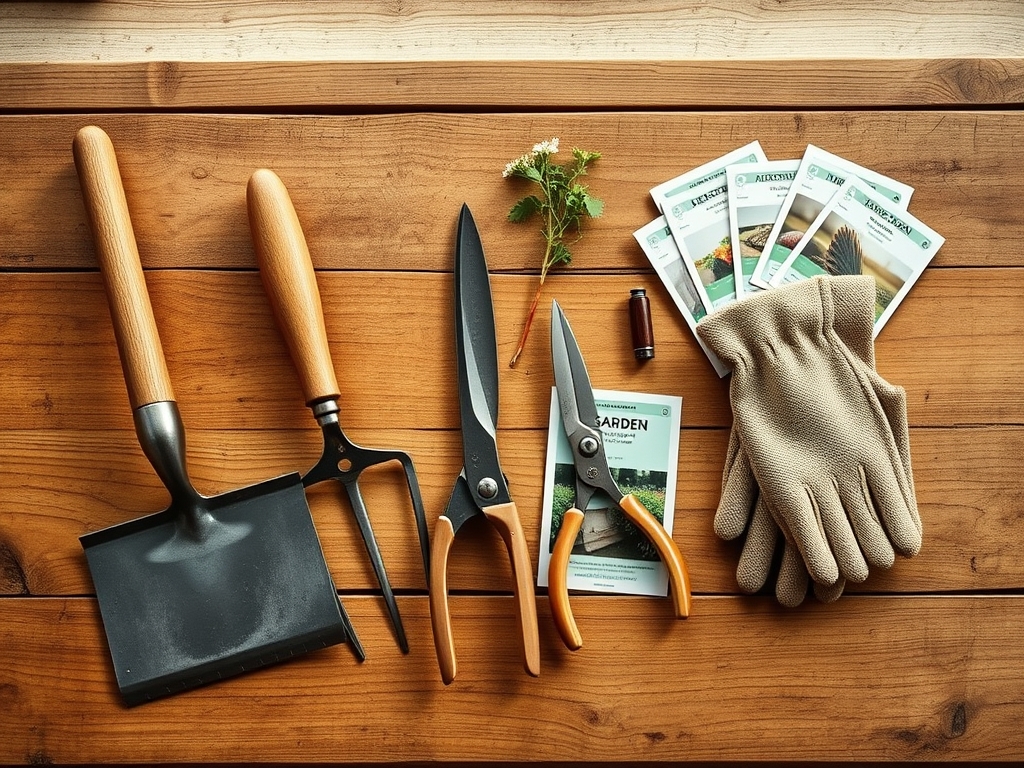
Materials:
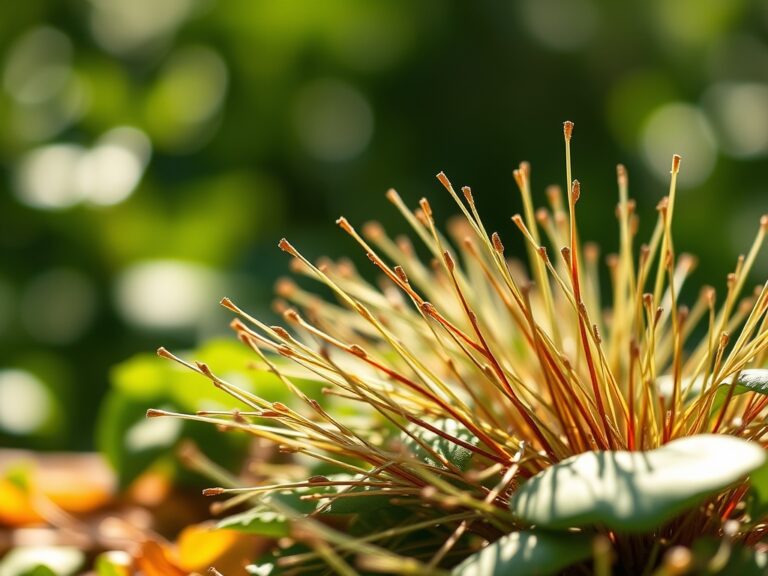
The ideal substrate for a high-yield garden is a **friable loam** with a soil pH between **6.2 and 6.8**. This range optimizes nutrient availability by preventing the lock-up of phosphorus and micronutrients. Before leveling, incorporate organic matter to maintain a Cation Exchange Capacity (CEC) above **15 meq/100g**. For initial bed preparation, apply a balanced NPK ratio of **10-10-10** at a rate of **1 pound per 100 square feet**. If the soil analysis indicates high phosphorus levels, pivot to a **10-0-10** blend to prevent runoff. The physical texture must allow for capillary action; the upward movement of water through soil pores. If the soil is too sandy, water bypasses the roots. If it is too clay-heavy, the lack of macropores prevents gas exchange. A high-carbon steel bow rake is the standard tool for this work, as the tines provide the necessary resistance to break down clods larger than **0.5 inches** in diameter.
Timing:
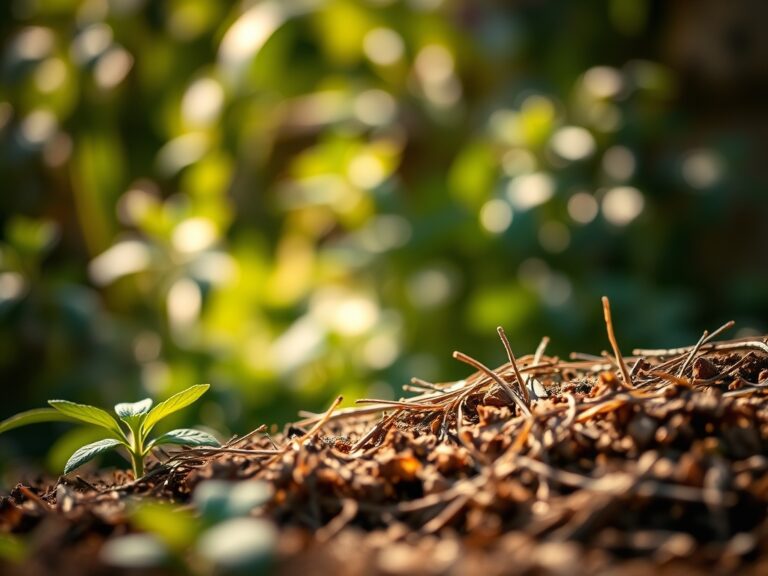
Seedbed preparation must align with the local frost-free date and the specific photoperiod requirements of the crop. In Hardiness Zones 5 through 7, the window for cool-season preparation typically opens when soil temperatures consistently hit 45 degrees Fahrenheit. For warm-season crops, wait until the soil reaches 65 degrees Fahrenheit at a depth of four inches. The biological clock of the plant is governed by the transition from vegetative to reproductive stages. Early leveling allows for a "stale seedbed" technique; where weeds are allowed to germinate and are then shallowly raked out before the primary crop is sown. This reduces competition for light and nutrients during the critical first 21 days of growth.
Phases:

Sowing
Using a rake for garden leveling involves a rhythmic push-pull motion to distribute soil volume. Hold the rake at a 30-degree angle to the ground. Use the tines to break up heavy clods and the flat back of the rake to fill in low spots. The goal is a surface variation of less than 0.25 inches across the entire bed.
Pro-Tip: Proper leveling prevents the "pooling effect" which causes seeds to float and cluster. This ensures even spacing and reduces the need for thinning later; a process that can cause root disturbance and trigger auxin suppression, slowing the growth of the remaining plants.
Transplanting
When moving starts from the greenhouse to the field, the rake is used to create a "fluffed" top layer of 2 inches. This reduces bulk density and allows for easier penetration of the hori-hori knife. A loose surface ensures that the transition from the potting medium to the native soil is seamless, preventing the root ball from becoming hydrophobic.
Pro-Tip: Maintaining a loose, raked surface encourages mycorrhizal symbiosis. These beneficial fungi require well-aerated soil to colonize root systems and extend the plant's reach for phosphorus and water.
Establishing
Once plants are in the ground, the rake is used for "blind cultivation" between rows. This shallow disturbance breaks the capillary tubes in the top inch of soil, creating a "dust mulch" that prevents deep moisture from evaporating. This technique is essential during the first 14 days of establishment when root systems are shallow.
Pro-Tip: Shallow raking triggers a minor stress response in the plant that can increase turgor pressure in the stems. This mechanical stimulation mimics wind stress and leads to thicker, more resilient cell walls.
The Clinic:
Physiological disorders often stem from poor bed preparation or nutrient imbalances. Observe the foliage and soil structure carefully to diagnose issues.
Symptom: Interveinal chlorosis (yellowing between leaf veins) on young leaves.
Solution: This indicates an Iron or Manganese deficiency, often caused by a pH above 7.2.
Fix-It: Apply elemental sulfur to lower the pH and use the rake to incorporate it into the top 4 inches of soil for rapid reaction.
Symptom: Purpling of older leaves and stunted growth.
Solution: Phosphorus deficiency, common in cold, wet soils where microbial activity is low.
Fix-It: Improve drainage by using the rake to create slightly raised mounds (3 inches high). Apply a high-phosphorus starter fertilizer (NPK 5-20-10).
Symptom: Blossom end rot in fruiting crops.
Solution: Calcium deficiency caused by erratic moisture levels, not necessarily a lack of calcium in the soil.
Fix-It: Use the rake to level the bed perfectly to ensure even irrigation. Maintain consistent moisture levels using a soil moisture meter to keep readings between 20% and 40% volumetric water content.
Maintenance:
Precision maintenance is the difference between a surviving garden and a thriving one. Deliver 1.5 inches of water per week at the drip line of the plants. Do not spray the foliage; use a soaker hose or drip irrigation to keep the leaves dry and prevent fungal spores from germinating. Use bypass pruners to remove any necrotic tissue at a 45-degree angle to allow moisture to run off the cut. Every two weeks, use a hori-hori knife to check for soil compaction. If the blade cannot penetrate 6 inches with moderate force, use a hand rake to gently loosen the surface crust without disturbing the established root architecture.
The Yield:
Harvesting is the culmination of proper soil physics. For leafy greens, harvest in the early morning when turgor pressure is at its peak. This ensures the leaves are crisp and have the longest possible shelf life. For root crops, the level, friable soil created by the rake during prep allows for easy extraction without snapping the primary taproot. Post-harvest, immediately move produce to a cool, shaded area to slow the rate of senescence (the biological aging process). Hydro-cooling; dipping the produce in cold water; can remove field heat and lock in "day-one" freshness by slowing cellular respiration.
FAQ:
How deep should I rake for garden leveling?
Focus on the top 2 to 3 inches of soil. This depth is sufficient to break the surface crust and incorporate soil amendments without destroying the established soil structure or harming beneficial earthworm tunnels in the deeper layers.
Can I use a rake to remove weeds?
Yes, use a rake for "white thread" weeding. When weeds are in the pre-emergence stage, a light raking disrupts their fragile root hairs and exposes them to the sun, causing rapid desiccation and death before they compete with crops.
What is the best rake for heavy clay soil?
A bow rake with forged steel tines is superior for heavy clay. The rigid bow provides the leverage needed to break down large, compacted clods, whereas a flexible leaf rake or landscape rake will simply bounce off the surface.
Does raking help with soil drainage?
Raking improves drainage by removing low spots where water collects. By creating a perfectly level surface, you ensure that gravity pulls water downward through the soil profile uniformly, rather than allowing it to sit and create anaerobic zones.
When is the soil too wet to rake?
Perform the "squeeze test." Take a handful of soil and compress it. If it forms a solid ball that does not crumble when poked, or if water squeezes out, it is too wet. Raking wet soil causes severe compaction.