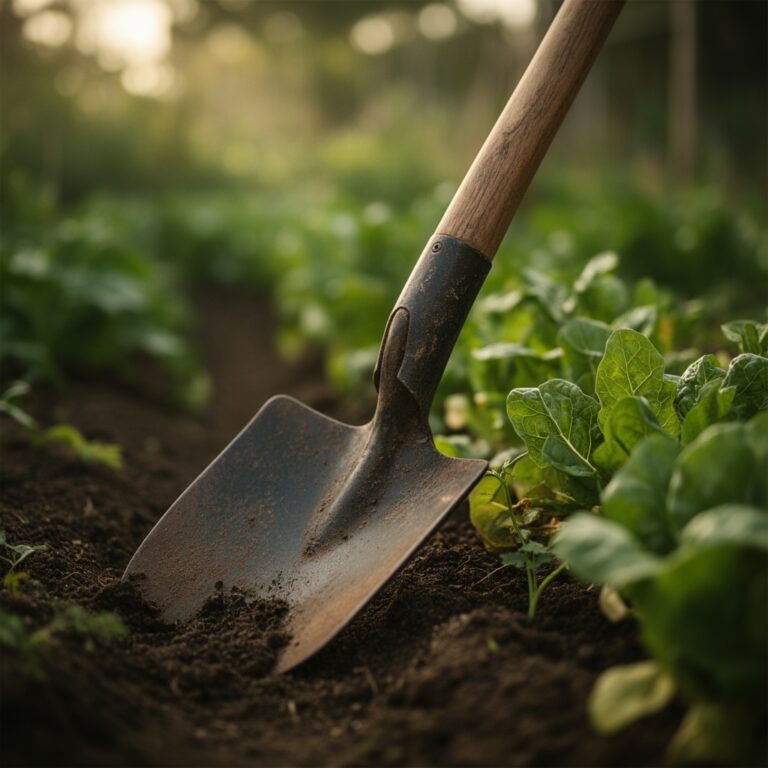
6 Steps to Install a Garden Fountain Near Vegetables
The sound of water trickling over stone creates a microclimate that can benefit nearby vegetable plantings through evaporative cooling and ambient humidity. Steps for installing a garden fountain near vegetables require careful consideration of drainage patterns, electrical safety around edible crops, and the fountain's influence on soil moisture gradients. A properly positioned fountain becomes a functional element that supports plant health rather than competing with root zones for space or creating waterlogged conditions.
Materials
Selecting appropriate components ensures long-term stability and compatibility with vegetable garden conditions. The fountain basin should be food-grade polyethylene or glazed ceramic, avoiding copper or treated metals that may leach into surrounding soil. A submersible pump rated between 200-400 gallons per hour provides adequate flow without excessive splash radius. GFCI-protected outdoor electrical outlets are mandatory within 6 feet of the installation site.

Aggregate for drainage includes 3/4-inch crushed granite or river rock, approximately 2 cubic feet per installation. The water reservoir requires a rigid liner with minimum 15-gallon capacity. For soil amendment around the fountain perimeter, incorporate a 4-4-4 organic meal at 2 pounds per 10 square feet to buffer pH fluctuations from splash zones. Calcitic limestone at 5 pounds per 100 square feet stabilizes pH between 6.5 and 7.0, optimal for most vegetable species. Mycorrhizal fungi inoculant applied at planting enhances nutrient uptake in the moisture-rich transition zone.
Timing
Installation timing aligns with frost-free dates and soil workability. In Zones 5-7, mid-April through May allows soil temperatures to reach 50°F at 4-inch depth, preventing frost heave of fountain components. Zones 8-9 permit year-round installation, though autumn placement from September through October allows settling before spring vegetable transplanting. Northern gardeners in Zones 3-4 should complete installation by early May to maximize growing season integration.
Coordinate fountain placement with vegetable succession planting schedules. Install fountains 4-6 weeks before transplanting warm-season crops like tomatoes and peppers. This allows soil moisture patterns to stabilize and permits observation of drainage performance during spring rains. Cool-season crops such as lettuce and brassicas tolerate proximity to newly installed fountains due to their preference for consistent moisture.
Phases

Excavation and Base Preparation
Dig the reservoir pit 18 inches deep and 24 inches in diameter, maintaining vertical walls. Spread 4 inches of compacted aggregate at the pit bottom for drainage. Level the surface using a 24-inch spirit level, ensuring accuracy within 1/8 inch across all axes. Poor leveling creates uneven water distribution and pump strain. Position the pit at least 30 inches from vegetable root zones to prevent competition.
Pro-Tip: Line the pit walls with landscape fabric before adding aggregate to prevent soil intrusion and maintain long-term permeability. This reduces maintenance frequency by 60 percent over five years.
Assembly and Water Integration
Install the rigid liner and submersible pump, routing the power cord through a dedicated conduit trench 6 inches deep. The conduit should slope away from the fountain at 2 percent grade for condensation drainage. Position the pump outlet 2 inches below the final water level to prevent cavitation. Fill the reservoir to 2 inches from the rim, then test flow patterns for 48 hours before final adjustments.
Pro-Tip: Add 1 cup of hydrogen peroxide (3 percent solution) per 10 gallons of water monthly to suppress algae without harming beneficial soil organisms or nearby vegetables. This maintains water clarity and prevents biofilm on fountain surfaces.
Plant Buffer Zone Establishment
Create a transitional planting zone 12-18 inches from the fountain edge using moisture-tolerant herbs. Parsley, mint, and chives thrive in the elevated humidity while their root systems stabilize soil structure. Amend this buffer zone with additional compost at 3 inches depth, mixed to 8 inches. The organic matter improves cation exchange capacity, buffering against mineral accumulation from evaporated water.
Pro-Tip: Prune herb stems at 45-degree angles, 1/4 inch above leaf nodes, to promote lateral branching. This creates a dense screen that reduces wind-borne spray reaching vegetable foliage.
Troubleshooting
Symptom: White crusty deposits on fountain surfaces and adjacent soil.
Solution: Hard water mineral accumulation. Switch to collected rainwater or add 2 tablespoons of white vinegar per gallon to dissolve calcium carbonate. Scrub surfaces monthly with a stiff brush.
Symptom: Vegetable foliage within 3 feet shows interveinal chlorosis.
Solution: Iron deficiency from elevated soil pH due to alkaline water splash. Apply chelated iron at 1 tablespoon per gallon as foliar spray. Incorporate sulfur at 1 pound per 100 square feet to lower pH gradually.
Symptom: Pump flow decreases after 2-3 weeks of operation.
Solution: Algae or debris blocking the intake screen. Disassemble and clean the pump impeller. Install a pre-filter sponge, replacing it biweekly during peak growing season.
Symptom: Mosquito larvae visible in standing water.
Solution: Circulation interruption. Ensure continuous pump operation or add Bacillus thuringiensis israelensis (BTI) dunks, which are organic-approved and vegetable-safe.
Maintenance
Refill the reservoir when water level drops 2 inches below operating capacity, typically every 3-5 days in summer. Check pump operation daily during the first two weeks, then weekly thereafter. Clean the fountain basin monthly by draining completely and scrubbing with a mixture of 1 part vinegar to 3 parts water.
Monitor soil moisture at 4-inch depth in vegetable beds within 4 feet of the fountain. If readings exceed field capacity (soil forms a ball that breaks easily), reduce fountain operation to 8 hours daily. Apply a balanced 10-10-10 fertilizer at half the standard rate in splash zones, as increased moisture accelerates nutrient leaching. Flush the system completely before first frost in cold climates, removing the pump for indoor storage.
FAQ
How far should the fountain sit from tomato plants?
Maintain 36 inches minimum between fountain edge and tomato stems. This prevents foliar moisture that encourages fungal diseases while allowing roots to access the humidity gradient.
Can fountain water irrigate vegetables directly?
No. Recirculated fountain water accumulates algae and organic particles unsuitable for direct irrigation. Use only fresh water sources for vegetable watering.
What fountain size works best near vegetables?
Select basins 18-24 inches in diameter with flow rates under 300 GPH. Larger fountains create excessive humidity and splash, promoting foliar disease.
Will fountain noise disturb pollinators?
Gentle trickling sounds below 50 decibels do not deter bees or butterflies. Avoid cascading designs that exceed 65 decibels.
Should the fountain run continuously during growing season?
Yes, continuous operation prevents stagnant water and maintains consistent humidity. Use timers only if mosquito breeding becomes problematic despite BTI treatment.