7 Visual Steps on How to Prepare Your Garden for a Professional Photography Shoot
Light strikes a dewy petal at dawn, and the camera captures every chlorophyll-laden vein, every trichome reflecting morning sun. Professional garden photography demands more than aesthetic arrangement. It requires a physiological understanding of plant turgidity, pigment concentration, and structural integrity. How to prepare a garden for a garden photography shoot begins three weeks before the shutter clicks, when you assess soil cation exchange capacity, prune for optimal auxin distribution, and time irrigation to maximize tissue hydration at golden hour.
Materials
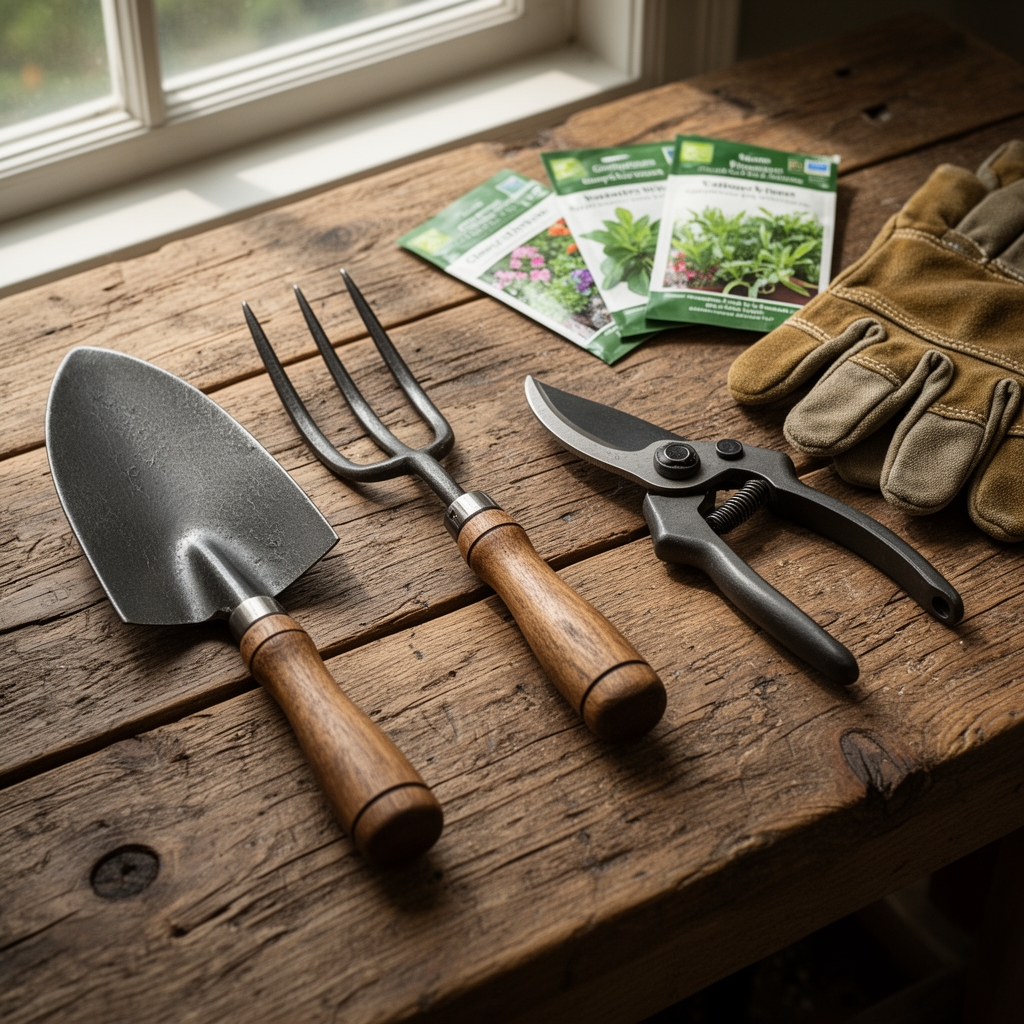
Assemble tools and amendments two weeks before the shoot. For acid-loving ornamentals (pH 5.0-6.0), use a 4-4-4 organic fertilizer derived from feather meal, bone meal, and kelp. For alkaline-preferring perennials (pH 7.0-7.5), apply 5-10-10 granular blend with gypsum to enhance calcium without acidifying. Neutral-range annuals (pH 6.5-7.0) respond well to 10-10-10 slow-release pellets.
Include mycorrhizal fungi inoculant (Glomus intraradices) for root-visible plantings. Purchase a soil pH meter with 0.1 resolution. Secure bypass pruners with 1-inch cutting capacity, Japanese weeding knives for precision edge work, and a backpack sprayer calibrated to 40 psi for foliar micronutrient application. Stock chelated iron (Fe-EDDHA) for rapid chlorophyll recovery in visibly chlorotic specimens. Keep hydrogen peroxide (3% solution) to sanitize tools between cuts and prevent pathogen transmission.
Timing
In USDA Hardiness Zones 7-9, schedule shoots between April 15 and May 30 for spring perennials, or September 10 through October 20 for fall color. Zone 5-6 gardeners should target June 1-25, after the last frost date when leaf expansion reaches 85% but before heat stress dulls pigment intensity. Zone 10 gardeners work November through February when heat units remain below 95°F and anthocyanin expression peaks in cool-season ornamentals.
Apply fertilizer amendments 18 days before the shoot. This window allows nitrogen uptake to green foliage without forcing leggy, camera-unfriendly growth. Prune structural deadwood 14 days out. Execute detail pruning and spent-bloom removal 3 days prior, allowing cut sites to callus but maintaining fresh appearance. Water deeply 36 hours before photography to ensure full turgor pressure in leaf mesophyll cells.
Phases
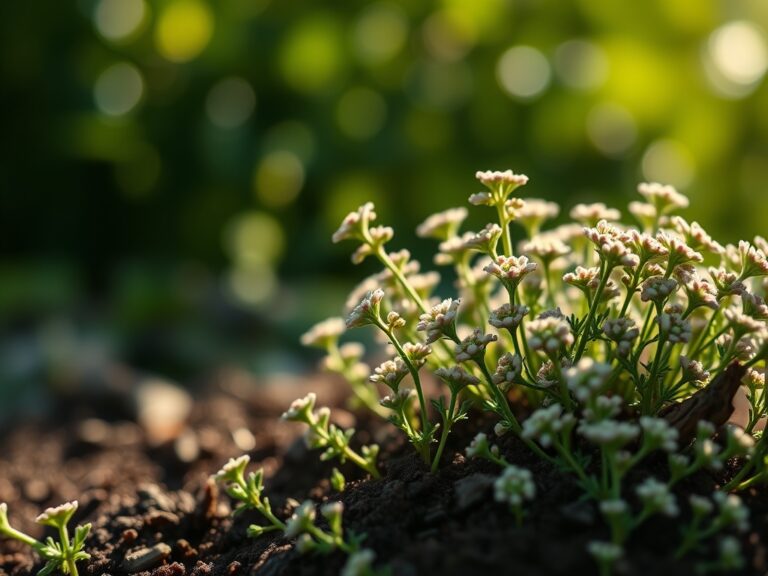
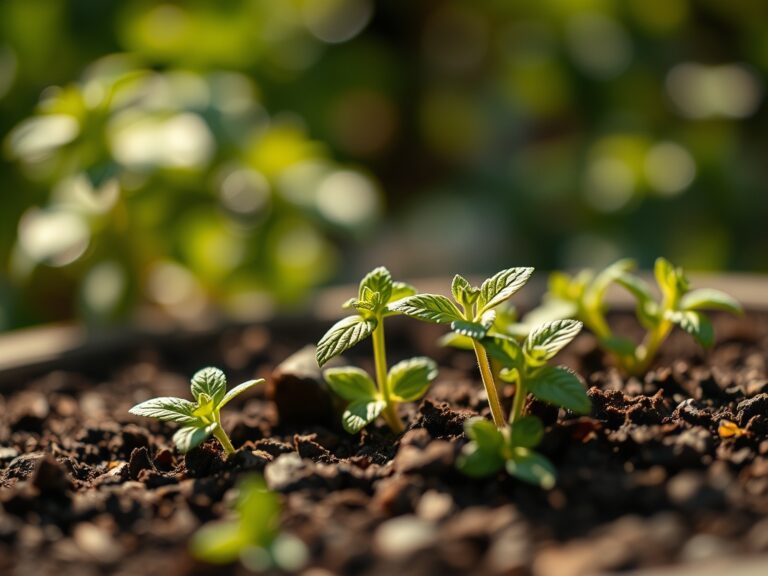
Sowing Phase (Days 21-15): Examine beds for gaps in visual flow. Direct-sow fast-germinating annuals like Calendula officinalis or Nigella damascena in bare patches. These species reach photogenic maturity in 50-60 days. Broadcast seed at 30 seeds per square foot, then rake to 1/8-inch depth. Water with a misting nozzle delivering 0.25 inches daily until radicle emergence.
Pro-Tip: Inoculate legume seeds (sweet peas, lupines) with Rhizobium bacteria before sowing. The root nodules create visual interest in close-up root-zone photography and fix atmospheric nitrogen, intensifying foliage green.
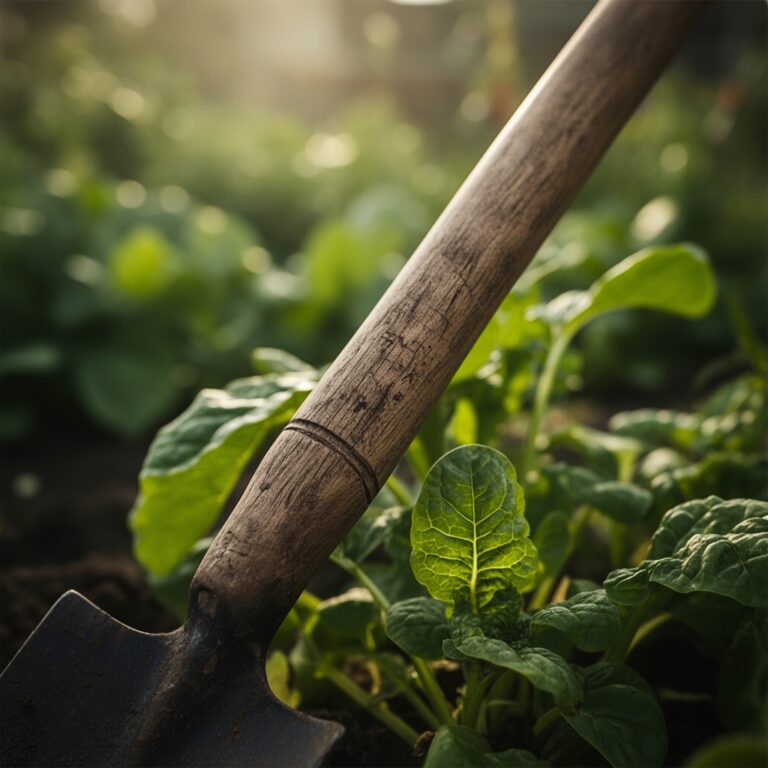
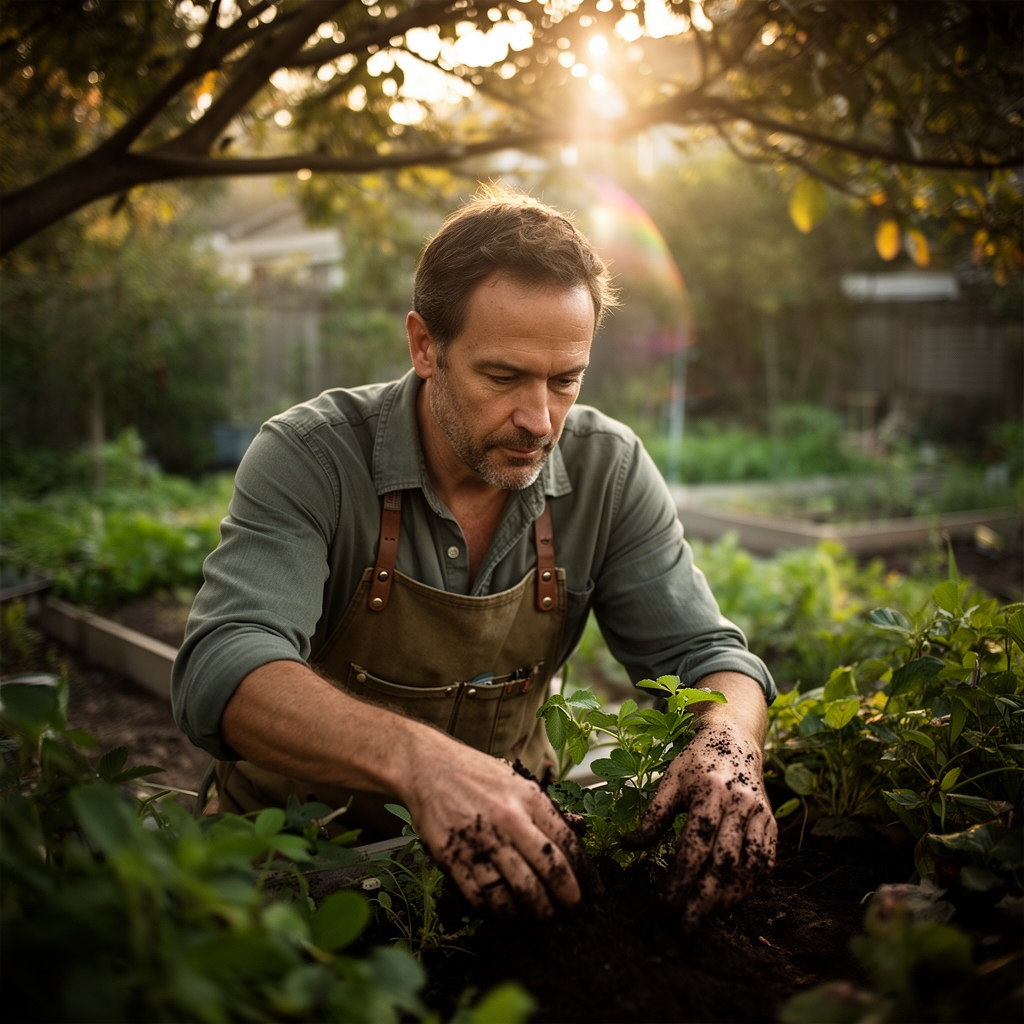
Transplanting Phase (Days 14-10): Fill visual voids with containerized specimens in active bloom. Choose plants with root balls showing white, actively growing tips rather than circling, oxidized brown roots. Dig holes 1.5 times root-ball width. Amend backfill with compost at 2:1 native soil ratio. Position crown at grade level, never buried. Tamp firmly to eliminate air pockets that cause transplant wilt.
Pro-Tip: Rotate transplants so their most developed side faces the planned camera angle. Auxin distribution creates asymmetry; exploit it rather than fight it.
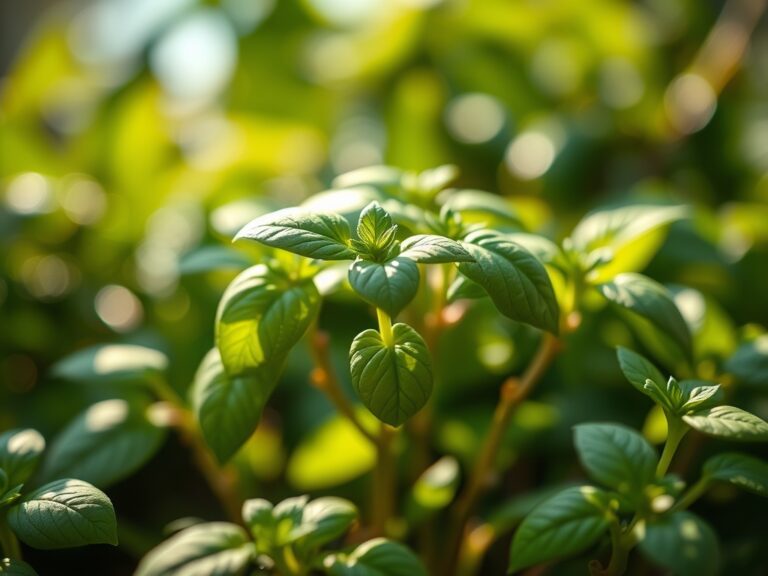
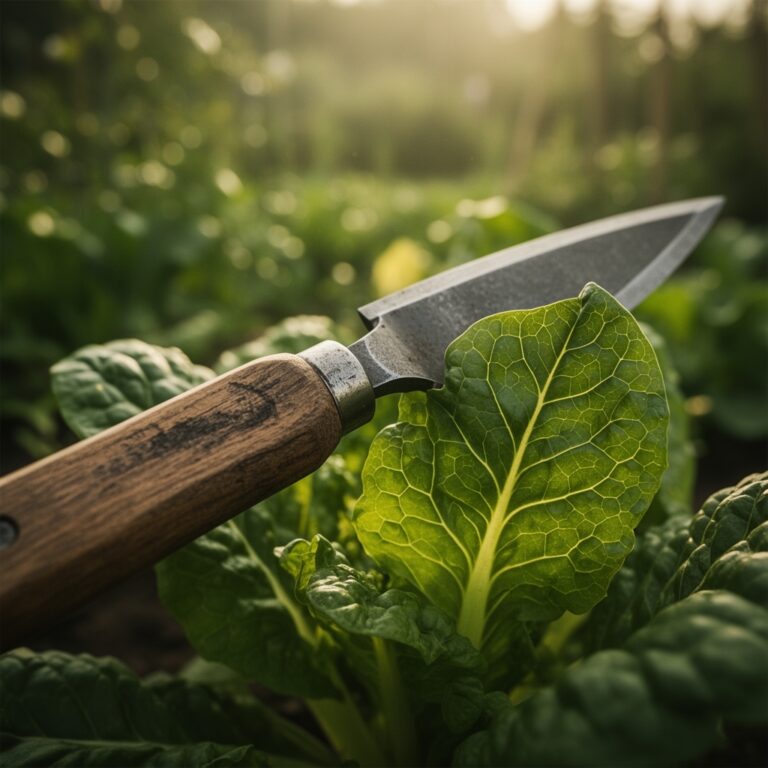
Establishing Phase (Days 9-1): Remove all spent blooms, yellowing leaves, and crossing branches. Cut at 45-degree angles 1/4 inch above outward-facing nodes. This promotes apical dominance in the most photogenic direction. Spray foliage with chelated micronutrient blend (iron, manganese, zinc at 0.5% concentration) 5 days before the shoot. Apply in early morning when stomata open fully, allowing foliar uptake before midday closure.
Pro-Tip: Mist foliage with distilled water 2 hours before the photographer arrives. Droplets magnify cellular detail and add dimension. Tap water leaves mineral deposits visible at macro focal lengths.
Troubleshooting
Symptom: Interveinal chlorosis on new growth. Solution: Soil pH above 7.5 locks out iron. Drench root zones with chelated iron (150 ppm) and sulfur (2 lb per 100 sq ft) to lower pH 0.5 units over 10 days.
Symptom: Aphid colonies on terminal buds. Solution: Spray insecticidal soap (2% potassium salts of fatty acids) at 7-day intervals. Avoid neonicotinoids; they cause petal discoloration visible in high-resolution images.
Symptom: Powdery mildew on leaf surfaces. Solution: Mix 1 tablespoon baking soda and 0.5 tablespoon horticultural oil per gallon water. Spray upper and lower leaf surfaces. Reapply after rain.
Symptom: Wilted foliage despite moist soil. Solution: Root rot from poor drainage. Cease irrigation 48 hours before shoot. Prop stems with bamboo stakes hidden behind foliage mass.
Symptom: Brown petal edges on roses. Solution: Botrytis blight exacerbated by overhead watering. Remove affected blooms. Water soil only, delivering 1 inch per week at root zone.
Maintenance
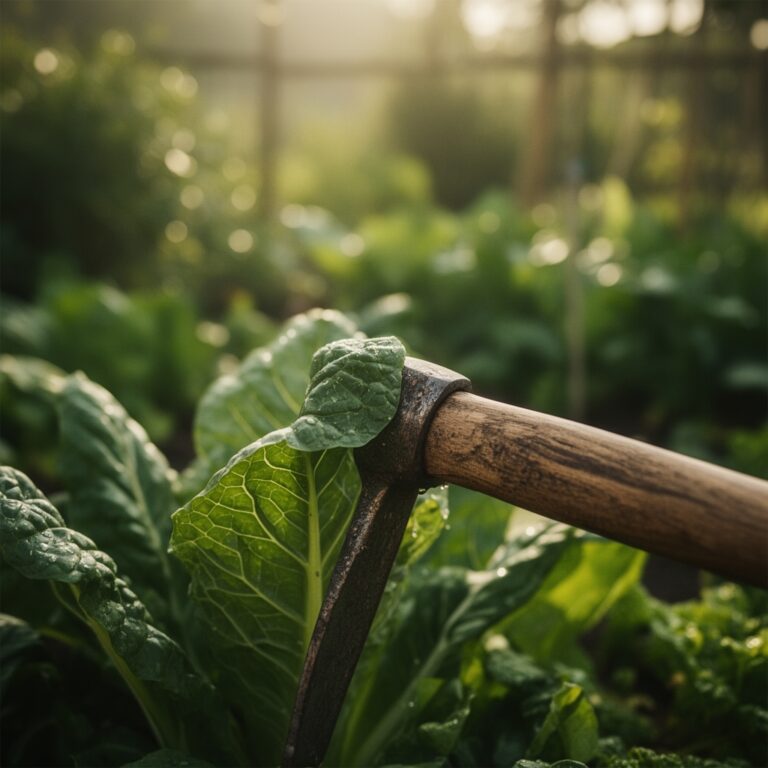
Irrigate established beds with 1 inch of water per week, delivered in a single deep session rather than frequent shallow applications. Use drip lines positioned 6 inches from plant crowns to avoid foliar wetting and fungal issues. Monitor soil moisture at 4-inch depth; maintain consistent 40-60% saturation.
Edge beds with a half-moon edger, cutting 4 inches deep to sever grass rhizomes. Mulch with 2 inches of shredded hardwood bark, pulling mulch 3 inches back from plant stems to prevent crown rot. Reapply foliar micronutrients every 14 days during active growth if tissue tests reveal deficiencies below 50 ppm iron or 25 ppm manganese.
Deadhead flowers every 3 days, cutting to the first five-leaflet node on roses, the next lateral bud on annuals. This redirects carbohydrates to remaining blooms, intensifying color saturation.
FAQ
How far in advance should I fertilize before a garden photography shoot? Apply balanced fertilizer 18 days prior. This allows nitrogen to green foliage and phosphorus to support bloom development without promoting excessive vegetative growth that photographs as leggy and disordered.
What is the best time of day to prepare plants for photos? Water 36 hours before the shoot, then mist foliage 2 hours before photography during morning sessions. Afternoon shoots benefit from morning watering only, as midday turgor naturally peaks.
How do I remove weeds without disturbing mulch appearance? Use a hori-hori knife to sever taproots 2 inches below soil surface. Extract the weed, then rake mulch back into place with your fingers to maintain an undisturbed appearance.
Can I use chemical sprays close to a photo shoot? Avoid all sprays within 72 hours. Residues create visible white films on leaves at macro magnifications. Use mechanical pest removal or insecticidal soap if intervention is necessary.
Should I prune on the day of the shoot? No. Cut sites oxidize brown within hours. Complete all pruning 3 days prior, allowing callus tissue to form and cut edges to seal naturally.