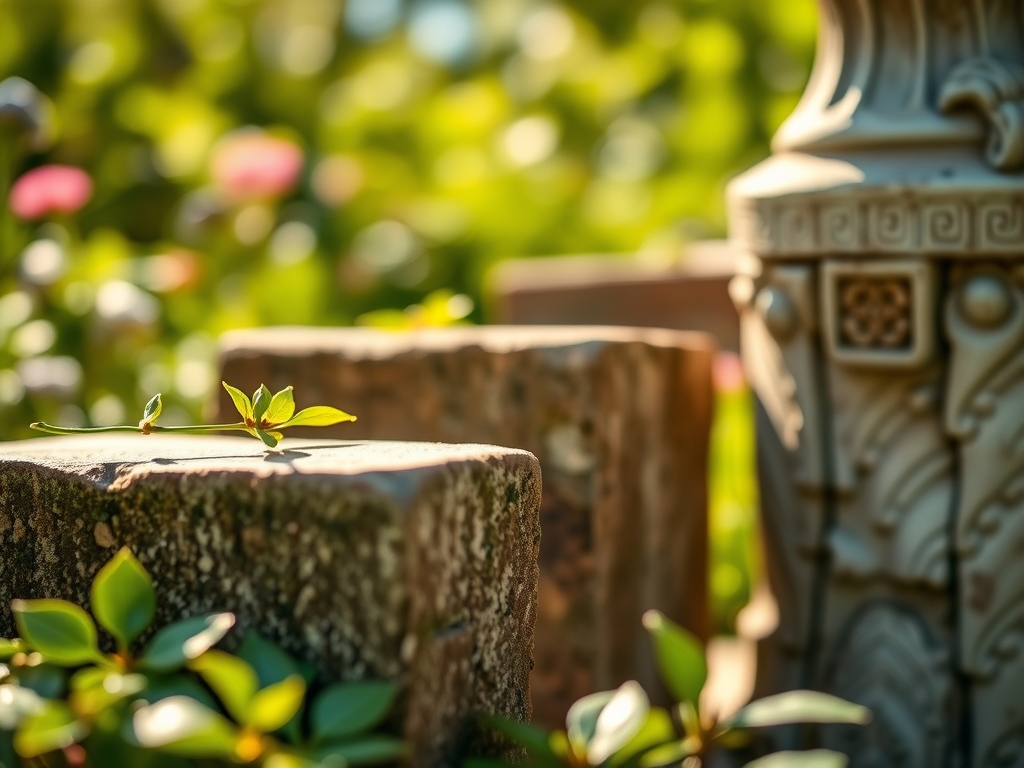
7 Steps to Install and Anchor a Heavy Garden Statue
The scent of damp, anaerobic clay mixed with the sharp musk of decomposing organic matter signals the beginning of any serious landscape structural work. Proper placement of heavy stone or cast iron requires more than aesthetic intuition; it demands a fundamental understanding of soil mechanics and load-bearing capacity. Following the correct Steps for installing a garden statue ensures that the piece remains level despite the constant flux of freeze-thaw cycles and the hydraulic pressure of groundwater. A 500-pound statue exerts significant downward force that can compress the rhizosphere, suffocating the aerobic bacteria essential for nutrient cycling. Success relies on creating a stable interface between the inorganic mass of the sculpture and the living, breathing architecture of the soil profile.
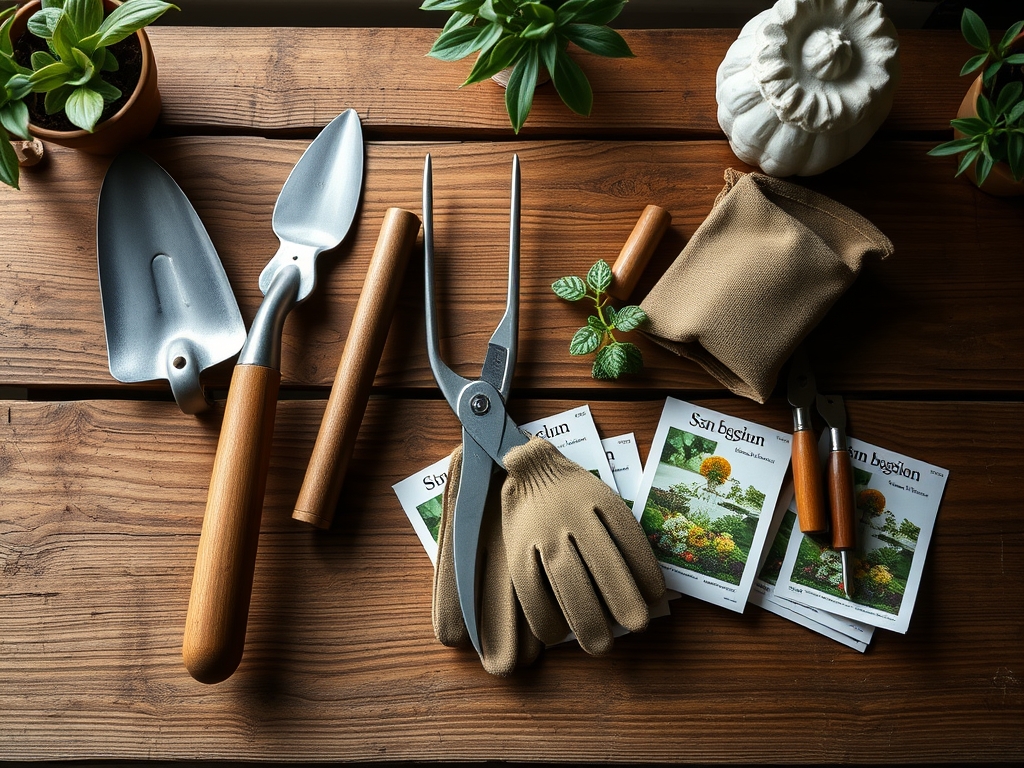
Materials:
Before disturbing the earth, analyze the substrate. The ideal environment for a heavy installation is a **friable loam** with a high **Cation Exchange Capacity (CEC)**, typically ranging from **15 to 25 meq/100g**. High CEC indicates a soil’s ability to hold nutrients and resist structural collapse. Ensure the site pH is stabilized between **6.0 and 7.0** to prevent acidic degradation of stone or metal bases.
You will require:
- Crushed limestone (3/4-inch minus) for the base layer.
- Geotextile fabric to prevent the migration of fines into the subgrade.
- Quikrete 5000 or similar high-early-strength concrete.
- Stainless steel threaded rods (1/2-inch diameter) for anchoring.
- Two-part epoxy resin for bonding metal to stone.
- NPK 5-10-5 starter fertilizer to remediate the surrounding disturbed soil.
Timing:
The installation window is governed by the Hardiness Zone and the local frost line. In Zones 4 through 7, installation must occur at least 30 days before the first hard freeze or 30 days after the final spring thaw. This allows the soil to settle and the concrete to reach its full compressive strength without ice crystal formation disrupting the chemical hydration process.
Observe the Biological Clock of surrounding flora. Perform the heavy lifting during the dormant phase (late autumn) or early vegetative stage (early spring). Avoid installation during the reproductive stage (flowering), as the physical compaction from foot traffic and machinery can cause abscission of buds and flowers due to ethylene stress.
Phases:

Sowing the Foundation
Excavate the site to a depth of 12 inches below the frost line. For a standard statue, a 24-by-24-inch square is the minimum footprint. Line the pit with geotextile fabric. Fill the first 6 inches with compacted crushed limestone. Use a plate compactor to ensure the base is monolithic.
Pro-Tip: Compaction prevents subsidence, which can shear the delicate mycorrhizal symbiosis in the surrounding soil. By stabilizing the base, you protect the fungal networks that provide phosphorus to nearby perennials.
Transplanting the Load
Pour a 4-inch thick concrete pad over the gravel. While the concrete is wet, insert four stainless steel anchor bolts. Use a spirit level to ensure the surface is perfectly horizontal. Allow the concrete to cure for 72 hours before placing the statue. Once cured, lower the statue onto the bolts using a heavy-duty hoist or a team of installers.
Pro-Tip: Use a leveling shim made of lead or high-density plastic. This prevents auxin suppression in nearby groundcovers by ensuring the statue's shadow falls exactly where planned, preventing light-deprivation stress on phototropic plants.
Establishing the Anchor
Drill receiving holes into the base of the statue using a carbide-tipped masonry bit. Fill these holes with two-part epoxy and lower the statue onto the protruding anchor bolts. Tighten the nuts until the statue is immovable. Backfill the perimeter with the original topsoil mixed with 20% organic compost.
Pro-Tip: Applying an NPK 5-10-5 mix to the backfill encourages rapid root re-colonization. This triggers thigmotropism in the surrounding roots, causing them to grow toward and eventually "lock" the underground foundation into the local soil matrix.
The Clinic:
Statue installation often results in physiological disorders in the surrounding landscape. Monitor for these symptoms:
- Symptom: Leaf Chlorosis. Yellowing leaves with green veins near the installation site.
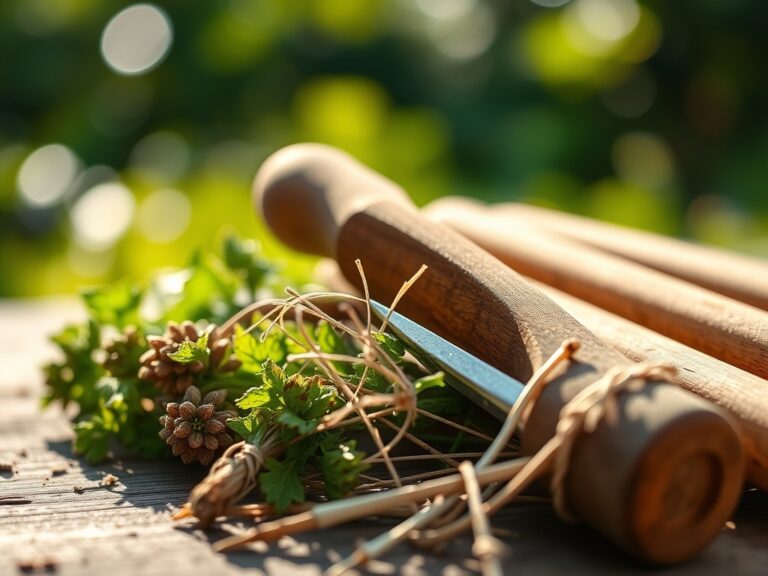
Solution: This indicates Nitrogen deficiency caused by soil compaction. Use a hori-hori knife to aerate the soil in a 3-foot radius and apply a high-nitrogen liquid feed. - Symptom: Epinasty. Downward curling of leaves on nearby shrubs.
Solution: This is a sign of ethylene gas buildup from waterlogged, compacted soil. Improve drainage by adding a French drain or increasing the gravel content of the subgrade. - Symptom: Marginal Necrosis. Brown, crispy edges on leaves.
Solution: Likely Potassium deficiency or salt burn from concrete runoff. Flush the area with 2 inches of water and apply a potassium-rich sulfate of potash.
Fix-It: If you notice Nitrogen chlorosis, apply a foliar spray of chelated iron and urea. This bypasses the compacted root zone to provide immediate relief to the plant's vascular system.
Maintenance:
A successful installation requires ongoing monitoring of the interface between the stone and the soil. Use a soil moisture meter weekly to ensure the foundation is not acting as a "sump" that collects excess water. The surrounding vegetation requires 1.5 inches of water per week at the drip line to compensate for the heat radiation reflected off the statue.
Every spring, use bypass pruners to remove any limbs that might rub against the statue, as mechanical wounding can invite fungal pathogens. Check the anchor bolts for "heaving" caused by the cation exchange and expansion of clay particles. If the statue tilts more than 1 degree, use a hydraulic jack to re-level and shim the base.
The Yield:
While a statue does not produce a harvest in the traditional sense, the "yield" is the preservation of the surrounding ecosystem. If the statue is placed near edible herbs like Rosmarinus officinalis, ensure no chemical sealants drip onto the foliage. Harvest herbs during the morning when turgor pressure is highest. This ensures the essential oils are concentrated, providing "day-one" freshness for culinary use. Handle all harvested material with clean shears to prevent the spread of tobacco mosaic virus or other mechanical infections.
FAQ:
How deep should the foundation be?
The foundation must sit 6 to 12 inches below the local frost line. This prevents the vertical movement of soil during freeze-thaw cycles, which can crack concrete and destabilize the statue's center of gravity.
Can I place a statue directly on the grass?
No. Direct placement causes soil compaction, leading to anaerobic conditions. This kills the rhizosphere and causes the statue to sink unevenly as the organic matter underneath decomposes and loses structural integrity.
What is the best material for anchoring?
316-grade stainless steel is the professional standard. It resists the corrosive effects of soil moisture and the chemical reactions associated with low pH environments, ensuring the anchor does not snap under high wind loads.
How do I prevent the statue from staining?
Maintain a neutral soil pH (7.0) around the base and ensure proper drainage. Excess moisture can wick up through porous stone via capillary action, bringing dissolved minerals and salts that cause efflorescence or fungal staining.