9 Steps to Prepare a Private Outdoor Garden Shower Site
Understanding how to prepare a garden for an outdoor shower begins with recognizing the intersection of hardscape and living soil systems. Water runoff, soap residue, and foot traffic create a microclimate where only adapted species survive. The installation demands deliberate grading, drainage amendments, and plant selection that tolerates both drought and sudden saturation. Native wetland-edge perennials, ornamental grasses with deep rhizomes, and stone mulches become infrastructure, not decoration.
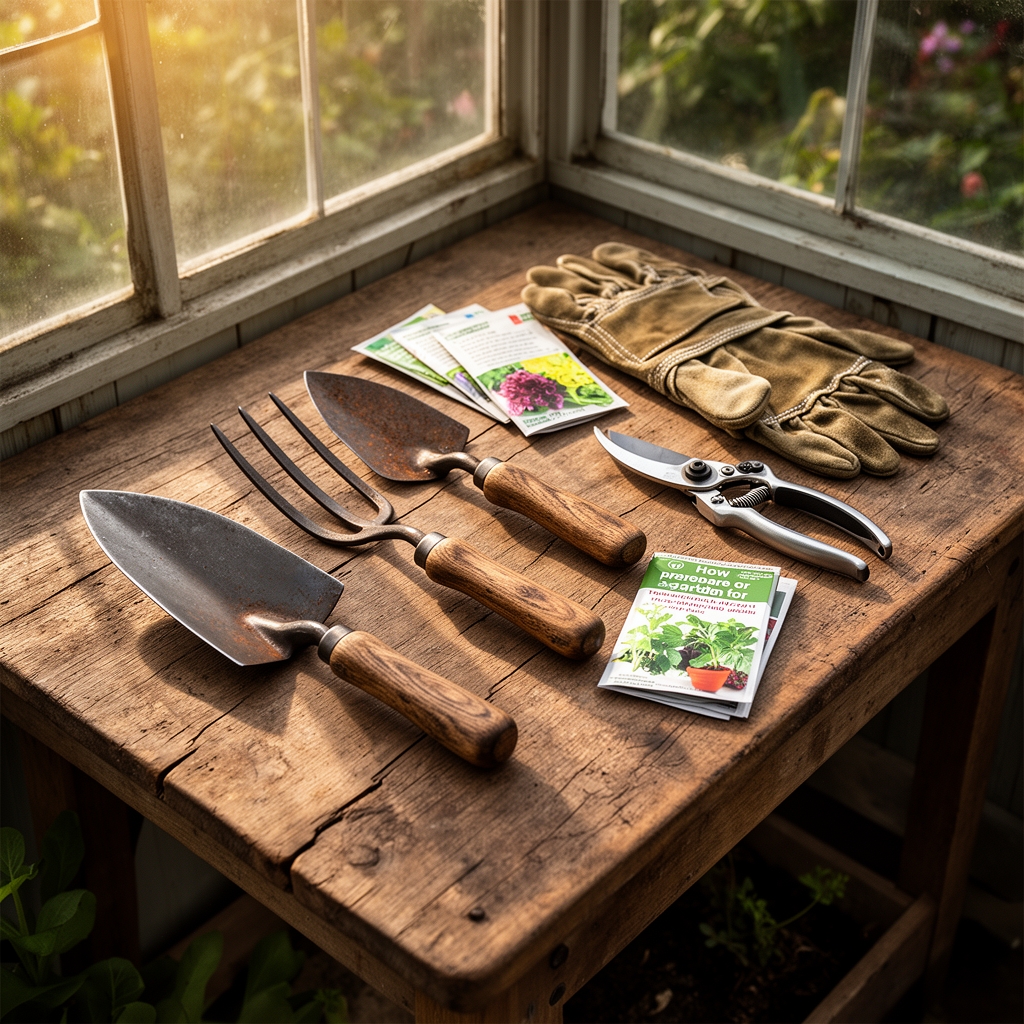
Materials
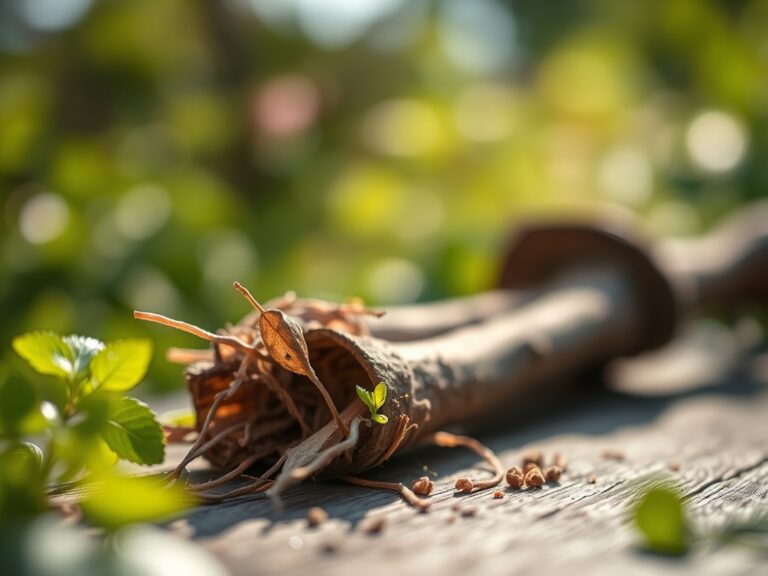
Substrate modification begins with coarse sand or 3/8-inch pea gravel to accelerate percolation rates in the immediate shower zone. A 6-inch layer prevents standing water while protecting root systems from compaction. For planting pockets, amend native soil with composted pine bark fines at a 1:1 ratio to lower pH to 5.5-6.5, ideal for moisture-tolerant ornamentals like sedges and ferns.
Fertilizer selection favors slow-release organic blends at 4-4-4 or 5-3-2 ratios. High nitrogen formulations encourage excessive foliar growth vulnerable to physical damage from foot traffic. Incorporate kelp meal at 2 pounds per 100 square feet to boost cation exchange capacity and trace mineral availability. Calcium sulfate (gypsum) at 5 pounds per 100 square feet improves drainage in clay soils without altering pH.
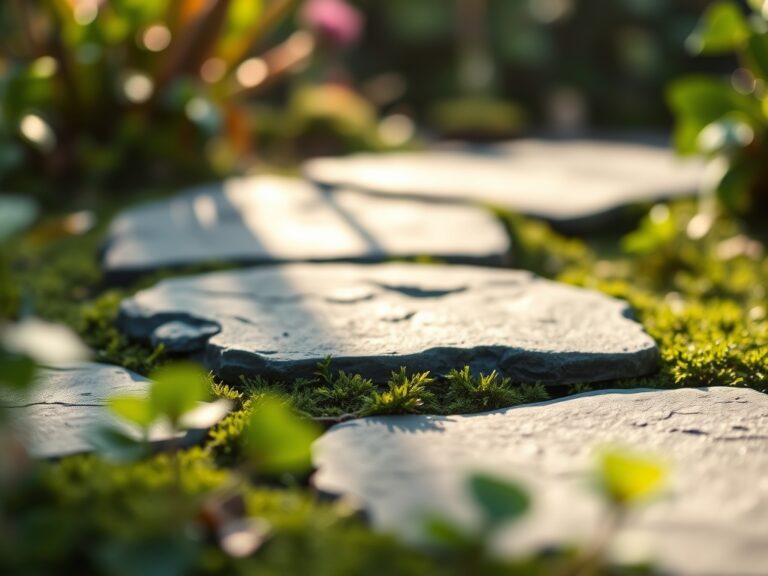
Stone materials include flagstone or tumbled river rock for immediate shower footing, creating a pervious surface that sheds water laterally. Edging requires galvanized steel or cedar boards treated with linseed oil, not pressure-treated lumber that leaches copper and arsenic into planting zones.
Timing
Site preparation aligns with dormant seasons in Hardiness Zones 3-7, ideally October through March when soil moisture is high but biological activity minimal. Excavation and grading cause least disruption to mycorrhizal networks during winter dormancy. In Zones 8-10, work from November through February before spring root flushes.
Planting windows follow last frost dates but precede peak heat. For Zone 6, transplant containerized perennials from April 15 to May 30, allowing eight weeks of root establishment before summer stress. Zone 9 installations should occur from February through March, leveraging mild temperatures and predictable spring rainfall.
Hardscape installation precedes all planting by minimum four weeks. Concrete footings and gravel beds require curing and settling time. Premature planting into disturbed substrates results in root shearing and transplant failure.
Phases

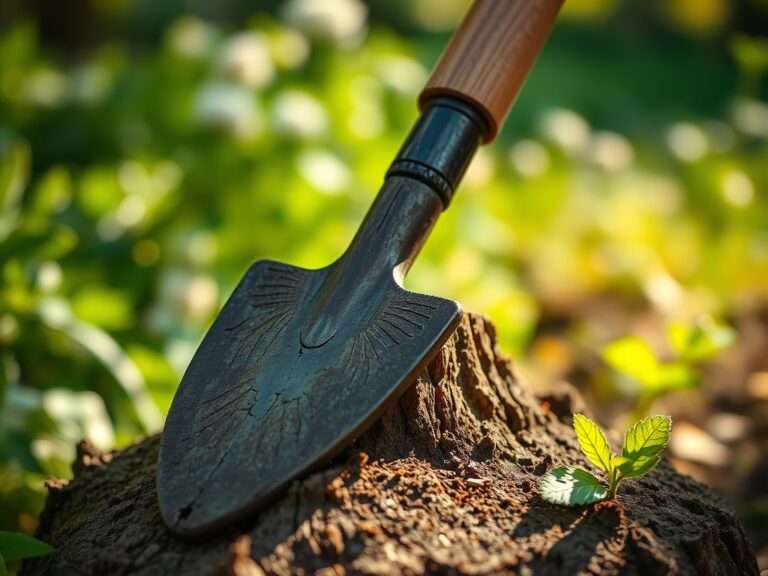
Excavation and Grading: Remove topsoil to 18-inch depth across a 10-foot radius centered on shower fixture. Establish 2% grade sloping away from building foundations. Install perforated drain tile at base elevation, connecting to existing drainage or a dry well sited 15 feet downslope. Backfill drain trenches with washed stone, then replace topsoil in the outer 5-foot ring where plantings will root.
Pro-Tip: Compact each 4-inch lift of backfill to 85% density using a plate compactor. Loose substrates settle unevenly, creating depressions that pool greywater.
Substrate Amendment: Spread 3-inch layer of coarse sand across the central 5-foot shower zone. In planting pockets, till amendments to full 12-inch depth, breaking subsurface hardpan that restricts drainage. Apply mycorrhizal inoculant (Glomus intraradices) at 1 ounce per 10 square feet directly into root zones. These fungal symbionts extend effective root absorption area by 700%, critical in periodically saturated soils where oxygen limits nutrient uptake.
Pro-Tip: Avoid tilling when soil moisture exceeds field capacity. Wet aggregates smear into impermeable layers that negate drainage improvements.
Planting and Mulching: Position containerized plants 18-24 inches apart, measuring from stem centers. Species like Carex elata, Athyrium filix-femina, and Hemerocallis thrive in fluctuating moisture. Backfill root balls with unamended native soil to prevent textural interfaces that block water movement. Apply 2-inch layer of shredded hardwood mulch, keeping material 3 inches from stems to prevent crown rot.
Pro-Tip: Rotate plant orientation so foliage leans toward shower spray patterns. Auxin distribution in stems responds to directional water pressure, training plants into natural screens.
Troubleshooting
Symptom: Yellow lower foliage with green veins (chlorosis) appearing four weeks post-installation.
Solution: Iron deficiency induced by high pH from concrete leachate. Apply chelated iron (Fe-EDDHA) at 1 tablespoon per gallon as foliar spray biweekly until symptoms resolve.
Symptom: Wilting despite adequate soil moisture, root tips brown and mushy.
Solution: Phytophthora root rot from anaerobic conditions. Improve drainage by adding 2 additional inches of coarse sand. Drench root zones with mefenoxam fungicide per label rates.
Symptom: Circular brown spots with yellow halos on fern fronds.
Solution: Pseudomonas bacterial leaf spot exacerbated by overhead moisture. Remove infected fronds. Reduce spray contact by redirecting shower head 15 degrees.
Symptom: Slug feeding creates irregular holes in hosta leaves.
Solution: Scatter iron phosphate bait (Sluggo) at 1 pound per 1,000 square feet. Reapply after rain events.
Maintenance
Supplemental irrigation delivers 1 inch weekly during establishment year, measured with rain gauge. Mature plantings require intervention only during droughts exceeding 14 days. Deep watering every 10 days promotes roots to 18-inch depth rather than shallow daily applications.
Fertilize annually in early spring with 4-4-4 organic blend at 2 pounds per 100 square feet. Broadcast granules 6 inches beyond drip lines, watering in immediately. Excessive feeding produces rank growth with weak cell walls prone to mechanical damage.
Divide perennial clumps every 3-4 years in early spring when shoots emerge 2 inches tall. Lift root masses with spading fork, separate into sections containing 3-5 growing points, and replant immediately at original depth.
FAQ
Can I use biodegradable soaps without harming plants?
Castile and other plant-based soaps at concentrations below 2% cause minimal phytotoxicity. Dilution from rinse water reduces active surfactant levels to safe thresholds.
How soon can I use the shower after planting?
Wait 6 weeks to allow root establishment. Initial trampling damages feeder roots still colonizing amended soil.
What spacing prevents algae growth on stone surfaces?
Position deciduous trees to provide 40-60% canopy shade during summer months. Reduced light limits photosynthetic algae and moss colonization.
Do I need permits for greywater discharge?
Regulations vary by municipality. Most jurisdictions allow subsurface irrigation from soap-based greywater if it remains on-property and doesn't contact edible crops.
Which grasses tolerate both standing water and drought?
Panicum virgatum (switchgrass) and Schizachyrium scoparium (little bluestem) establish deep roots accessing moisture reserves while surviving periodic flooding through aerenchyma tissue.