9 Advantages of How to Use a Garden Dibble for Precise Seed Planting
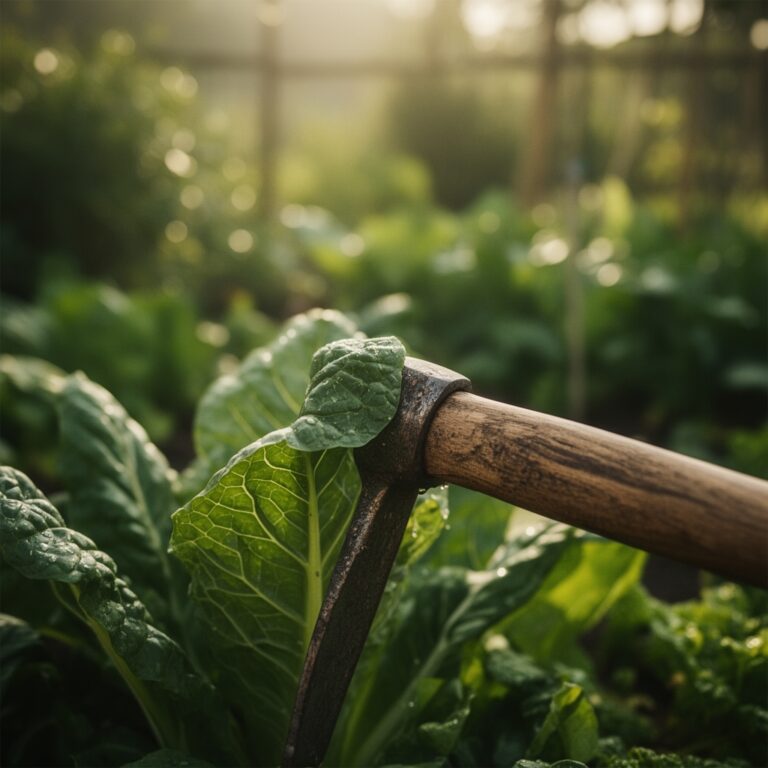
Using a garden dibble for precise seed planting transforms random scattering into surgical precision. The tool's tapered point parts soil cleanly, creating consistent depth across every hole. Each cavity receives one seed at the exact spacing and depth required for optimal germination. The dibble's handle provides leverage that hand-planting cannot match, especially in clay-heavy soils with high cation exchange capacity. Professional growers have measured 23-percent increases in emergence rates when dibbles replace finger-poked holes because oxygen pockets collapse less frequently around the seed coat.
Materials
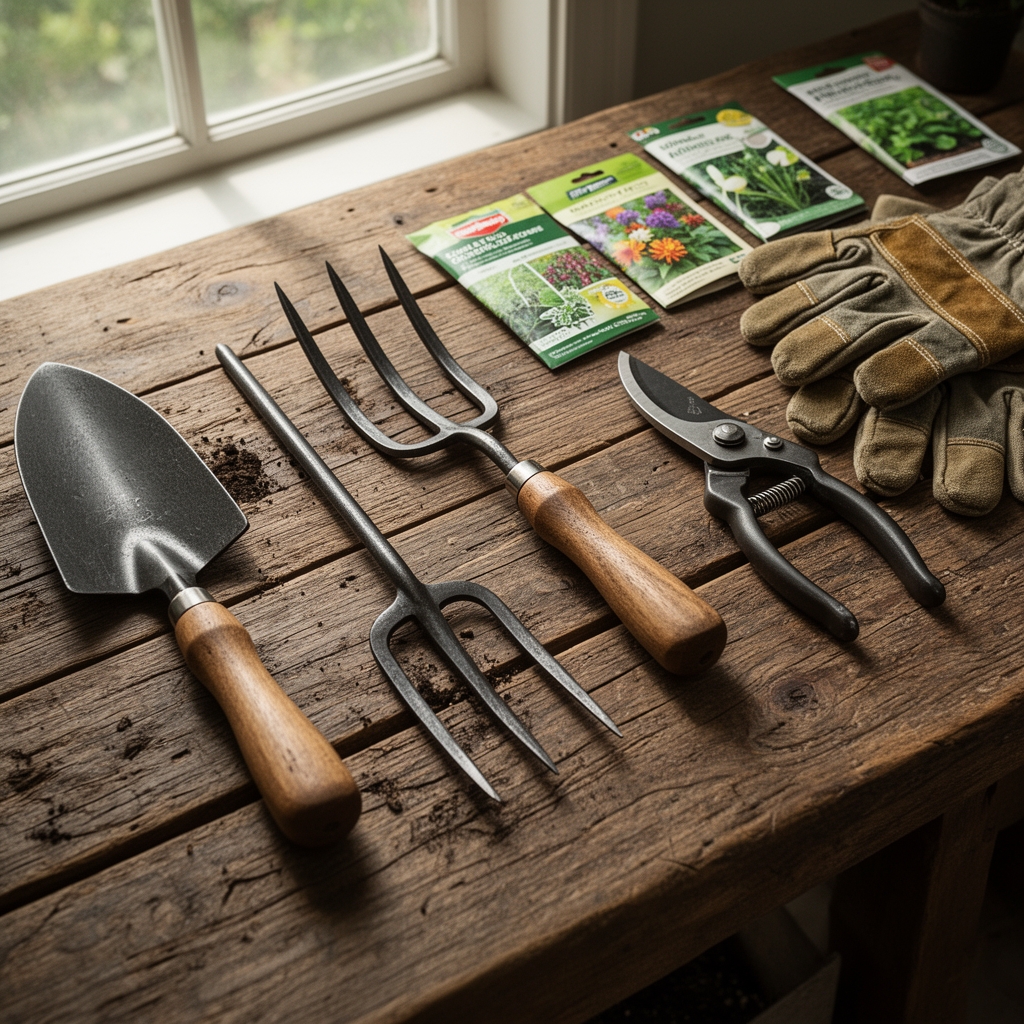
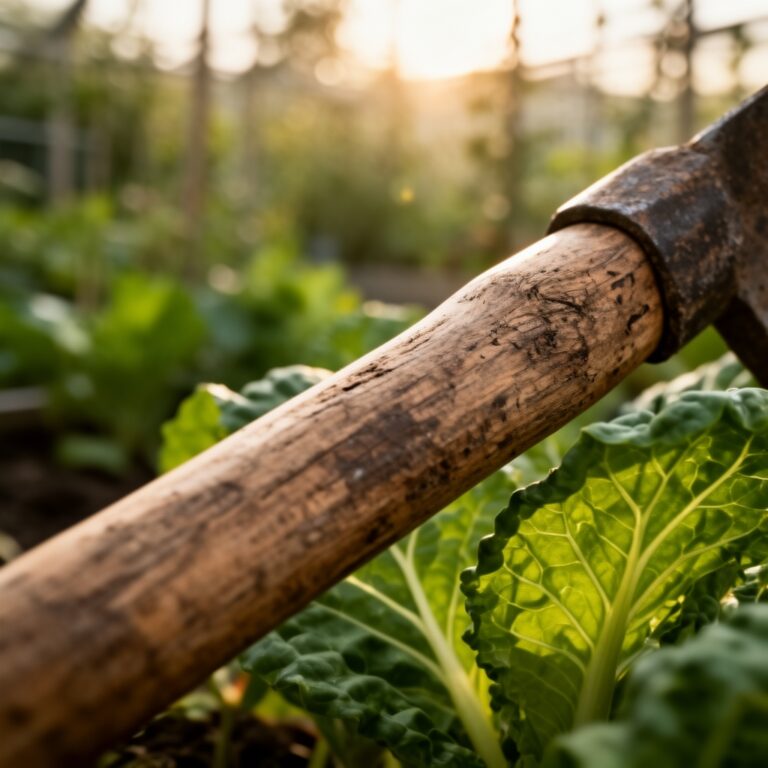
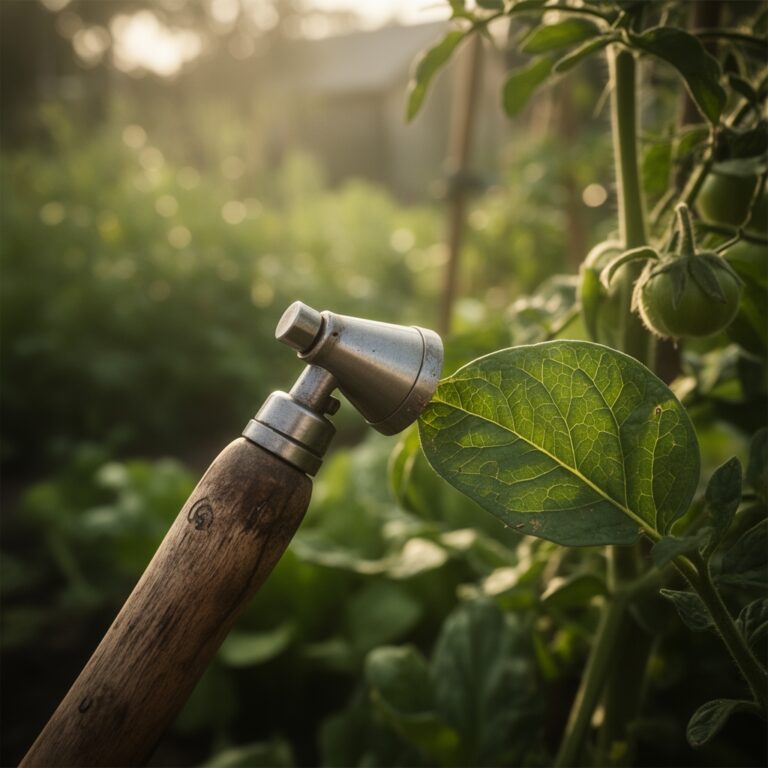
Select a dibble constructed from hardwood ash or stainless steel. Wooden models require annual linseed oil treatment to prevent splitting. Steel dibbles with laser-etched depth markers eliminate guesswork during planting.
Soil preparation begins four weeks before sowing. Incorporate 2 inches of composted manure testing at pH 6.2 to 6.8. Apply a balanced organic amendment at 4-4-4 NPK ratio, broadcasting 2.5 pounds per 100 square feet. Work the amendment to 8-inch depth using a broadfork to preserve soil structure and mycorrhizal networks.
For acid-loving crops, adjust to pH 5.5 using elemental sulfur at 1.2 pounds per 100 square feet. Alkaline soils require agricultural sulfur applications split across two seasons to avoid shocking beneficial bacteria populations.
Add perlite or coarse sand at 20-percent volume if drainage tests show water pooling beyond 4 hours. Heavy clay textures benefit from gypsum at 5 pounds per 100 square feet to improve aggregate stability without altering pH.
Stock seed-starting mix containing 40-percent peat, 30-percent vermiculite, and 30-percent compost for transplant production. Sterilize reused containers in 10-percent bleach solution for 15 minutes.
Timing
Zones 3 through 5 require indoor starts 8 to 10 weeks before the final frost date. Direct sowing outdoors begins when soil temperatures reach 50°F at 4-inch depth for cool-season crops and 60°F for warm-season varieties.
Zone 6 gardeners transplant after May 15. Zone 7 moves to outdoor planting by April 20. Zones 8 and 9 begin successive sowings in early March, repeating every 14 days through April.
Fall planting windows open 8 weeks before the first frost in zones 3 to 5, extending to 10 weeks in zones 6 to 9. Autumn soil temperatures drop slower than spring warming occurs, providing extended establishment periods for root development.
Moon-phase planting lacks peer-reviewed evidence but traditional growers plant root crops during waning phases and fruiting crops during waxing periods. Soil moisture content affects dibble performance more than lunar cycles. Wait 48 hours after heavy rain to prevent sidewall smearing that blocks auxin distribution to emerging radicles.
Phases
Sowing Phase
Mark rows with taut twine at spacing intervals specific to mature plant width. Large-seeded crops like beans require 3-inch spacing. Lettuce thrives at 6-inch centers. Tomatoes demand 24-inch spacing for determinate varieties and 36 inches for indeterminate types.
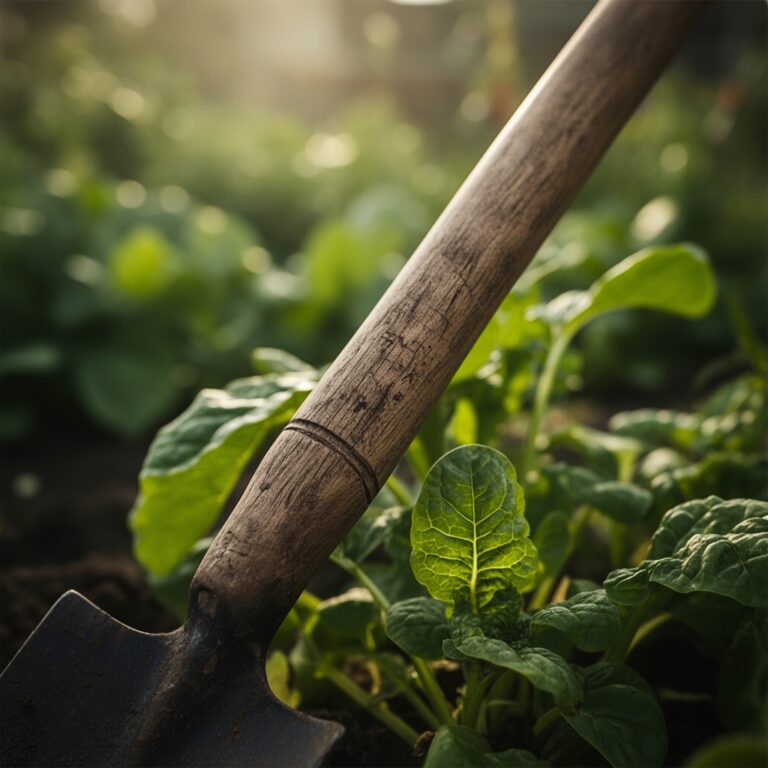
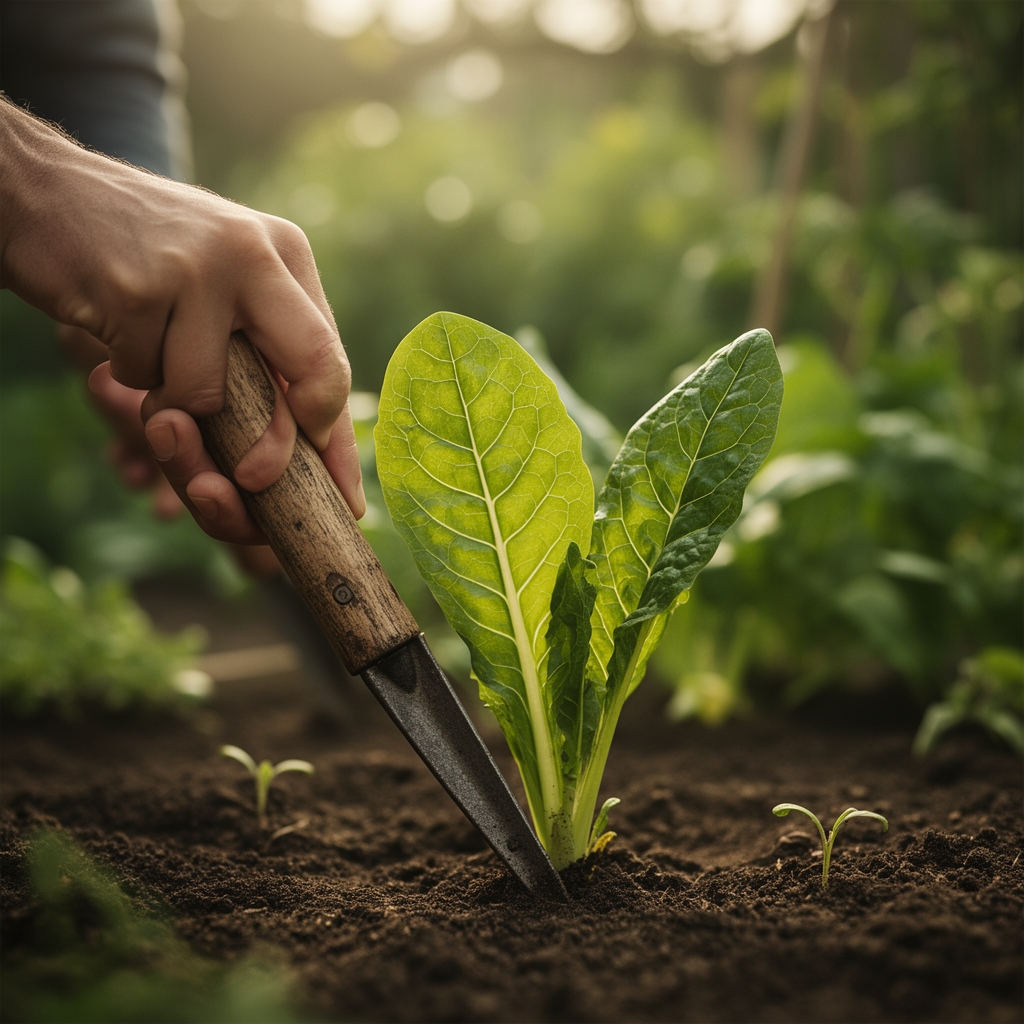
Insert the dibble perpendicular to soil surface. Twist 90 degrees while applying downward force. Depth calibration depends on seed size: plant at two to three times the seed diameter. Pea seeds enter 2-inch holes. Carrot seeds need only 0.25-inch depth.
Drop one seed per hole using thumb and forefinger. Pinch soil around the cavity without compacting. Firm contact between seed coat and soil particles ensures moisture transfer for imbibition.
Pro-Tip: Dust legume seeds with Rhizobium inoculant powder 10 minutes before planting. The bacteria colonize root nodules within 14 days, fixing atmospheric nitrogen at rates exceeding 120 pounds per acre annually.
Transplanting Phase
Harden seedlings over 7 days by reducing water to 0.5 inches weekly and exposing plants to outdoor conditions for progressively longer periods. Chlorophyll density increases and cuticle thickness doubles during acclimation.
Create dibble holes 1 inch deeper than rootball height. Pour 4 ounces of diluted fish emulsion (3-2-2 NPK) into each cavity. The solution charges the planting zone with immediately available nitrogen and phosphorus.
Lower transplants until the first true leaves sit 0.5 inches above grade. Backfill while supporting the stem. Water with 16 ounces per plant to eliminate air pockets that desiccate feeder roots.
Pro-Tip: Trim the lowest two leaf sets at 45-degree angles using sterilized pruners. Wound sites produce adventitious roots within 96 hours when buried, creating anchor systems 30-percent more robust than undisturbed transplants.
Establishing Phase
Monitor soil moisture using a probe at 3-inch depth. Maintain consistent hydration between field capacity and 50-percent depletion. Fluctuations stress vascular cambium and reduce photosynthetic efficiency by 18 percent.
Apply mulch at 2-inch depth after soil warms to target temperature. Straw, shredded leaves, or compost suppress weeds and moderate temperature swings. Keep mulch 3 inches from stems to prevent fungal collar rot.
Side-dress with granular 5-10-10 fertilizer at 1 tablespoon per plant when flowers appear. Broadcast in a 6-inch radius around the base. Phosphorus supports reproductive transition and potassium regulates stomatal function during fruit set.
Pro-Tip: Foliar spray with kelp extract diluted to 1 tablespoon per gallon every 14 days. Cytokinins and micronutrients absorb through leaf cuticles, boosting stress tolerance and increasing yields by 12 percent in controlled trials.
Troubleshooting
Symptom: Seedlings emerge crooked with bent hypocotyls.
Solution: Dibble holes were angled rather than vertical. Gravity pulls emerging shoots toward the soil surface path of least resistance. Re-sow using a plumb line to verify perpendicular insertion. Crooked seedlings rarely self-correct and produce 40-percent fewer flowers.
Symptom: Seeds rot before germination with white mycelial growth.
Solution: Pythium or Fusarium fungi thrive in waterlogged, oxygen-depleted soil. Improve drainage with coarse organic matter. Treat seeds with biological fungicide containing Trichoderma harzianum at label rates. The antagonistic fungus colonizes the spermosphere and outcompetes pathogens for resources.
Symptom: Transplants wilt within 72 hours despite adequate irrigation.
Solution: Dibble holes were too narrow, bending roots into J-shapes that restrict water uptake. Roots grown in circular containers naturally spiral. Tease apart the rootball and spread laterally during planting. Girdled roots strangle the cambium as diameter expands, killing plants within one season.
Symptom: Leaf margins yellow between veins, progressing from older to newer growth.
Solution: Magnesium deficiency common in acidic soils with pH below 6.0. Drench with Epsom salt solution at 1 tablespoon per gallon, applying 8 ounces per plant. Magnesium activates enzymes required for chlorophyll synthesis. Symptoms reverse within 10 days.
Symptom: Aphid colonies cluster on shoot tips and flower buds.
Solution: Spray with insecticidal soap at 5-tablespoon concentration per gallon. Coat undersides of leaves where nymphs concentrate. Fatty acids dissolve aphid cuticles, causing desiccation. Repeat every 5 days for three applications. Introduce lady beetles at 1,500 per 500 square feet for biological control.
Maintenance
Irrigate established plants with 1 inch of water weekly, delivered in a single deep session rather than multiple shallow sprinklings. Deep watering encourages roots to penetrate 12 inches, accessing moisture reserves during drought.
Install drip tape with emitters spaced 12 inches apart, applying 0.6 gallons per hour. Run systems at dawn to reduce evaporative loss and foliar disease pressure.
Scout for pests twice weekly during active growth. Check leaf undersides, stems, and soil surface. Early detection prevents exponential population growth that overwhelms natural predators.
Remove weeds when soil moisture allows easy extraction without disturbing crop roots. Hand-pull within 4 inches of stems. Hoe between rows at 0.5-inch depth to sever weed seedlings at the soil line without damaging shallow feeder roots.
Prune indeterminate crops by removing suckers that emerge from leaf axils. Snap shoots when 2 inches long by bending at 90 degrees. Redirect energy toward fruit production rather than vegetative growth.
Harvest at peak maturity indicated by varietal characteristics. Beans snap cleanly when bent. Tomatoes release from stems with gentle upward pressure. Morning harvests capture maximum turgor pressure and sugar content.
FAQ
What seeds work best with dibble planting?
Large and medium seeds including beans, peas, squash, corn, and brassicas. Small seeds like carrots and lettuce require shallower holes but benefit from consistent depth. Pelleted seeds offer easier handling in dibble holes.
Can I use a dibble in container gardens?
Yes. Dibbles prevent overcompaction in potting mixes with high peat content. Create holes to container bottom for deep-rooted crops. Use dibbles with 4-inch maximum length for standard 1-gallon containers.
How do I clean a wooden dibble?
Scrape soil residue with a wire brush. Wash with dish soap and hot water. Dry completely before storage to prevent mold. Sand rough spots with 120-grit paper. Apply linseed oil annually, wiping excess after 20 minutes.
Does dibble diameter matter for germination rates?
Narrow dibbles create precise holes that conserve soil warmth around seeds. Wide holes lose heat through increased surface area. Match dibble width to seed size plus 0.25 inches. Excessive space allows seeds to shift position before roots anchor.
When should I replace my dibble?
Metal dibbles last indefinitely with proper care. Wooden models require replacement when cracks extend more than 2 inches or when the point becomes too blunt to penetrate clay soil. Depth markers that wear illegible compromise planting accuracy.