8 Tips to Use a Measuring Wheel for Garden Planning
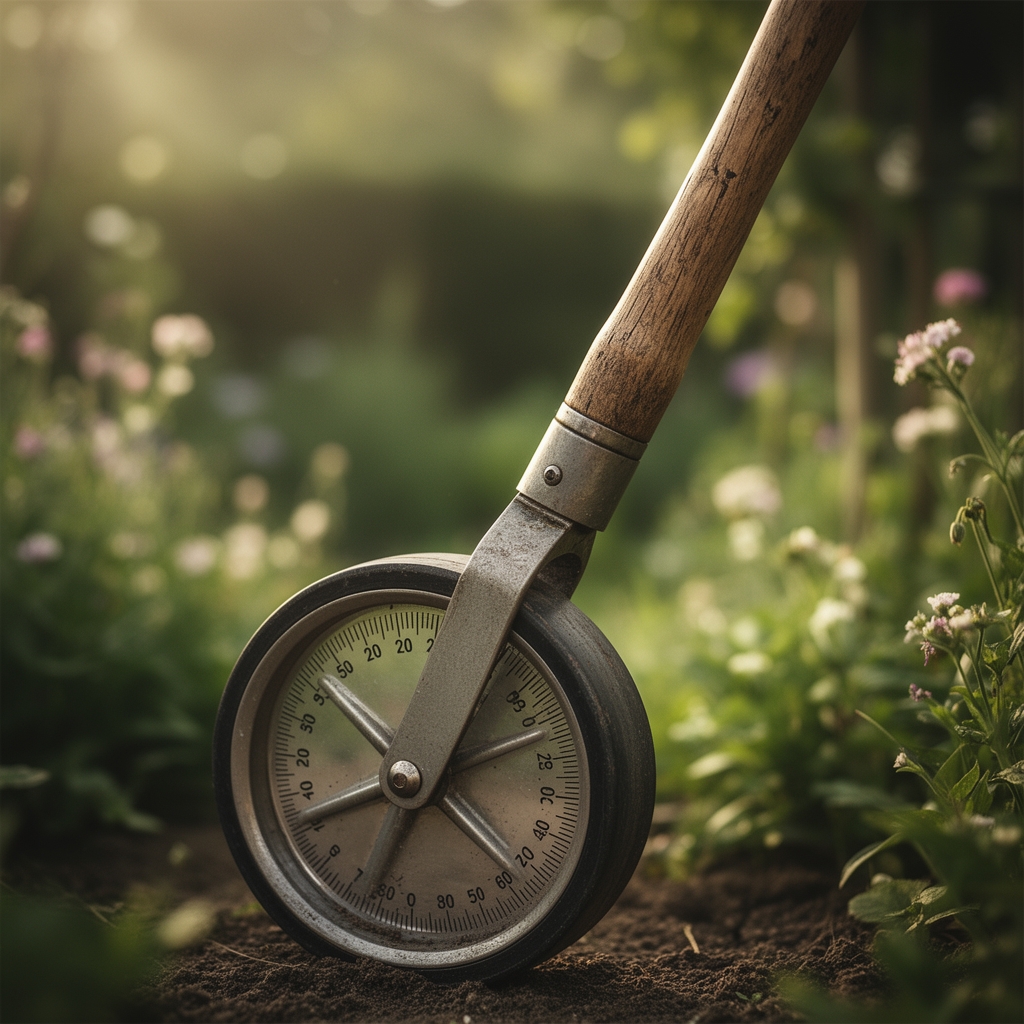
Using a measuring wheel for garden planning transforms abstract sketches into precise, buildable layouts. The soft click of the wheel's counter against gravel paths marks each linear foot with accuracy that hand-pacing cannot match. Professional landscapers rely on this tool to calculate square footage for mulch orders, determine irrigation line runs, and establish proper spacing between specimen trees. When the soil is still damp from spring thaw and you can smell the earthworm castings rising to the surface, a measuring wheel becomes the bridge between your winter planning notebook and the physical garden that will emerge.
Garden design demands exactitude. A measuring wheel registers distance with mechanical precision, typically accurate to within 99.5% over 100 feet. This matters when calculating substrate volume for raised beds or determining whether a 12-foot diameter tree canopy will shade your tomato bed at summer solstice. The tool's ability to track both imperial and metric measurements supports proper plant spacing based on mature width, root spread, and companion planting protocols.
Materials
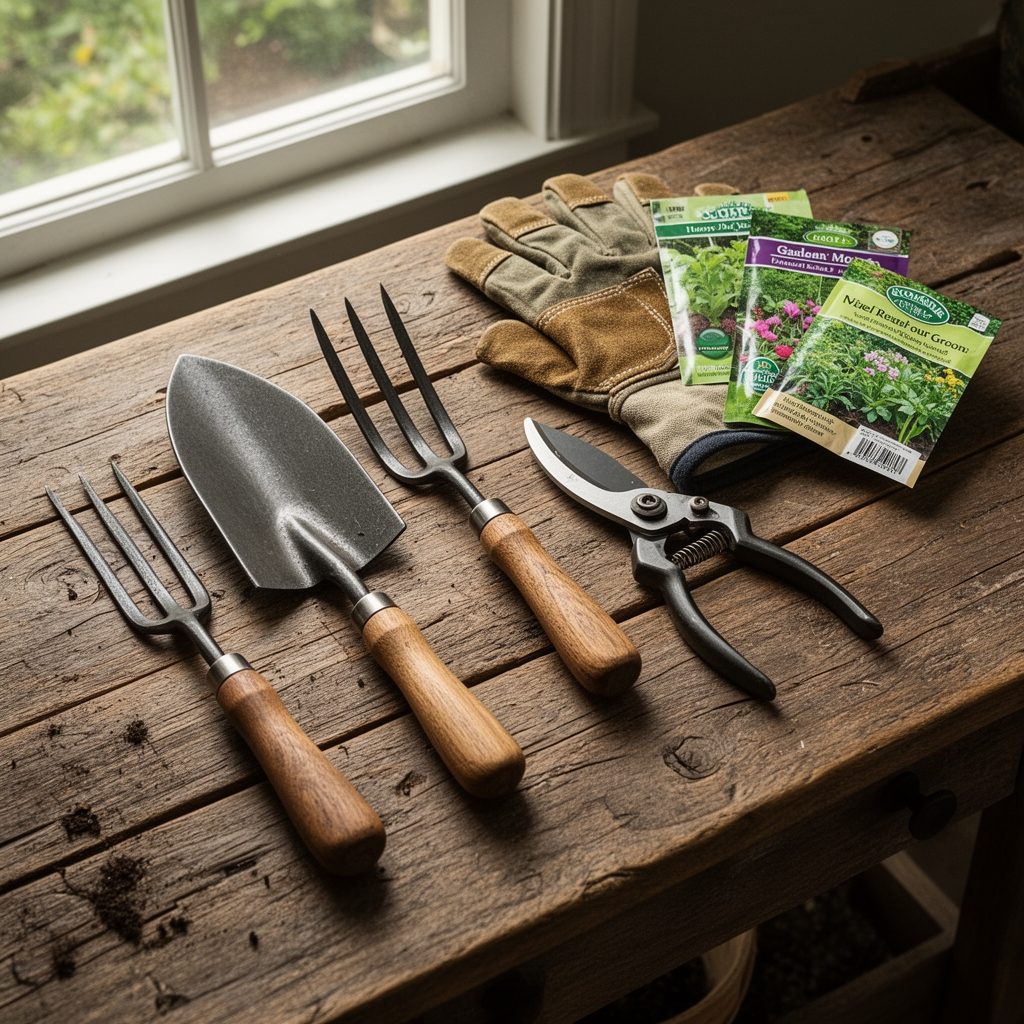
Select a measuring wheel with a minimum 11.5-inch diameter wheel for uneven terrain. Pneumatic tires roll smoothly over established turf, while solid rubber wheels perform better on gravel or bark mulch. A telescoping handle adjusts from 24 to 40 inches to accommodate different operator heights and prevents back strain during extended use.
Support your measuring work with a pH test kit calibrated to 0.1 increments. Garden soil in the 6.2 to 6.8 range supports most ornamental and edible species. Cation exchange capacity readings help determine fertilizer rates. A balanced 4-4-4 organic meal provides slow-release nitrogen, phosphorus, and potassium without the salt index issues of synthetic blends. Incorporate mycorrhizal fungi inoculants at 0.2 ounces per cubic foot of root zone to enhance phosphorus uptake and drought tolerance.
Stakes, mason twine, and marking paint complete the field kit. Powdered limestone markers indicate corners and curve transitions. Biodegradable flags prevent accidental measurements through obstacle zones.
Timing
Measure garden plots when soil moisture is at field capacity, typically 48 hours after a one-inch rain event. Hardiness Zone data determines species selection but measuring occurs across all zones during dormant seasons. In Zones 3 through 5, measure between late March and mid-April, after frost heave settles but before spring ephemerals emerge. Zones 6 through 8 allow measurement from February through early March. Zones 9 and 10 provide year-round measurement windows, though avoid periods when soil temperatures exceed 85°F at four-inch depth.
Last frost date minus 60 days marks the window for annual bed layout. Perennial borders require measurement in fall, six weeks before first frost, allowing time for soil amendment incorporation before winter dormancy.
Phases

Sowing: Roll the measuring wheel along proposed bed edges to establish total linear footage. Multiply by bed width to calculate square footage. Divide square footage by seed packet spacing recommendations squared. For carrot beds with four-inch final spacing, each square foot accommodates nine plants. Mark drill rows at precise intervals using the wheel's footage counter.
Pro-Tip: Reset the measuring wheel counter at each bed corner to track individual section dimensions rather than cumulative distance. This prevents calculation errors when ordering amendments.
Transplanting: Measure from hardscape elements like house foundations or property lines to establish setback distances. Most municipalities require 10 to 15 feet between large shade trees and structures. The measuring wheel tracks these distances without the sag error inherent in fabric tape measures. Calculate mature canopy spread at 0.6 times the species' documented height for most deciduous trees.
Pro-Tip: Apply rooting hormone at 0.3% IBA concentration to bare-root transplants. The auxin distribution accelerates lateral root development within the measured planting zone.
Establishing: Verify as-built dimensions match design specifications. Measure diagonal distances across rectangular beds; equal diagonal measurements confirm true 90-degree corners. For curved paths, measure radius from a central stake at three points along the arc. Variations exceeding six inches require adjustment before permanent edging installation.
Pro-Tip: Establish drip irrigation lines using measured spacing of 12 inches for clay soils, 18 inches for loam, 24 inches for sand. Emitter placement follows measured plant locations.
Troubleshooting
Symptom: Wheel slippage on wet grass creates measurement undercount. Solution: Clean tread grooves with a stiff brush after every 50 feet. Add traction by wrapping wheel circumference with 60-grit adhesive-backed sandpaper strips spaced at 90-degree intervals.
Symptom: Counter mechanism fails to advance in cold temperatures below 35°F. Solution: Warm internal gears with a heat gun on low setting for 30 seconds before use. Store overnight at room temperature during winter measurement campaigns.
Symptom: Telescoping handle loosens during use, affecting operator stance and measurement angle. Solution: Apply thread-locking compound to adjustment collar threads. Tighten collar to 15 foot-pounds using a torque wrench.
Symptom: Measurements drift 2% to 4% over distances exceeding 200 feet. Solution: Calibrate wheel circumference by rolling over a known 100-foot baseline marked with surveyor's instruments. Adjust counter ratio if model allows, or apply correction factor to all readings.
Maintenance
Inflate pneumatic tires to 35 PSI before each use. Check pressure with a digital gauge. Store the measuring wheel hanging vertically to prevent wheel deformation. Apply white lithium grease to axle bearings every 20 hours of operation. Clean counter display with isopropyl alcohol and a microfiber cloth.
Inspect the wheel for embedded stones or debris after measurements in gravel areas. Remove foreign objects with needle-nose pliers to maintain accurate circumference. Replace wheels when tread depth decreases below 1/8 inch or when sidewall cracking appears.
FAQ
How accurate are measuring wheels for garden planning?
Quality models maintain 99% to 99.5% accuracy over 100 feet on level ground. Accuracy decreases 1% to 3% on slopes exceeding 8% grade.
Can measuring wheels work on uneven garden terrain?
Pneumatic tire models handle established lawns and moderately rough ground. Reduce speed to one foot per second over roots or ground cover.
What's the difference between digital and mechanical counters?
Digital counters offer memory storage for multiple measurements and automatic unit conversion. Mechanical counters require no batteries and withstand temperature extremes from 10°F to 110°F.
Do I need to recalibrate my measuring wheel?
Calibrate annually using a surveyed baseline or when changing wheel types. Tire wear of 1/8 inch alters circumference by approximately 0.5%.
How do measuring wheels compare to laser distance meters?
Measuring wheels excel at tracking irregular curves and paths. Laser meters provide faster straight-line measurements but require clear line-of-sight and fail in bright sunlight or fog.