8 Steps to Prepare a New Garden Pond for Safety
The scent of anaerobic decomposition signals a failure in soil aeration. To avoid this, a successful aquatic installation begins with the physical manipulation of the local topography and the stabilization of the surrounding rhizosphere. Learning how to prepare a garden for a pond requires an understanding of soil compaction and hydrostatic pressure. You must evaluate the turgor pressure of existing perimeter vegetation to ensure the excavation does not compromise the vascular systems of nearby specimen trees. A pond is not merely a basin of water; it is a biological heat sink that alters the microclimate of your entire plot. Proper preparation involves analyzing the soil profile to prevent structural collapse and ensuring the site receives adequate solar radiation to drive photosynthesis in aquatic flora without inducing thermal shock. Every cubic yard of displaced earth changes the drainage patterns of your land. You are building a closed-loop hydraulic system that must integrate seamlessly with the existing terrestrial ecology.
Materials:
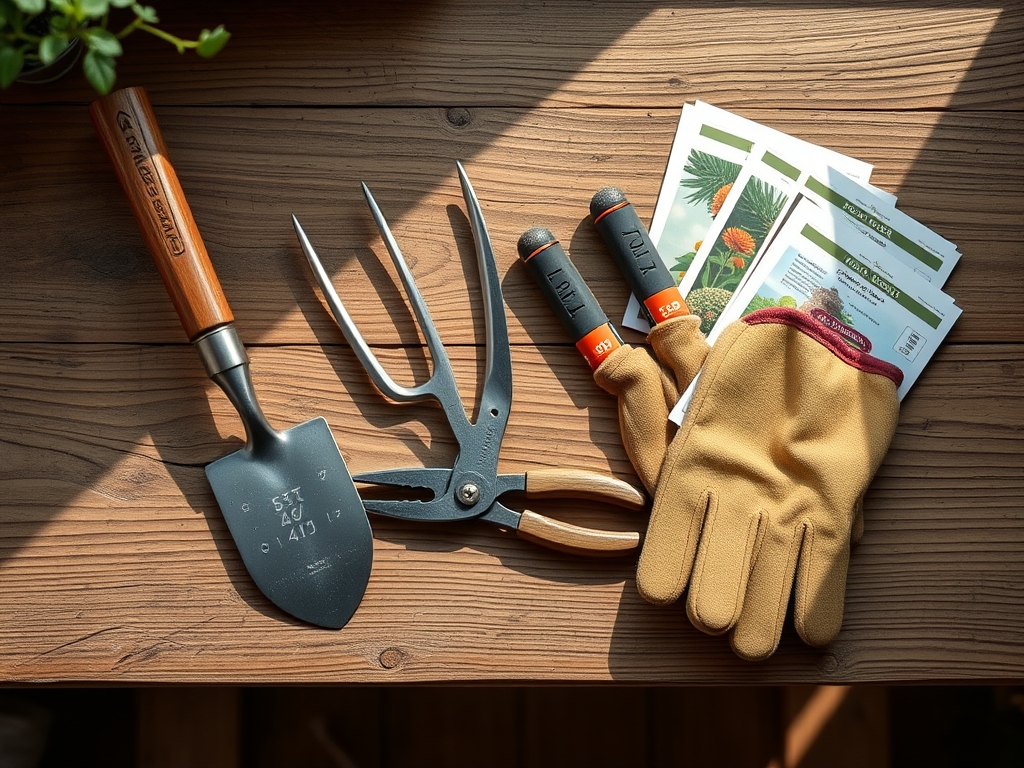
The success of the marginal shelf depends on the substrate composition. For aquatic plantings, use a **friable loam** with a high **Cation Exchange Capacity (CEC)** to retain nutrients against water leaching. Avoid standard potting soils containing perlite or peat moss, as these float and disrupt water clarity.
- Substrate pH: Maintain a range of 6.5 to 7.5. Acidic spikes can lead to heavy metal toxicity in the water column.
- Marginal Soil NPK: Use a low-phosphorus ratio such as 5-10-5. High phosphorus (P) levels in a pond environment trigger rapid algal blooms and eutrophication.
- Liner Material: 45-mil EPDM rubber is the industry standard for UV resistance and elasticity.
- Underlayment: Geotextile fabric with a weight of at least 6 ounces per square yard to prevent puncture from hydrostatic pressure against sharp stones.
Timing:
Installation should occur during the dormant season or early spring to minimize stress on the surrounding landscape. In Hardiness Zones 4 through 7, the ideal window opens after the final frost when soil temperatures reach a consistent 45 degrees Fahrenheit. This timing allows the "Biological Clock" of the pond to sync with the spring surge. As terrestrial plants move from the vegetative stage to the reproductive stage, the pond ecosystem can establish its nitrifying bacteria before the summer heat increases the rate of organic decay. Avoid excavation during periods of high soil moisture (saturation) to prevent structural glazing, which destroys soil pore space and inhibits gas exchange.
Phases:
Sowing the Perimeter
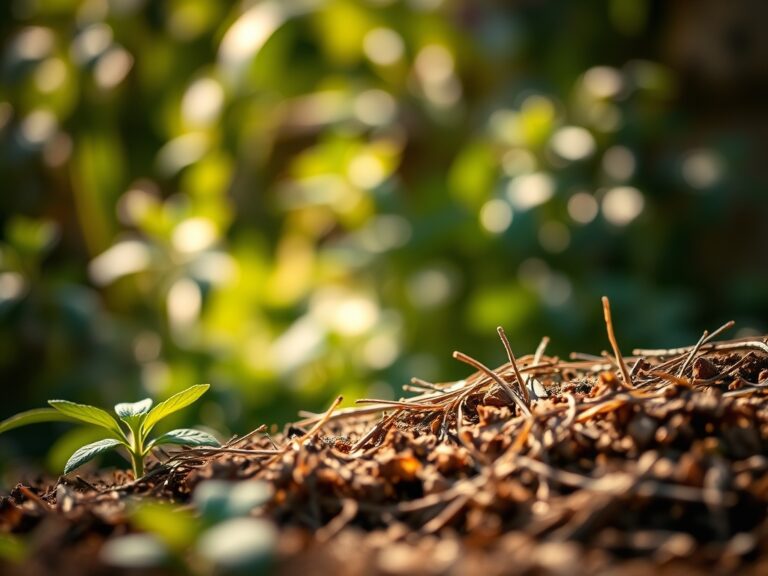
Before the water arrives, stabilize the banks with deep-rooted graminoids. Sowing a buffer strip of native grasses prevents siltation. Ensure the seeds have direct soil contact and are covered with a thin layer of straw to maintain moisture.
Pro-Tip: Utilize the principle of mycorrhizal symbiosis. Inoculate the perimeter soil with arbuscular mycorrhizal fungi to extend the root surface area. This biological partnership increases the uptake of phosphorus, preventing it from leaching into the pond and fueling algae growth.
Transplanting Aquatic Flora
Introduce marginal plants once the water temperature stabilizes at 60 degrees Fahrenheit. Place plants in heavy plastic baskets rather than planting directly into the pond floor. This contains the root systems and prevents aggressive species from dominating the pond.
Pro-Tip: Observe auxin suppression. When pruning aquatic plants for transplanting, removing the apical meristem (the growing tip) can encourage lateral branching. This results in a bushier, more stable plant that provides better cover for aquatic life.
Establishing the Biofilter
The final phase is the colonization of the filter media by Nitrosomonas and Nitrobacter bacteria. This process typically takes four to six weeks. Do not introduce heavy biological loads (fish) until the ammonia and nitrite levels test at 0 ppm.
Pro-Tip: Leverage phototropism by positioning floating plants like lilies to cover 50 to 70 percent of the surface. This shades the water, reducing the light energy available for single-celled algae and maintaining cooler, more oxygen-rich water temperatures.
The Clinic:
Physiological disorders in a new pond often stem from water chemistry imbalances or poor soil preparation.
- Symptom: Yellowing of new leaves on aquatic lilies (Chlorosis).
- Solution: Check for Nitrogen deficiency. If the pH is above 7.5, iron may be locked out.
- Fix-It: Insert a slow-release aquatic fertilizer tablet (NPK 10-6-4) directly into the root zone of the basket.
- Symptom: Soft, rotting stems at the water line.
- Solution: This is often caused by excessive planting depth.
- Fix-It: Raise the planting basket using bricks until the crown of the plant is at the specified depth for the species (usually 2 to 6 inches for marginals).
- Symptom: Rapid wilting of perimeter plants despite wet soil.
- Solution: Root asphyxiation due to soil compaction during construction.
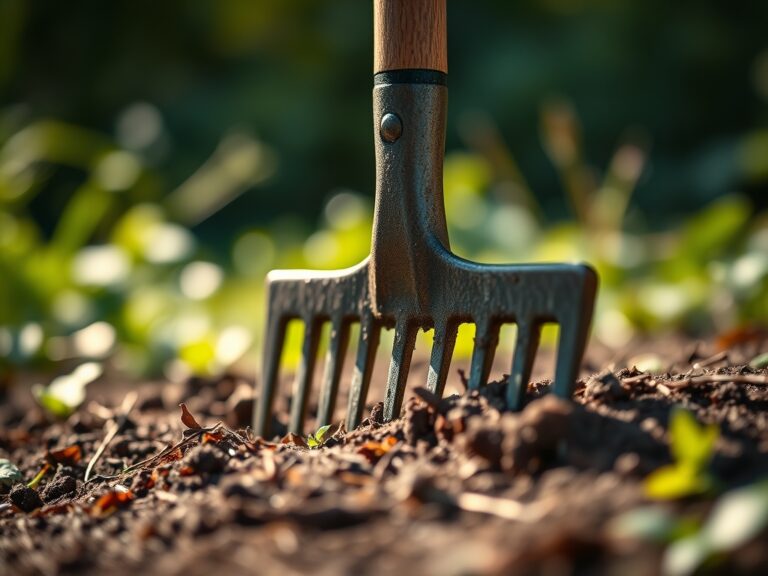
- Fix-It: Use a garden fork to aerate the soil 12 inches deep around the pond edge to restore oxygen flow to the rhizosphere.
Maintenance:
Precision is required to maintain the equilibrium of a garden pond. Use a soil moisture meter to monitor the berms; they should remain at a consistent moisture level without becoming boggy. Perimeter plants typically require 1.5 inches of water per week delivered at the drip line via a soaker hose to prevent runoff from entering the pond.
Use a hori-hori knife to divide overgrown marginals every two years to prevent the pots from cracking. When pruning dead foliage (senescence), use bypass pruners to make clean cuts above the water line. This prevents decaying organic matter from falling into the water and increasing the biological oxygen demand (BOD). Monitor the water level daily; a drop of more than 0.5 inches per day (excluding evaporation) indicates a potential breach in the liner.
The Yield:
For those growing aquatic edibles like Water Spinach (Ipomoea aquatica) or Watercress (Nasturtium officinale), harvest timing is critical. Harvest during the early morning when turgor pressure is at its peak. This ensures the cell walls are fully hydrated, providing a crisp texture. Use sterilized snips to take only the top 4 inches of growth. To maintain "day-one" freshness, immediately submerge the cut ends in a container of chilled pond water and store in a shaded area. This prevents rapid transpiration and wilting.
FAQ:
How deep should I dig a garden pond?
For temperate climates, a minimum depth of 24 to 36 inches is required. This prevents the water column from freezing solid in winter and maintains thermal stability during peak summer temperatures, protecting the biological health of the pond.
Can I use tap water to fill my pond?
Tap water contains chlorine or chloramines which are toxic to the rhizosphere and beneficial bacteria. You must treat the water with a de-chlorinator or allow it to off-gas for 24 to 48 hours before adding any biological life.
What is the best liner for a DIY pond?
45-mil EPDM rubber is the superior choice for its durability and flexibility. It resists UV degradation and remains pliable in temperatures as low as minus 40 degrees Fahrenheit, ensuring a long-term seal for the aquatic environment.
How do I stop my pond from turning green?
Maintain a balance of nutrient competition. Use enough submerged oxygenators and floating plants to consume excess nitrogen and phosphorus. Ensure the pond is not overstocked and that the filtration system cycles the total volume every one to two hours.