8 Fast-Growth Steps for Repotting a Snake Plant
The smell of damp peat and the metallic tang of a sharp blade define the workspace when managing Sansevieria. A healthy specimen exhibits high turgor pressure; its leaves are rigid, upright, and resistant to bending. When the rhizomes begin to deform the plastic nursery pot or push through the drainage holes, the plant has exceeded its current container capacity. These eight fast-growth steps for repotting a snake plant ensure the transition minimizes transplant shock while maximizing the cation exchange capacity of the new substrate. Success relies on understanding the plant as a structural organism rather than a decorative object.
A snake plant that has become root-bound will experience a plateau in vegetative growth as the rhizosphere becomes constricted. This restriction limits the uptake of essential micronutrients and slows the rate of photosynthesis. By providing a fresh medium and a larger vessel, you reset the biological clock of the plant. The following protocol focuses on the physiological requirements of the Sansevieria genus, prioritizing root health and structural integrity over aesthetic trends.
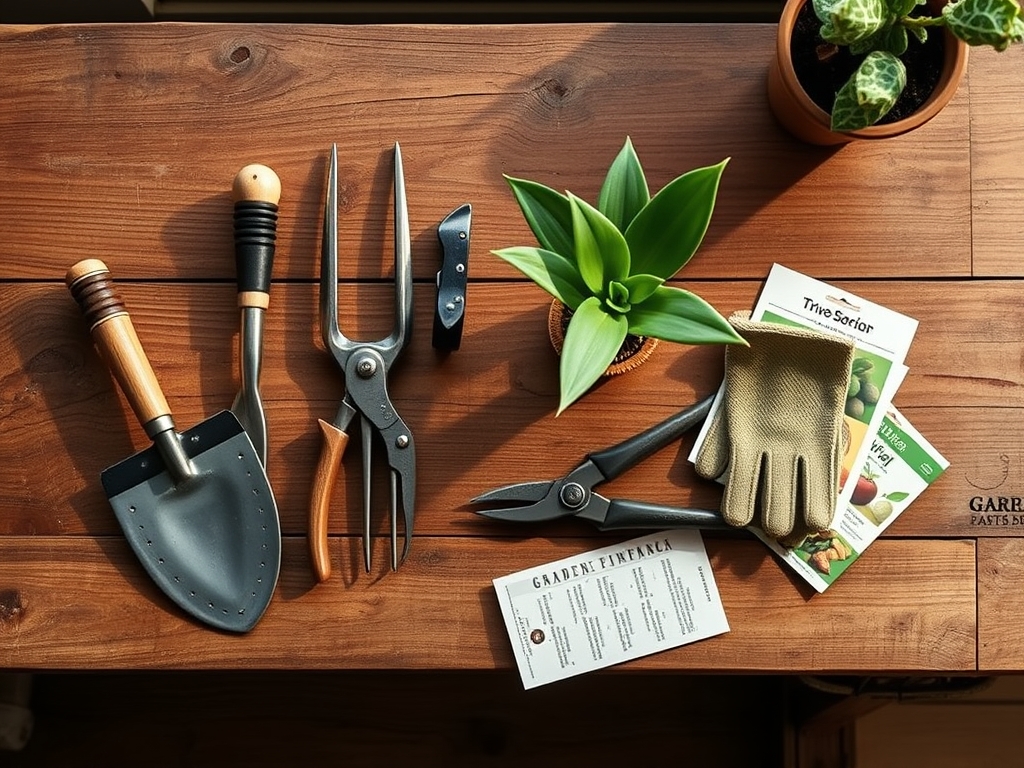
Materials:
The substrate must be a friable loam with high porosity to prevent anaerobic conditions. Aim for a soil pH between 5.5 and 7.0. The ideal potting mix consists of 40 percent inorganic grit (pumice or perlite), 40 percent coconut coir, and 20 percent composted organic matter.
For fertilization, utilize a controlled-release NPK ratio of 10-15-10. The higher phosphorus content supports robust rhizome development and cellular repair during the transition. Ensure the new container is only 2 inches wider in diameter than the previous one. Excessively large pots lead to "perched water tables," where the bottom layer of soil remains saturated, suffocating the roots through oxygen deprivation.
Timing:
The biological clock of the snake plant is governed by the photoperiod. In Hardiness Zones 9 through 11, these plants can remain outdoors year-round. However, for most indoor cultivators, the ideal window for repotting is late spring or early summer. This coincides with the plant's transition from a semi-dormant state to active vegetative growth.
Avoid repotting during the winter months when light levels drop below 50 foot-candles. During this period, the plant's metabolic rate slows, and its ability to recover from root disturbance is compromised. For outdoor specimens, ensure the final frost date has passed by at least 21 days to avoid exposing freshly disturbed roots to temperatures below 55 degrees Fahrenheit.
Phases:
Sowing and Preparation
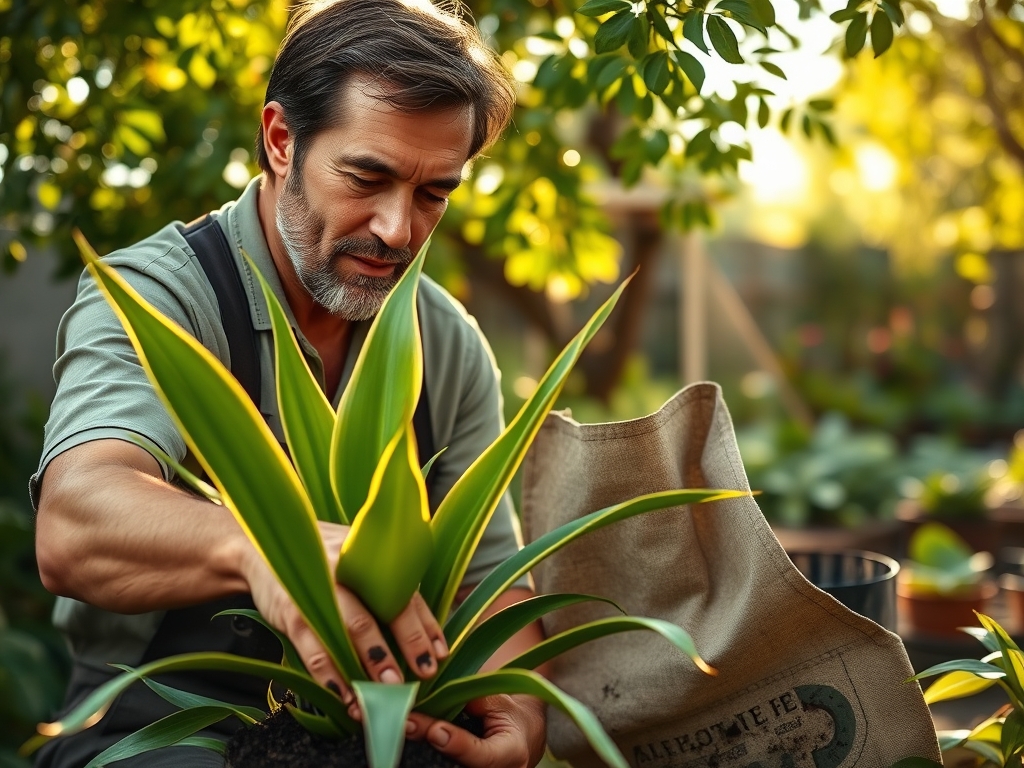
Before extraction, do not water the plant for 7 days. Dry soil is less heavy and less likely to cling to the roots, which reduces the risk of mechanical damage. Use a hori-hori knife to trace the inner circumference of the pot, severing any roots that have fused to the container walls. Lay the plant on its side and gently slide the root ball out.
Pro-Tip: Inspect the rhizomes for "auxin suppression." If the central rhizome is tightly coiled, the plant may be producing high levels of abscisic acid, which inhibits new shoot growth. Lightly scoring the outer roots triggers a localized auxin response, encouraging lateral branching.
Transplanting
Examine the root system for signs of senescence or decay. Use bypass pruners sterilized with 70 percent isopropyl alcohol to remove any mushy or blackened tissue. Position the plant in the new container so that the soil line remains at the same level as the previous pot. Deep planting can lead to moisture entrapment at the base of the leaves, causing crown rot.
Pro-Tip: Incorporate a handful of mycorrhizal fungi inoculant into the planting hole. This establishes a symbiotic relationship where the fungi extend the reach of the root system, increasing the surface area for phosphorus and water absorption.
Establishing
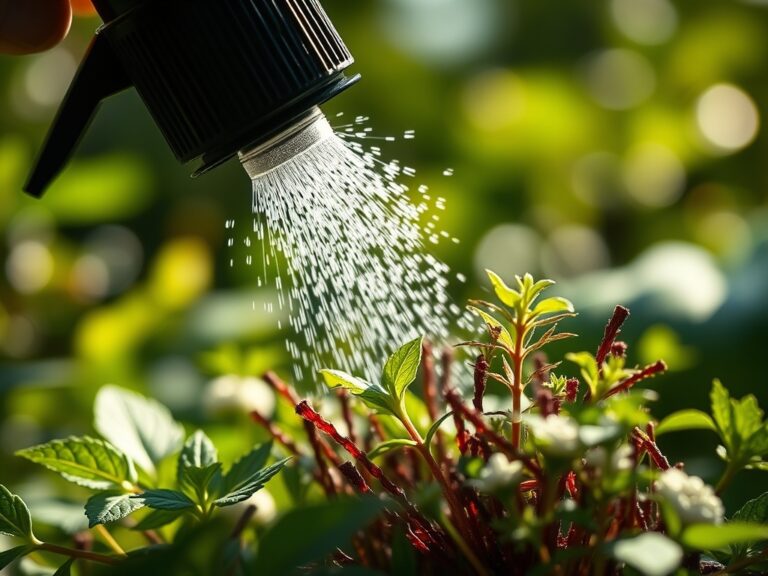
Fill the voids with the prepared substrate, tapping the sides of the pot to settle the soil. Avoid packing the soil with your hands, as this collapses the macro-pores necessary for gas exchange. Wait 3 to 5 days before the first watering. This allows any micro-fractures in the roots to callous over, preventing pathogens from entering the vascular system.
Pro-Tip: Place the plant in a location with bright, indirect light (approx. 200 to 400 foot-candles) for the first 14 days. This level of illumination provides enough energy for recovery without inducing the stress of high-intensity transpiration.
The Clinic:
Physiological disorders in Sansevieria often manifest through changes in leaf color and structural rigidity.
- Symptom: Yellowing of leaf margins (Chlorosis).
- Solution: This typically indicates a Nitrogen deficiency or high soil alkalinity.
- Fix-It: Apply a chelated iron supplement and check the pH. If it is above 7.5, flush the soil with distilled water.
- Symptom: Soft, brown spots at the base.
- Solution: This is a sign of fungal pathogens caused by overwatering.
- Fix-It: Cease irrigation immediately. Use a soil moisture meter to ensure the substrate is 0 percent saturated before the next watering.
- Symptom: Wrinkled, folding leaves.
- Solution: Low turgor pressure due to extreme dehydration or high salt accumulation in the soil.
- Fix-It: Submerge the pot in a bucket of water for 20 minutes to rehydrate the root ball, then allow it to drain completely.
Maintenance:
Post-repotting maintenance requires precision. Provide 1.5 inches of water every 14 to 21 days during the growing season. The water should be applied directly to the soil at the drip line, avoiding the central rosette. Use a soil moisture meter to verify that the bottom third of the pot is dry before re-irrigating.
Pruning should be minimal. Use bypass pruners to remove only dead or damaged leaves at the soil line. If the plant becomes top-heavy, use a bamboo stake for temporary support until the root system anchors into the new substrate. Monitor for pests like mealybugs by inspecting the leaf axils; if found, treat with a localized application of alcohol on a cotton swab.
The Yield:
While Sansevieria is not an edible crop, its "yield" is measured in biomass and air filtration efficiency. A well-repotting plant will produce 2 to 3 new "pups" (offsets) per growing season. To harvest these for propagation, wait until the offset is at least one-third the height of the parent plant. Use a hori-hori knife to sever the connecting rhizome, ensuring the offset has its own established root system. For maximum "day-one" freshness in a new pot, allow the cut end of the rhizome to callous for 48 hours before planting in a sandy substrate.
FAQ:
How do I know if my snake plant needs a larger pot?
Check for roots protruding from drainage holes or a bulging container. If the plant stops producing new growth during the spring or the soil dries out in less than three days, the rhizosphere is likely overcrowded.
What is the best soil for repotting a snake plant?
Use a well-draining, gritty mix with a pH of 5.5 to 7.0. A combination of 40 percent pumice, 40 percent coco coir, and 20 percent organic compost provides the necessary aeration and cation exchange capacity.
Should I water my snake plant immediately after repotting?
No. Wait 3 to 5 days before watering. This delay allows damaged roots to callous over, preventing soil-borne pathogens from entering the plant's vascular system and causing rot or systemic infection.
Can I use regular garden soil for my snake plant?
Garden soil is too dense and lacks the porosity required for indoor Sansevieria. It often contains pathogens and weed seeds. It will compact over time, leading to anaerobic conditions and eventual root senescence.