7 Steps to Build a Decorative Dry Creek Bed Bridge
Crushed shale and the scent of disturbed humic acid signal the start of any structural landscape intervention. Integrating a crossing over a dry creek bed requires more than aesthetic placement; it demands an understanding of soil load-bearing capacity and hydrological runoff. When executing the steps for building a garden bridge, the primary objective is to anchor the structure into a stable substrate that prevents lateral shifting during heavy precipitation events. A bridge is not merely a path but a structural lid over a managed drainage corridor. Success depends on the structural integrity of the footings and the biological stability of the surrounding riparian zone.
Materials:

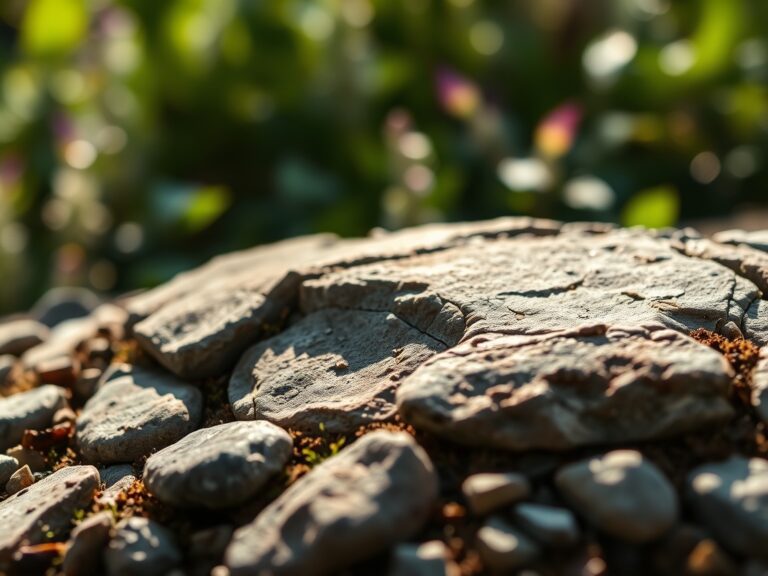
The foundation of a bridge rests on the soil quality of the banks. You must assess the **Cation Exchange Capacity (CEC)** of the site to ensure the surrounding vegetation can support the structural disturbance. The ideal substrate is a **friable loam** with a **pH between 6.0 and 7.0**. High clay content increases the risk of frost heave, while excessive sand leads to structural subsidence.
For the surrounding planting beds, use a balanced 10-10-10 NPK ratio to encourage root establishment without triggering excessive succulent growth that attracts pathogens. If the soil is alkaline, incorporate elemental sulfur to lower the pH. The physical texture should be granular enough to allow for gas exchange in the rhizosphere while maintaining enough density to hold 4×4 pressure-treated support posts.
Timing:
Construction and planting must align with your specific USDA Hardiness Zone. In Zones 5 through 7, the ideal window opens after the last spring frost when soil temperatures consistently reach 55 degrees Fahrenheit. This timing respects the biological clock of the local flora. Building during the transition from the vegetative stage to the reproductive stage ensures that any peripheral plantings have sufficient turgor pressure to recover from root zone compaction. Avoid construction during peak senescence in late autumn, as dormant plants cannot effectively stabilize the soil around new footings.
Phases:

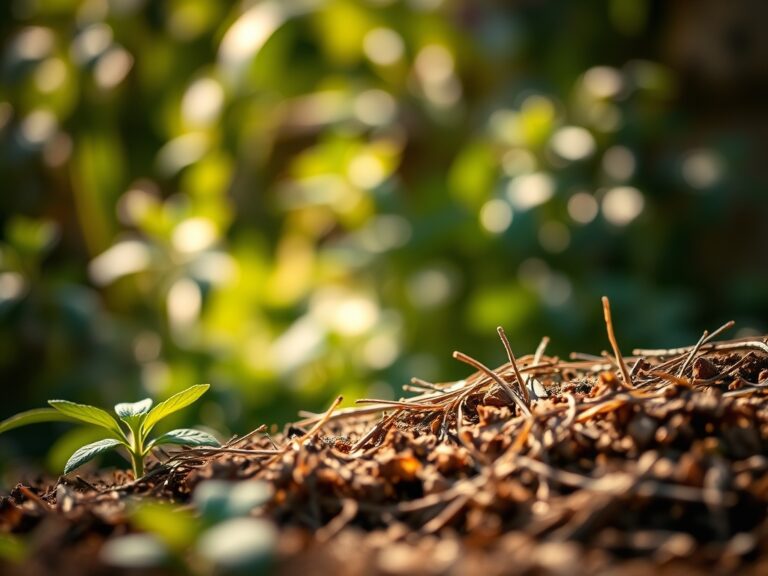
Sowing the Foundation
Excavate footings to a depth of 18 inches or below the local frost line. Fill the base with 4 inches of compacted 3/4-inch minus gravel to facilitate drainage. This prevents water from pooling around the timber, which would otherwise lead to anaerobic conditions and fungal decay.
Pro-Tip: Utilize mycorrhizal symbiosis by dusting the surrounding soil with fungal spores. This biological 왜 (why) ensures that the disturbed root systems of nearby plants can rapidly re-establish nutrient uptake channels, mitigating the shock of soil compaction.
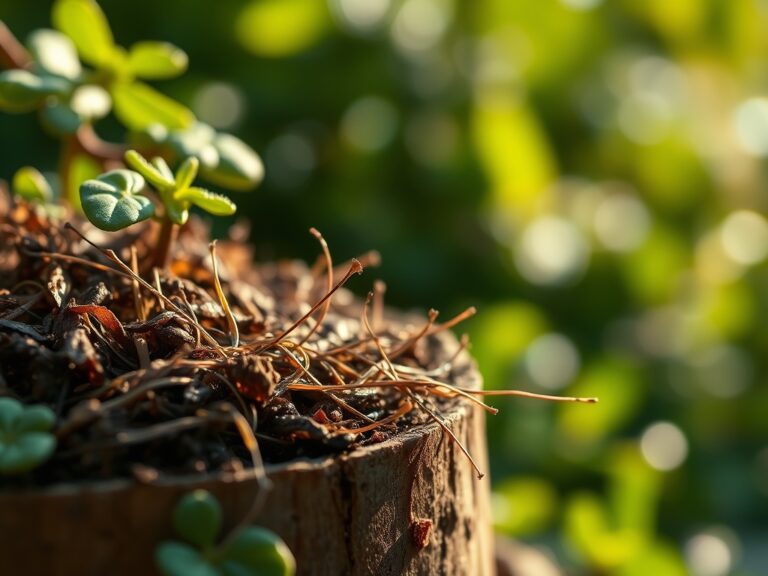
Transplanting and Structural Integration
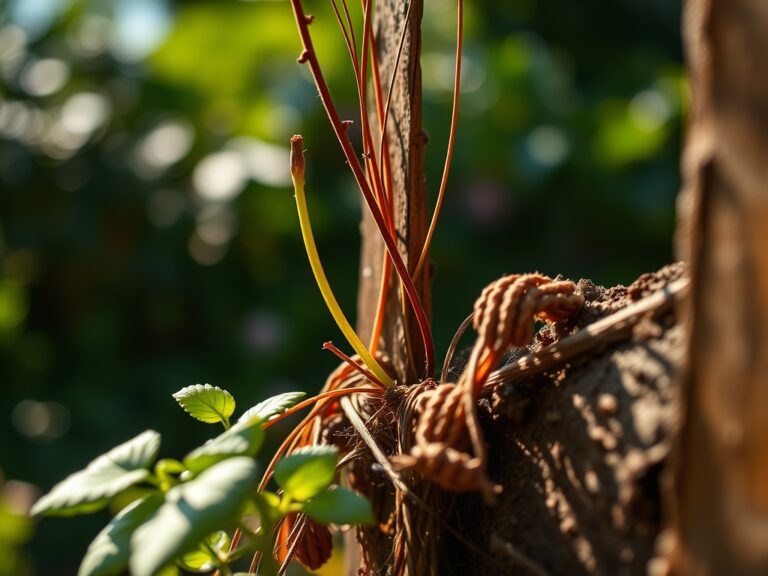
Secure the stringers to the footings using galvanized carriage bolts. Once the skeleton is level, begin transplanting stabilizing species like Carex or Juncus along the bridge abutments. Ensure the root balls are set at a depth where the crown sits exactly at the soil surface.
Pro-Tip: Practice auxin suppression by pruning the terminal buds of nearby woody shrubs during installation. This redirecting of hormones encourages lateral root branching, which physically knits the soil together around your bridge footings.
Establishing the Microclimate
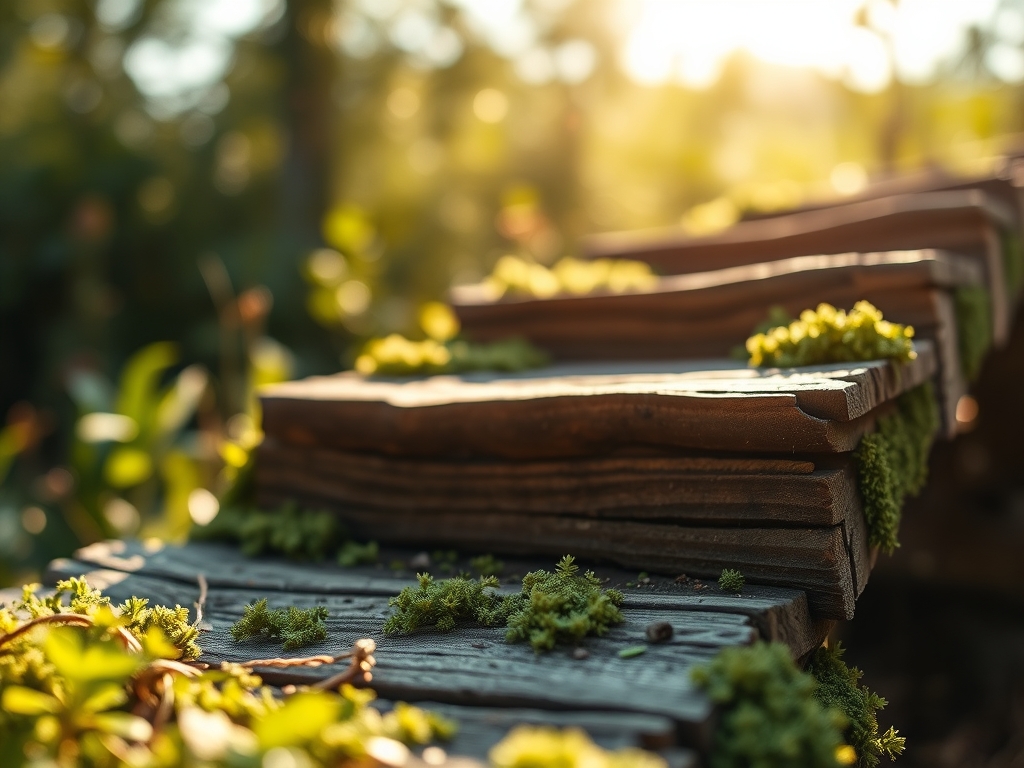
Install the decking boards with a 1/8-inch gap to allow for wood expansion and airflow. This prevents the buildup of moisture that leads to wood rot and moss colonization. Finish the surrounding area with a 3-inch layer of organic mulch to maintain soil moisture levels.
Pro-Tip: Monitor for phototropism in the weeks following installation. If the bridge shades out sun-loving species, relocate them immediately. Plants will physically lean toward light sources, and chronic shading will lead to etiolation and eventual structural failure of the plant tissue.
The Clinic:
Physiological disorders in the bridge-side garden often stem from altered drainage patterns.
- Symptom: Interveinal chlorosis on new leaves.
Solution: This indicates a Manganese deficiency often caused by high pH near concrete footings. Apply chelated manganese to the foliage. - Symptom: Marginal leaf scorch and wilting despite wet soil.
Solution: This is likely Root Rot (Phytophthora) caused by poor drainage under the bridge. Increase the gravel size in the dry creek bed to improve flow. - Symptom: Stunted growth and purple-tinted foliage.
Solution: Phosphorus deficiency occurs in cold, wet soils. Use a soil moisture meter to ensure the area is not oversaturated; if it is, raise the planting bed by 4 inches.
Fix-It: For Nitrogen chlorosis (yellowing of older leaves), apply a high-nitrogen liquid fertilizer at a rate of 1 pound of actual nitrogen per 1,000 square feet.
Maintenance:
A bridge requires rigorous site monitoring. Use a soil moisture meter twice weekly to ensure the banks receive 1.5 inches of water per week at the drip line. Use a hori-hori knife to remove deep-rooted weeds that may compromise the bridge footings. Annually inspect the timber for signs of boring insects or fungal shelf growth. Use bypass pruners to maintain a 12-inch clearance between foliage and the bridge structure to ensure adequate airflow and prevent the transfer of moisture-dependent pathogens.
The Yield:
While a bridge is a structural yield, the "harvest" consists of the surrounding biomass. If you have planted medicinal or edible species like Echinacea or Mentha along the creek, harvest during the morning hours when turgor pressure is at its peak. This ensures the essential oils and moisture content are concentrated in the foliage. Use sharp snips to make clean cuts above a node to encourage rapid regrowth. Store harvested material in a cool, shaded environment to prevent rapid transpiration and wilting.
FAQ:
How deep should bridge footings be?
Footings must reach at least 18 inches deep or extend below the local frost line. This prevents the structure from shifting during freeze-thaw cycles. Use compacted gravel at the base to ensure proper drainage and structural stability.
What is the best wood for a garden bridge?
Select Cedar, Redwood, or pressure-treated lumber. These materials resist decay and fungal pathogens. Cedar and Redwood contain natural tannins that discourage insect infestation, while pressure-treated wood is chemically rated for ground contact and high moisture environments.
How do I prevent the bridge from becoming slippery?
Apply a non-slip grit additive to the final sealant or stain. Ensure a 1/8-inch gap between decking boards to allow for drainage. Regular cleaning with a stiff brush prevents the accumulation of algae and organic biofilm.
Can I build a bridge over a wet creek?
Yes, but it requires rip-rap reinforcement and potentially concrete piers. The steps for building a garden bridge over water demand stricter adherence to local building codes and hydrological assessments to ensure the structure survives seasonal flow increases.