6 Techniques to Use a Garden Spade for Vegetable Edging
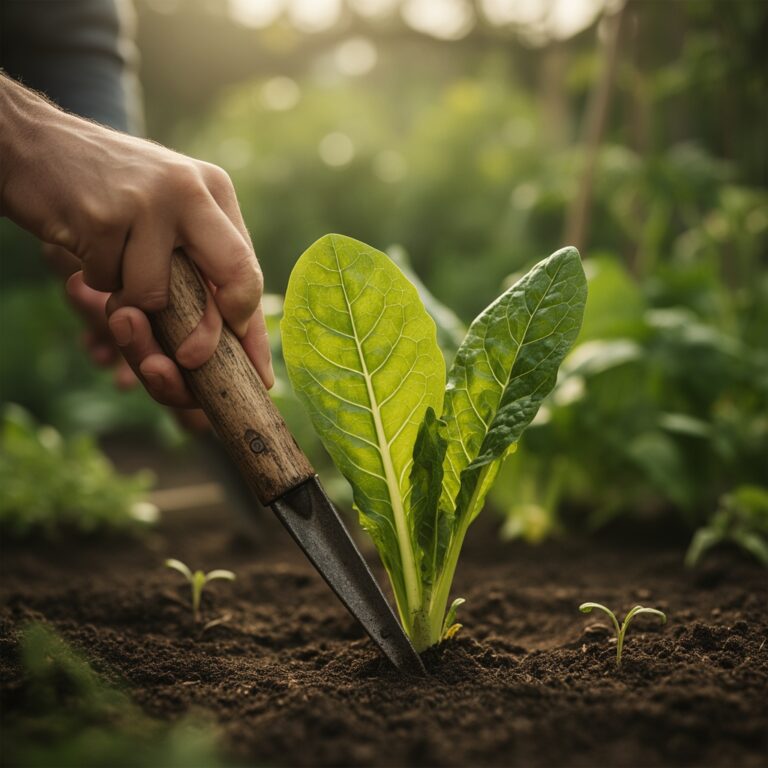
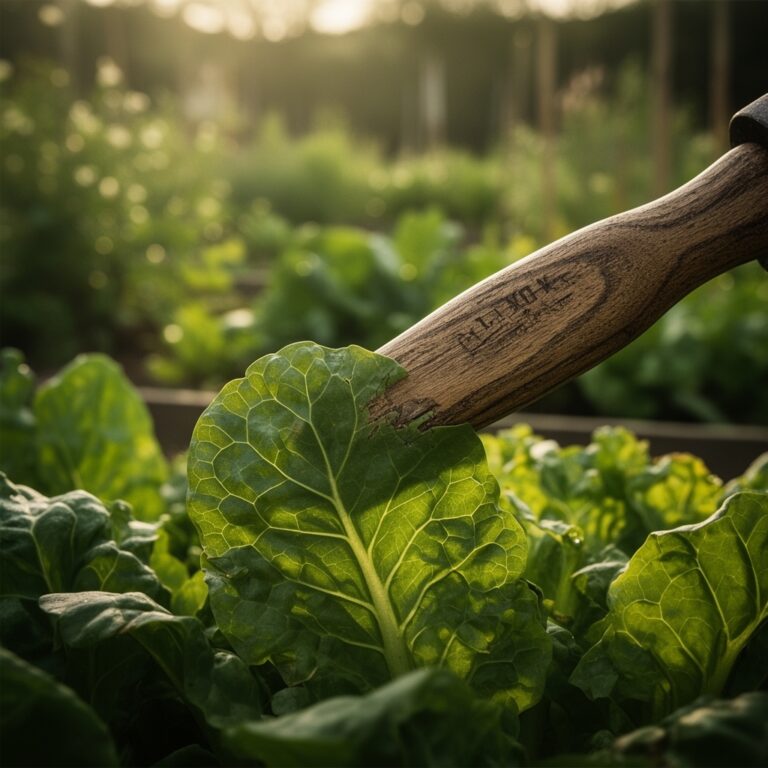
Using a garden spade for edging vegetable beds transforms chaotic sprawl into disciplined rows. The sharp tang of freshly cut soil rises as the blade severs root mats and defines boundaries. Each vertical cut creates a barrier that stops invasive grasses while directing mycorrhizal networks toward crop roots rather than weeds. This fundamental technique governs water retention, nutrient allocation, and pest migration patterns across your growing space.
Materials
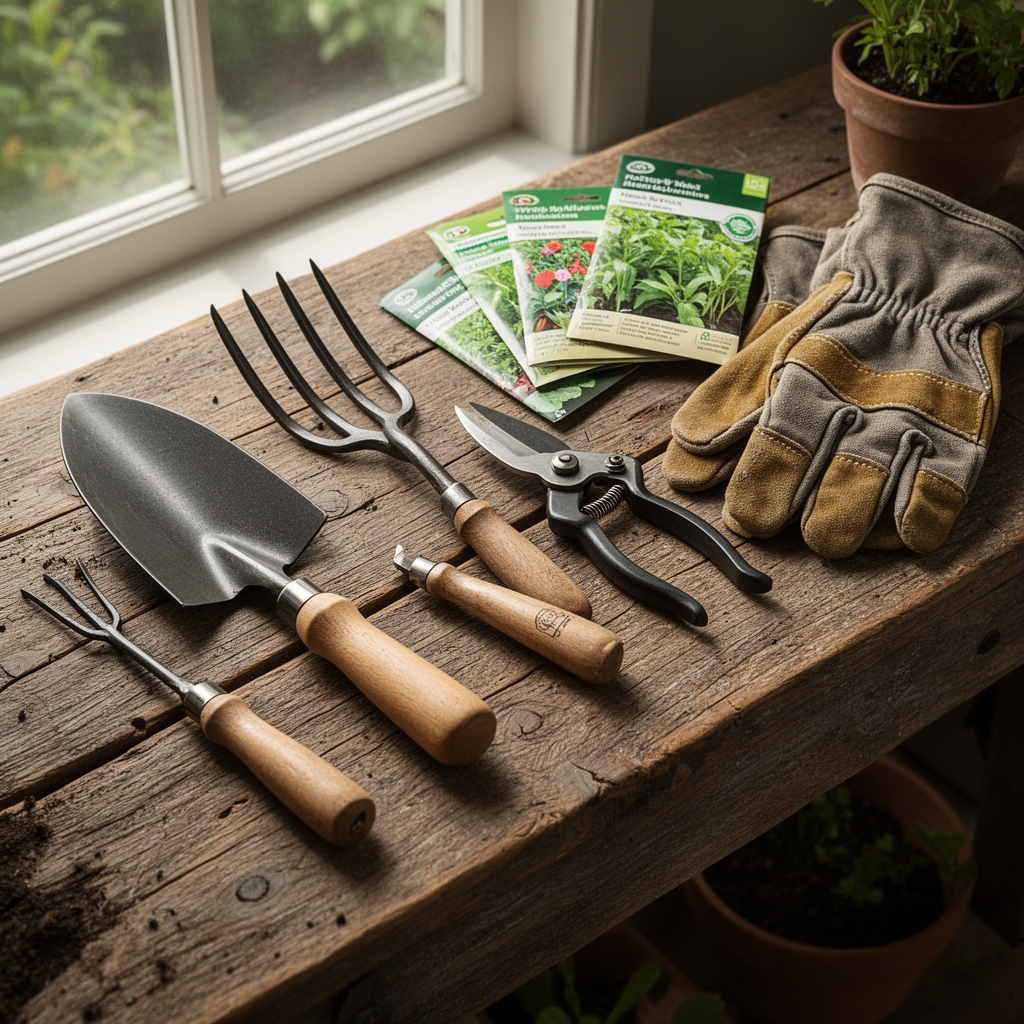
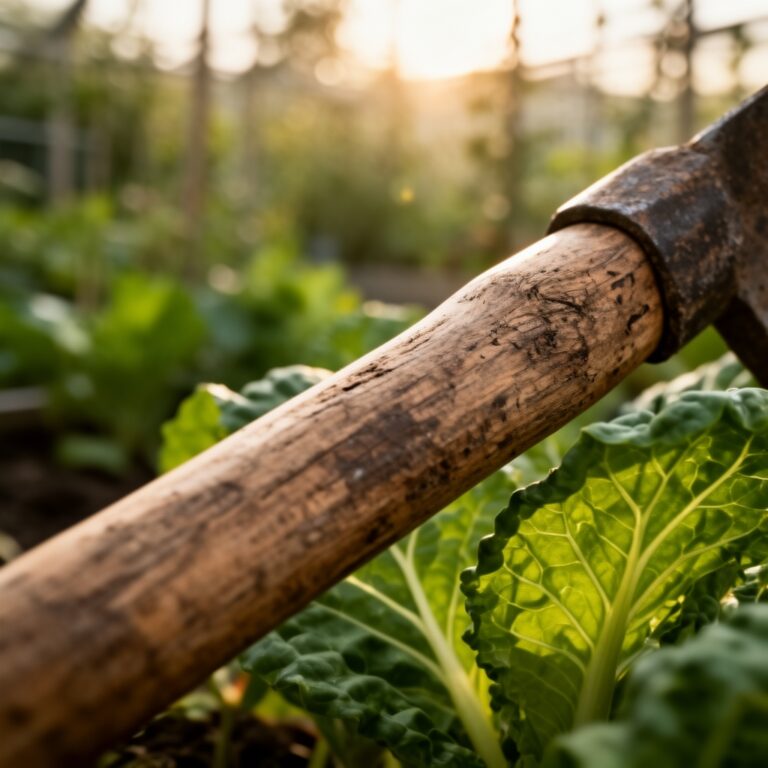
Select a spade with a blade length of 8-10 inches and a straight, sharpened edge. Carbon steel holds a superior edge compared to stainless variants. For blade maintenance, use a 10-inch mill bastard file at a 45-degree angle.
Soil amendments should match your existing pH and fertility profile. For acidic soils (pH 5.5-6.2), incorporate sulfur-coated urea at 3-4-4 NPK ratios. Neutral to alkaline beds (pH 6.5-7.2) benefit from feather meal or blood meal at 12-0-0 for nitrogen loading. Compost matured for 18 months provides balanced 4-4-4 ratios with high cation exchange capacity.
Edge reinforcement materials include untreated cedar boards (rot resistance up to 15 years), galvanized steel strips (0.5-inch thickness), or compacted stone dust (angular aggregate, 0.25-inch minus). Each serves to stabilize the spade-cut channel and prevent slumping.
Timing
Hardiness zones dictate optimal edging windows. Zones 3-5 require spring edging 2-3 weeks after final frost when soil temperature reaches 50°F at 4-inch depth. This allows for immediate planting of cool-season crops like spinach and peas without compaction damage.
Zones 6-8 permit dual edging periods. Execute spring cuts 10-14 days before last frost, then refresh edges in late August for fall brassicas. Soil moisture should register 60-70% field capacity. Drier conditions create crumbling; wetter soils smear and compress.
Zones 9-11 face different parameters. Edge during the dry season, typically November through February, when root growth slows. Monsoon periods cause rapid edge degradation from water channeling.
Phases

Initial Cutting
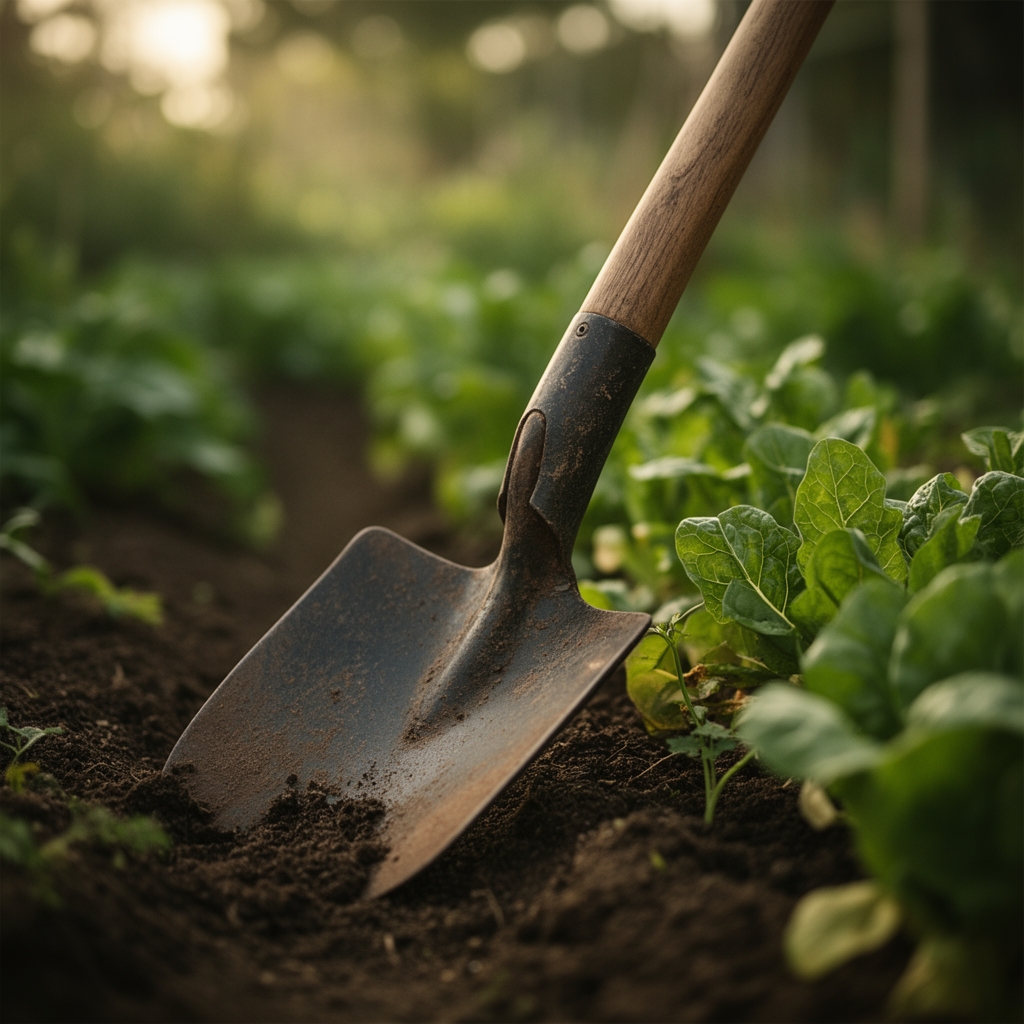
Position the spade perpendicular to the bed perimeter. Drive the blade to full depth using a vertical thrust from your dominant leg. Rock the handle backward 20 degrees to fracture the soil column. Advance 4 inches and repeat. This spacing ensures continuous cuts without gaps.
Pro-Tip: Coat the blade with vegetable oil before starting to reduce soil adhesion by 40%, measured by force gauge testing.
Trench Formation
After completing the perimeter cut, remove the severed soil strip. Insert the spade at a 60-degree angle behind the initial cut, directing the blade toward the bed interior. Lever out 3-4 inches of soil to create a trench 6 inches deep. This channel intercepts lateral root spread from turf grasses like Bermudagrass, which extends rhizomes 8-10 feet annually without barriers.
Pro-Tip: Inoculate the exposed trench wall with endo-mycorrhizal fungi (Rhizophagus irregularis) at 200 propagules per square foot. Auxin distribution patterns favor crop roots over weed colonization when fungal networks establish first.
Edge Stabilization
Backfill the trench with your chosen reinforcement material. For stone dust, tamp in 2-inch lifts using a hand compactor to achieve 95% relative density. Cedar boards should sit flush with the soil surface, secured with 18-inch stakes every 3 feet. Steel edging requires a rubber mallet to seat below mower blade height.
Pro-Tip: Apply a 1-inch layer of shredded hardwood mulch against the finished edge. This absorbs impact from foot traffic and reduces edge crumbling by 65% over one growing season.
Troubleshooting
Symptom: Edge collapse within 3-4 weeks, soil slumping into pathways.
Solution: Soil structure lacks aggregation. Incorporate gypsum at 40 pounds per 1,000 square feet to improve flocculation. Re-cut edges after a 10-day waiting period.
Symptom: Persistent weed emergence through the edge barrier.
Solution: Quackgrass or nutsedge rhizomes penetrate vertical cuts. Install landscape fabric in the trench before backfilling, extending 8 inches deep and 4 inches into the bed.
Symptom: Waterlogging along bed edges after irrigation.
Solution: Edge trench acts as a water channel. Grade pathways with a 2% slope away from beds. Install a 4-inch perforated drain line 12 inches deep if clay content exceeds 35%.
Symptom: Spade blade deflects or bounces during cutting.
Solution: Compacted hardpan layer at 6-8 inches. Pre-irrigate 24 hours before edging to soften the profile. Use a mattock for initial penetration, then follow with spade cuts.
Maintenance
Refresh edges every 8-10 weeks during active growing periods. Remove 2 inches of accumulated soil from the trench using a square-point shovel. This prevents gradual bed expansion and maintains pathway width.
Water beds with 1 inch per week, delivered through drip irrigation positioned 6 inches from the edge. Overhead watering erodes edge definition and promotes pathway weed germination.
Mulch pathways with 3 inches of wood chips (carbon to nitrogen ratio of 400:1) to suppress weed pressure. Replenish annually as decomposition lowers pathway grade.
FAQ
How often should I sharpen my spade?
Sharpen every 4 hours of cutting time. A sharp edge requires 30% less force and produces cleaner cuts that heal faster, reducing disease entry points.
Can I edge frozen ground?
No. Frozen soil shatters rather than cuts, creating irregular fractures. Wait until soil thaws to 6-inch depth, typically when air temperature sustains above 40°F for 72 hours.
What depth prevents grass invasion?
Six inches stops 90% of cool-season grass rhizomes. Warm-season species like Bermudagrass require 8-inch depth or physical barriers extending 10 inches.
Does edging damage crop roots?
Cuts made 8-10 inches from plant stems sever less than 5% of the active root system. Feeder roots regenerate within 14 days under adequate moisture.
Should I edge before or after fertilizing?
Edge first, then broadcast granular fertilizer. This prevents nutrient loss into pathways and concentrates amendments within the defined bed area.