6 Steps to Prepare a Prefabricated Garden Shed Site
The scent of damp, anaerobic clay signals a site in distress; it is a warning of poor drainage that will rot a foundation before the first season ends. High turgor pressure in surrounding flora indicates a water table that may interfere with structural stability. Learning how to prepare a site for a garden shed requires more than a shovel; it demands an understanding of soil mechanics and hydrological pressure. You must transform raw earth into a stable, compacted plane that resists the seasonal heave of frost and the relentless pull of gravity.
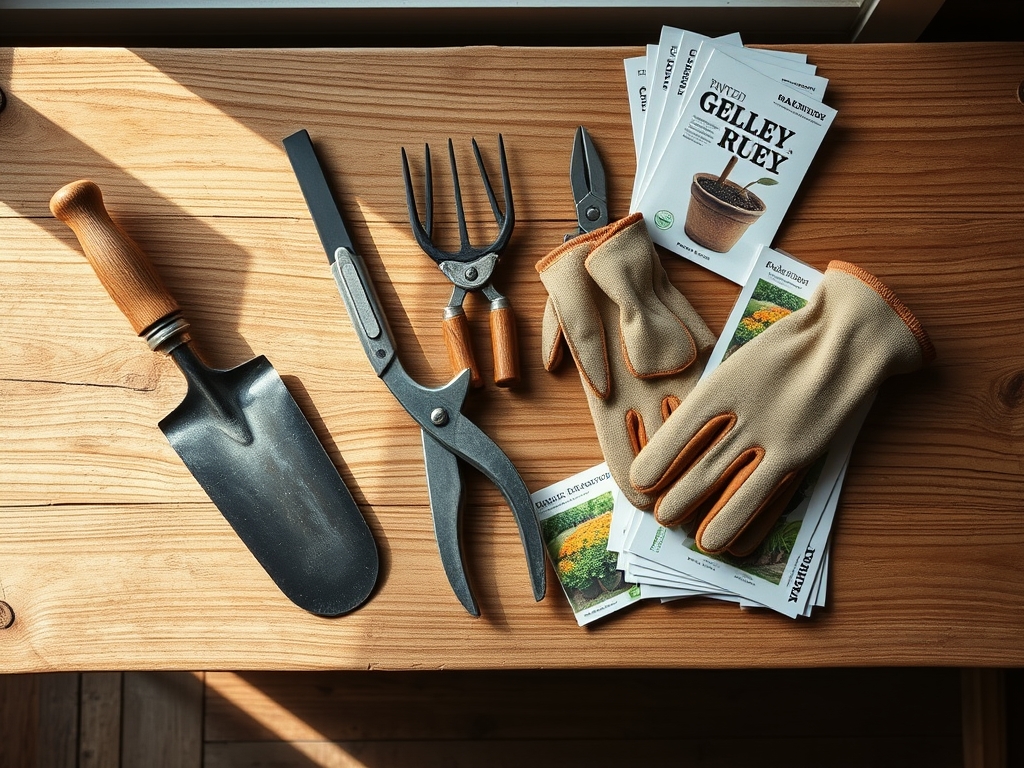
Materials:
Before excavation, analyze the soil profile. The ideal substrate is a **friable loam** with a **pH between 6.0 and 7.0**. While you are building a structure, the surrounding perimeter requires specific nutrient management to prevent erosion. Incorporate a slow-release fertilizer with an **NPK ratio of 10-10-10** to stabilize the rhizosphere of peripheral groundcovers. High **Cation Exchange Capacity (CEC)** soils, such as those rich in organic matter, will hold the nutrients necessary for these stabilizing plants. Use **crushed 3/4-inch angular stone** for the base; rounded river rock lacks the friction required for mechanical compaction.
Timing:
The biological clock of your landscape dictates the construction window. In Hardiness Zones 4 through 7, site preparation must occur after the final spring frost but before the summer heat induces plant senescence. Working the soil when it is too wet destroys soil structure through compaction, leading to a loss of porosity. Aim for a window where the soil temperature is consistently above 50 degrees Fahrenheit. This ensures that any peripheral vegetation disturbed during the process can quickly transition from the vegetative stage to a recovery phase, utilizing stored carbohydrates in the root system to repair damaged tissue.
Phases:

Sowing the Perimeter
Once the site is leveled, sow a low-growth fescue or clover around the footprint to prevent sediment runoff. Ensure the seeds have direct contact with the mineral soil. Maintain a moisture level that prevents the desiccation of the radicle during germination.
Pro-Tip: Utilize mycorrhizal symbiosis by inoculating the soil with fungal spores. These fungi extend the root system's reach, increasing phosphorus uptake and stabilizing the soil structure through the production of glomalin.
Transplanting Disturbed Flora
If the shed footprint overlaps with existing perennials, transplant them during their dormant phase. Use a hori-hori knife to cut a clean root ball, preserving as much of the fine root hairs as possible. Replant at the same depth to avoid crown rot.
Pro-Tip: When transplanting, avoid heavy pruning of the canopy. Auxin suppression occurs when terminal buds are removed, which can redirect energy away from root establishment and toward lateral branching, stressing the plant during its recovery.
Establishing the Base
Excavate 4 to 6 inches of topsoil. Replace this with a geotextile fabric to prevent the migration of fines into your gravel. Layer the angular stone in 2-inch lifts, compacting each layer with a plate compactor until the surface is immobile.
Pro-Tip: Ensure the site has a 1 percent slope away from the center. This utilizes gravity to prevent water accumulation, protecting the wood from moisture-induced fungal pathogens and maintaining the structural integrity of the shed floor.
The Clinic:
Physiological disorders in nearby plants often signal site preparation errors. Nitrogen chlorosis appears as a uniform yellowing of older leaves; it suggests that the carbon-heavy mulch or wood chips used during construction are "locking up" nitrogen as they decompose. Fix this by applying a liquid fertilizer with a high first digit in the NPK ratio.
Iron Chlorosis manifests as yellow leaves with green veins, typically in high pH soils above 7.5. Apply chelated iron to the rhizosphere. Root Hypoxia occurs when soil is over-compacted by heavy machinery; symptoms include wilting despite wet soil. The fix is mechanical aeration to restore oxygen flow to the root zone.
Maintenance:
Post-construction care requires a soil moisture meter to monitor the hydration of the surrounding landscape. Provide 1.5 inches of water per week at the drip line of any affected trees or shrubs. Use bypass pruners to remove any branches damaged during the shed delivery; clean cuts prevent the entry of boring insects. Monitor the gravel base annually; if the shed doors begin to stick, it indicates a shift in the subgrade, requiring the addition of shim material or additional compacted stone.
The Yield:
While a shed does not produce a harvest, the "yield" is the longevity of the structure and the health of the surrounding ecosystem. A properly prepared site prevents the leaching of wood preservatives into the groundwater. By managing the site biologically, you ensure that the shed integrates into the landscape without causing a "dead zone" of compacted, sterile earth.
FAQ:
How deep should I dig for a gravel shed pad?
Excavate 4 to 6 inches of topsoil until you reach the firm subsoil. Remove all organic matter, including roots and sod, to prevent future settling as the material decomposes. Replace the volume with compacted angular stone for maximum stability.
What is the best base material for a garden shed?
Use 3/4-inch crushed angular stone. Unlike smooth pea gravel, angular stones lock together under pressure, creating a stable, permeable surface that allows for drainage while supporting the heavy weight of the prefabricated structure.
How do I prevent weeds from growing under my shed?
Install a heavy-duty geotextile landscape fabric over the bare soil before adding gravel. This barrier prevents weed seeds in the soil from germinating and keeps the gravel from sinking into the dirt over time.
Do I need a concrete slab for a prefabricated shed?
A concrete slab is optional for smaller sheds. A compacted gravel pad is often superior because it provides better drainage and is less susceptible to cracking during the freeze-thaw cycles common in northern hardiness zones.