6 Steps to Prepare a Durable Garden Workshop Foundation
Crushed basalt underfoot provides the friction necessary for a stable workspace while the scent of damp, anaerobic clay signals a site in need of drainage remediation. Establishing a permanent structure requires more than clearing a patch of weeds; it demands an understanding of soil mechanics and hydrological flow. To learn how to prepare a site for a garden workshop, you must first assess the turgor of the surrounding vegetation to determine the water table depth. A site with poor structural integrity will result in shifting foundations and compromised equipment storage. We begin by stripping the organic horizon to reach the subsoil, ensuring the Cation Exchange Capacity (CEC) of the remaining earth is not compromised by excessive organic decomposition under the slab. This process ensures a level, dry, and permanent footprint for your horticultural operations.
Materials:
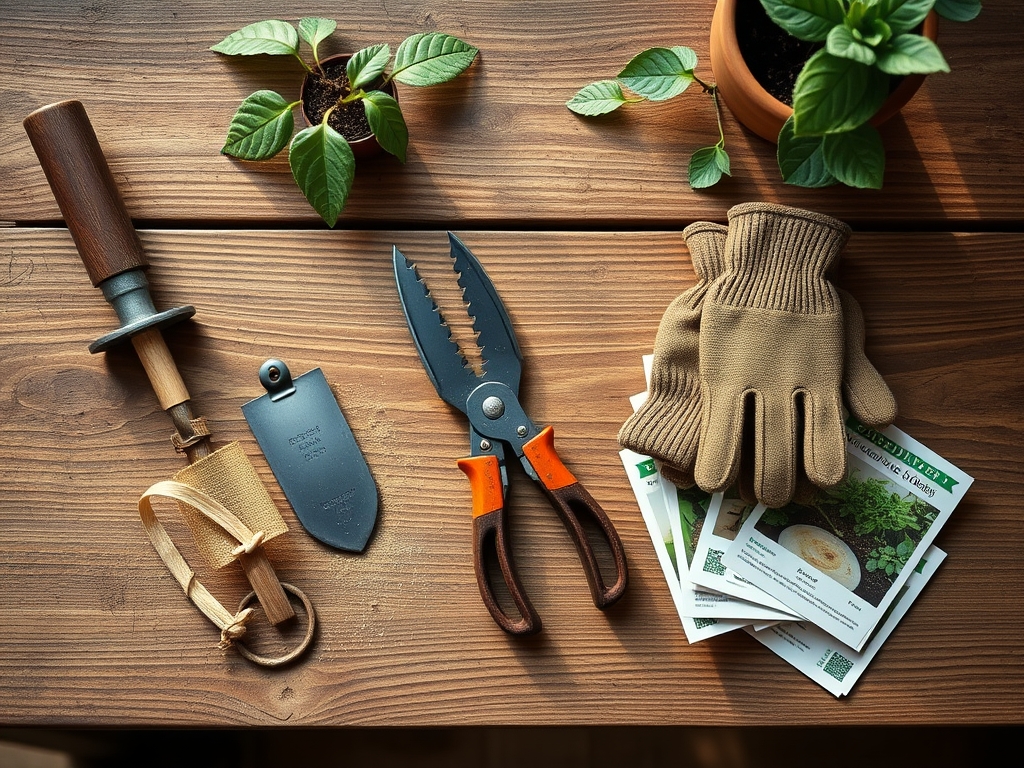
The substrate must be a **friable loam** or a well-graded aggregate if the workshop includes a heavy floor. For the surrounding perimeter, aim for a soil pH between **6.2 and 6.8** to prevent metal corrosion of the structure’s base. You will require **3/4-inch minus crushed rock** for the base layer, which provides a high degree of compaction. If the site will also host container plants, integrate a balanced **10-10-10 NPK** slow-release fertilizer into the peripheral beds to support immediate root establishment. High nitrogen (N) levels encourage vegetative growth, while phosphorus (P) and potassium (K) at **10% concentrations** ensure cellular strength and cold hardiness. Avoid heavy clays with a **CEC above 30 meq/100g** directly under the foundation, as these soils expand and contract excessively with moisture fluctuations.
Timing:
In Hardiness Zones 5 through 7, site preparation must occur after the final spring thaw but before the summer solstice to allow for soil settling. The "Biological Clock" of the site is critical; you must clear the area before the local flora moves from the vegetative stage to the reproductive stage. This prevents the dispersal of thousands of weed seeds into your fresh excavation. Construction is best performed when soil moisture is at 25% to 35% of field capacity. If the soil is too wet, you risk compaction that destroys the rhizosphere for neighboring trees; if too dry, the dust prevents proper aggregate bonding. Aim for a window where daytime temperatures remain between 50 and 70 degrees Fahrenheit to ensure concrete or mortar cures at a steady rate without thermal cracking.
Phases:

Sowing the Perimeter
Once the footprint is cleared, sow a low-growth cover crop like Trifolium repens (White Clover) around the edges. This stabilizes the soil and prevents erosion during the build. Use a seeding rate of 1/4 pound per 1,000 square feet.
Pro-Tip: Clover forms a mycorrhizal symbiosis with soil fungi, which creates a network of hyphae that physically binds soil particles together, preventing the foundation from being undercut by runoff.
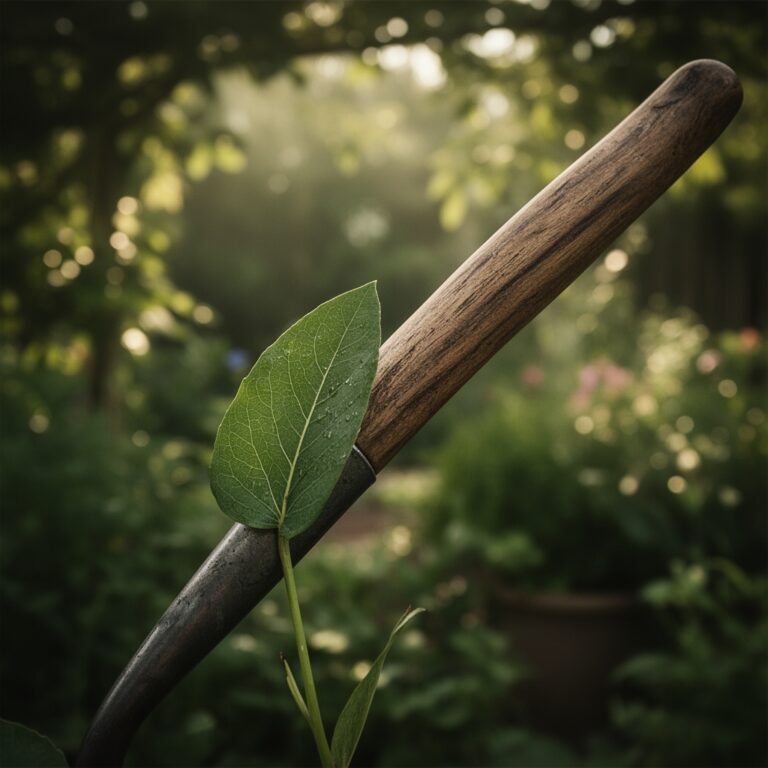
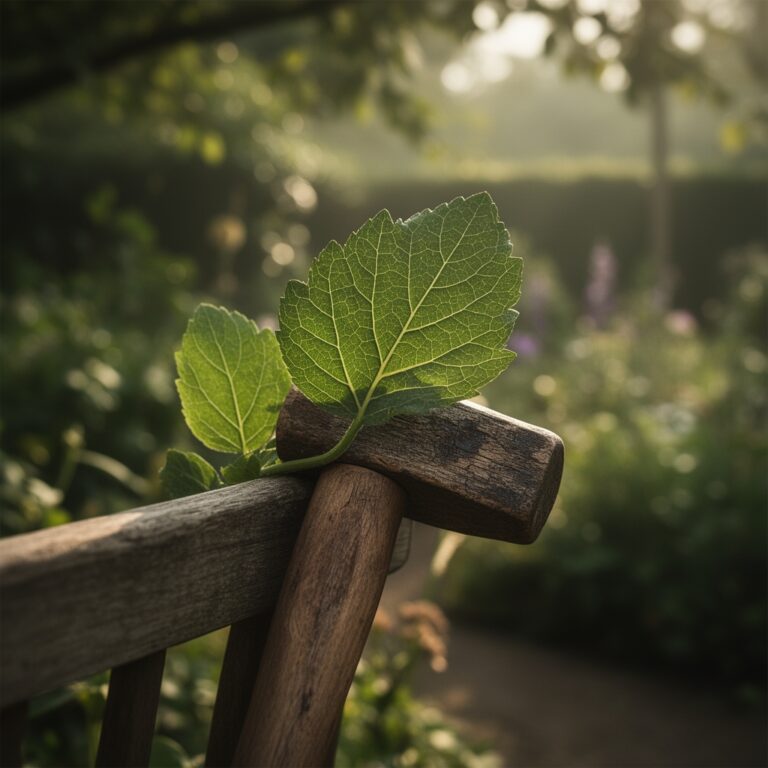
Transplanting Support Flora
If you are moving existing shrubs to accommodate the workshop, dig a root ball three times the diameter of the stem. Ensure the root flare remains visible at the soil surface to prevent bark rot.
Pro-Tip: When transplanting, avoid pruning the top canopy immediately. Maintaining apical dominance prevents auxin suppression, allowing the plant to prioritize root regeneration over new leaf production.
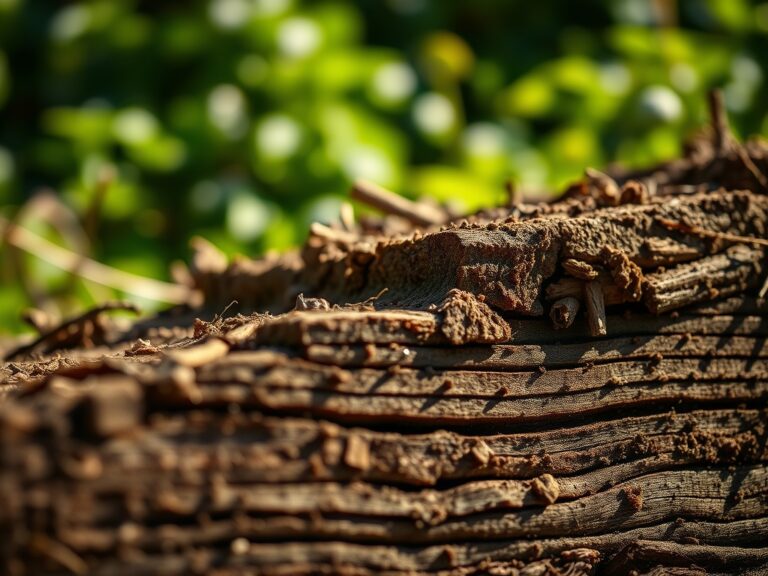
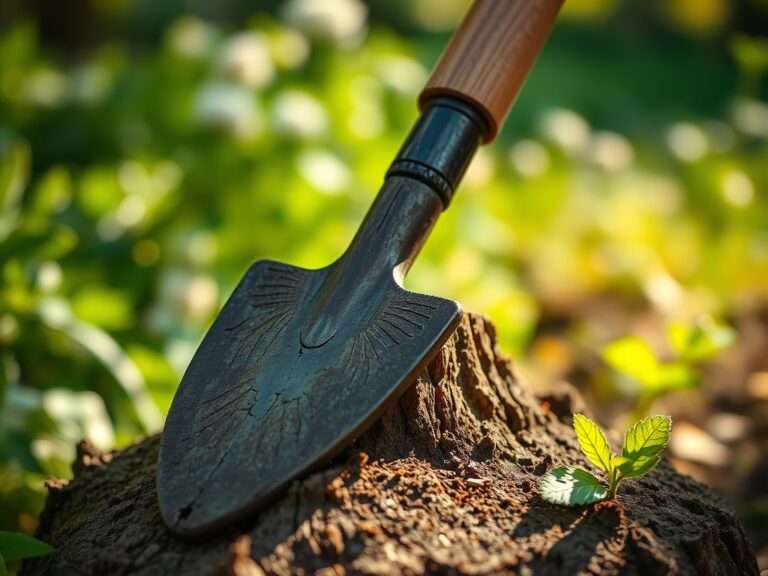
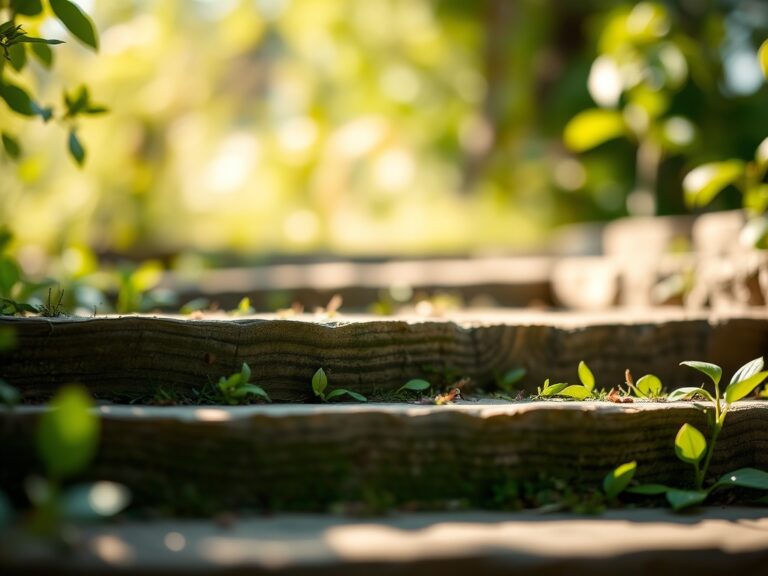
Establishing the Base
Excavate to a depth of 8 inches. Lay a geotextile fabric to separate the subsoil from your drainage gravel. Compact the gravel in 2-inch lifts using a plate compactor to ensure a density of at least 95% Proctor.
Pro-Tip: Proper compaction reduces the macropores in the soil, which limits the oxygen available to buried weed seeds, effectively putting them into a state of permanent dormancy.
The Clinic:
Physiological disorders often appear in plants surrounding a new construction site due to soil disturbance.
- Symptom: Interveinal chlorosis (yellowing leaves with green veins) on nearby shrubs.
Solution: This is often Iron Deficiency caused by a sudden rise in soil pH from concrete runoff. Apply chelated iron and elemental sulfur to lower the pH back to 6.5.
2. Symptom: Marginal leaf burn or necrosis.
Solution: This indicates Salt Toxicity from de-icing agents or over-fertilization. Flush the soil with 2 inches of water to leach excess salts below the root zone.
3. Symptom: Wilting despite moist soil.
Solution: This is Root Asphyxiation caused by soil compaction from heavy machinery. Use a broadfork to aerate the soil 12 inches deep around the drip line.
Fix-It for Nitrogen Chlorosis: If surrounding foliage turns pale green overall, apply a quick-release ammonium nitrate solution at a rate of 1 pound of actual Nitrogen per 1,000 square feet. This restores chlorophyll synthesis and increases turgor pressure within 72 hours.
Maintenance:
A durable workshop site requires ongoing hydrological management. Ensure the site receives 1.5 inches of water per week at the drip line of surrounding ornamental plants to offset the heat island effect created by the new structure. Use a soil moisture meter twice weekly to check the tension at a 6-inch depth. For invasive species management, use a hori-hori knife to sever taproots at least 3 inches below the crown to prevent regrowth. Use bypass pruners to remove any branches that contact the workshop siding; this prevents fungal spores from bridging from the vegetation to the structure. Inspect the foundation every autumn for "heaving" caused by the freeze-thaw cycle, and ensure gutters divert water at least 5 feet away from the base.
The Yield:
If your workshop includes an attached greenhouse or cold frame, harvesting timing is dictated by sugar brix levels. For greens, harvest at dawn when turgor pressure is at its peak; this ensures the leaves are crisp and have maximum shelf life. Use a sharp, sterilized blade to make a clean cut, minimizing the surface area of the wound to prevent senescence-inducing ethylene gas from building up. Immediately submerge the base of the stems in 40-degree Fahrenheit water to remove field heat. This technique preserves "day-one" freshness by slowing the metabolic rate of the harvested tissue.
FAQ:
How deep should I dig the foundation for a garden workshop?
Excavate at least 8 to 12 inches. This allows for a 4-inch compacted gravel base and a 4-inch concrete slab or timber frame. In colder climates, you must dig below the local frost line to prevent structural heaving.
What is the best soil type for site drainage?
Sandy loam is ideal for drainage. It has a high percentage of sand for macropore space while retaining enough silt and clay to provide structural stability. Ensure the site slopes away from the center at a 2% grade.
Can I build a workshop over tree roots?
Avoid building within the Critical Root Zone (CRZ), which is typically one foot of radius for every inch of trunk diameter. Compacting soil over roots causes asphyxiation by preventing gas exchange in the rhizosphere, leading to tree death.
How do I stop weeds from growing under my workshop?
Lay a heavy-duty geotextile fabric or a 6-mil vapor barrier over the cleared earth before adding your base material. This blocks light and creates a physical barrier that prevents dormant seeds from reaching the surface and germinating.
What pH should the soil be around a new foundation?
Aim for a pH of 6.5. Concrete can leach lime, raising the pH and causing nutrient lockout. Regularly test the soil and apply elemental sulfur if the pH rises above 7.2 to protect your surrounding acid-loving plants.