6 Steps to Install a Modern Garden Privacy Screen
The smell of damp earth and the scent of crushed pine needles signal the start of a serious landscape intervention. A successful installation relies on the turgor pressure of the plant material; if the cellular structure lacks water, the entire system fails. Following the correct steps for installing a garden screen ensures a functional barrier that manages light, wind, and privacy. This process requires technical precision and an understanding of the biological requirements of the chosen species to ensure long-term structural integrity.
Establishing a living wall is an exercise in soil science and structural engineering. You are not just planting; you are managing a biological system that must withstand environmental stressors. The goal is to create a dense, uniform barrier that functions as a windbreak and visual obstruction while maintaining a healthy rhizosphere. Success is measured by the growth rate and the density of the foliage, both of which depend on the initial preparation and the ongoing management of soil nutrients.
Materials:
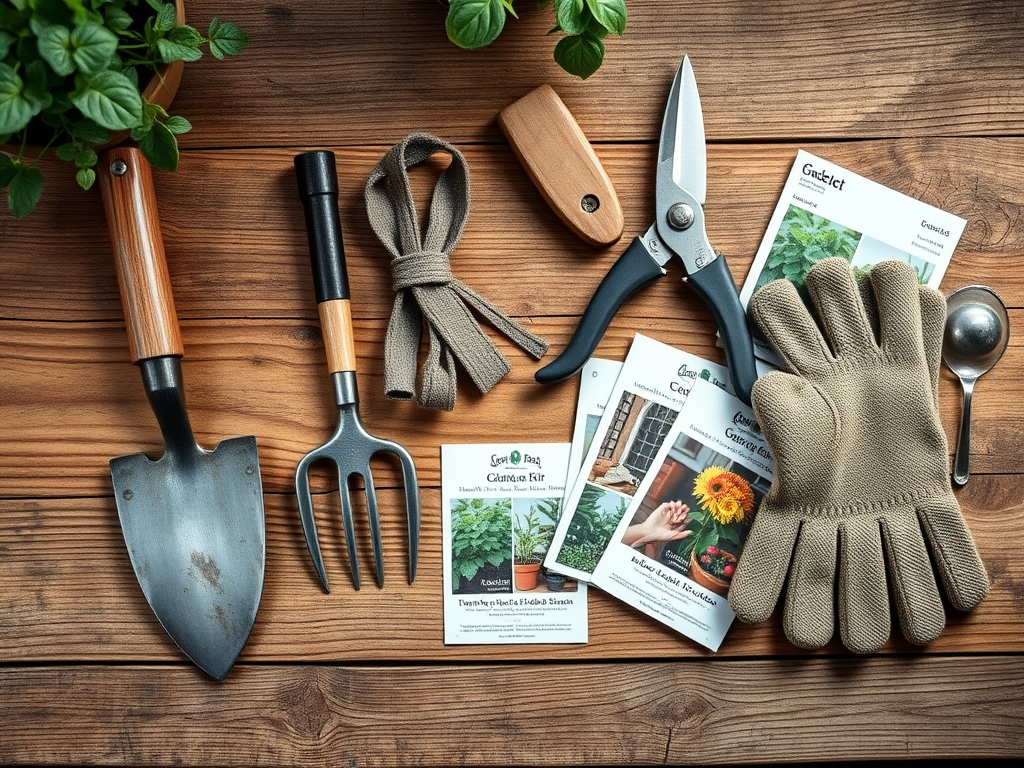
The foundation of any garden screen is the substrate. For most screening species like Thuja occidentalis or Prunus laurocerasus, you require a friable loam with a pH between 6.0 and 7.0. This texture allows for optimal root penetration and gas exchange. If the soil is heavy clay, the Cation Exchange Capacity (CEC) will be high, but drainage will be poor; sandy soils have low CEC and require frequent nutrient supplementation.
For the initial planting phase, utilize a slow-release fertilizer with an NPK ratio of 10-10-10 to support balanced root and shoot development. High nitrogen levels (the first number) are necessary for vegetative growth, but excessive nitrogen can lead to weak, elongated stems that are susceptible to wind damage. Phosphorus (the middle number) is critical for ATP production and root elongation, while Potassium (the final number) regulates stomatal opening and water retention. Ensure you have high-quality organic mulch, such as shredded hardwood, to maintain soil moisture and suppress weed competition.
Timing:
Timing is dictated by the USDA Hardiness Zones and the biological clock of the plant material. In Zones 5 through 7, the ideal window for installation is early spring, immediately after the ground thaws but before the plant enters its active vegetative stage. In Zones 8 through 10, autumn planting is preferred to allow root establishment during the cooler months when transpiration rates are lower.
The biological clock of a screening plant involves a transition from dormancy to active growth triggered by the photoperiod. Planting during the dormant phase reduces transplant shock because the plant is not diverting energy to leaf production or reproduction. Aim for soil temperatures of at least 50 degrees Fahrenheit (10 degrees Celsius) to encourage immediate root activity. Avoid planting during the peak of summer, as high evapotranspiration rates can lead to permanent wilting point if the irrigation system fails for even a few hours.
Phases:

Sowing and Preparation
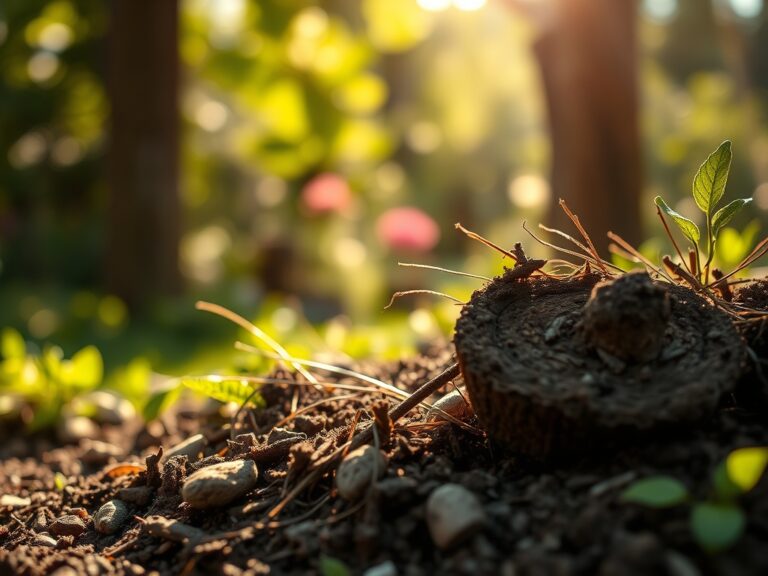
Before any plant touches the ground, the site must be graded and amended. Dig a trench or individual holes two to three times the width of the root ball but no deeper than the root flare. This ensures the lateral roots can easily penetrate the surrounding soil.
Pro-Tip: Proper spacing prevents excessive competition for light and nutrients. Observe the rule of Apical Dominance; by maintaining a specific distance between plants, you prevent the lower branches from shading each other out, which would lead to needle drop or leaf senescence in the interior of the screen.
Transplanting
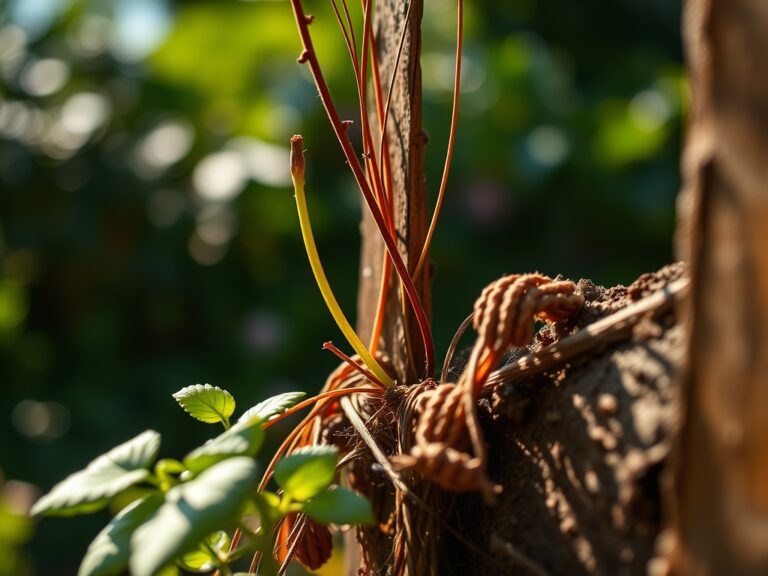
When moving the plant from its container to the ground, inspect the root system for circling roots. Use a hori-hori knife to make vertical cuts in the root ball if it is pot-bound. This mechanical disruption encourages the growth of new, outward-reaching roots. Place the plant so the root flare is slightly above the soil line to prevent bark rot.
Pro-Tip: Introduce Mycorrhizal fungi to the planting hole. This symbiotic relationship expands the root system's surface area, allowing the plant to access phosphorus and water that would otherwise be unavailable in the bulk soil.
Establishing
Once the screen is in the ground, immediate hydration is mandatory. Saturate the root zone to eliminate air pockets. Apply a 3-inch layer of mulch, keeping it away from the trunk to avoid fungal infections. The first 12 months are the "establishment phase" where the plant focuses on root architecture rather than height.
Pro-Tip: Avoid heavy pruning in the first year to prevent Auxin suppression. Auxins are hormones produced in the growing tips that signal the roots to grow; cutting the tips too early can stunt the development of a robust root system.
The Clinic:
Physiological disorders often mimic disease but are usually the result of environmental stress or nutrient imbalances.
- Symptom: Yellowing of older leaves while new growth remains green (Nitrogen Chlorosis).
Solution: Apply a quick-release high-nitrogen fertilizer and check for soil compaction that might be limiting oxygen to the roots. - Symptom: Marginal leaf burn or browning of leaf edges.
Solution: This often indicates high salinity or potassium deficiency. Flush the soil with water to leach excess salts and adjust the NPK balance. - Symptom: Wilting despite moist soil.
Solution: This is likely root rot caused by anaerobic conditions. Improve drainage by incorporating perlite or adjusting the irrigation schedule. - Symptom: Interveinal chlorosis on new growth (Iron deficiency).
Solution: Check the soil pH. If the pH is above 7.5, iron becomes chemically locked in the soil. Lower the pH using elemental sulfur.
Fix-It: For general nutrient deficiencies, a foliar spray can provide a temporary boost, but the long-term solution always involves correcting the soil chemistry at the rhizosphere level.
Maintenance:
Precision maintenance is the difference between a ragged hedge and a professional screen. Use a soil moisture meter twice a week to check levels at a depth of 6 inches. Most evergreen screens require 1.5 inches of water per week delivered directly at the drip line. Overhead watering should be avoided to minimize the risk of foliar pathogens.
Pruning should be performed with sharp bypass pruners to ensure clean cuts that heal quickly. For formal screens, prune in late spring after the first flush of growth has hardened off. For informal screens, thinning cuts are preferred over heading cuts to maintain a natural shape while allowing light to penetrate the center of the plant. Always disinfect your tools with a 10 percent bleach solution between plants to prevent the spread of vascular diseases.
The Yield:
While a privacy screen is primarily structural, some species like Laurus nobilis (Bay Laurel) or Taxus (Yew) provide secondary yields. For culinary bay, harvest mature leaves in the early morning when essential oil concentrations are highest. For ornamental screens, the "yield" is the annual growth rate. Track this by measuring the terminal leader at the end of the growing season. To maintain "day-one" freshness in harvested foliage for floral use, immediately submerge the cut stems in 40-degree Fahrenheit water to maintain turgidity and slow down the metabolic rate.
FAQ:
How deep should I dig the holes for a garden screen?
Dig holes two to three times wider than the root ball but no deeper. The root flare must remain at or slightly above the soil surface to ensure proper oxygen exchange and prevent trunk decay.
What is the best NPK ratio for a new screen?
A balanced 10-10-10 ratio is ideal for the first year. This provides enough nitrogen for foliage, phosphorus for root establishment, and potassium for cellular health and drought resistance without overstimulating weak growth.
How often should I water a newly installed screen?
Provide 1.5 inches of water per week during the first two growing seasons. Use a drip irrigation system or a soaker hose at the base to ensure deep penetration into the root zone while keeping foliage dry.
Can I plant a privacy screen in the winter?
In Zones 8 through 10, winter planting is acceptable if the ground is not frozen. In colder zones, wait until the soil temperature reaches 50 degrees Fahrenheit to ensure the roots can actively uptake water and nutrients.
Why are the bottom branches of my screen dying?
This is often due to shading or lack of airflow. Ensure proper spacing during installation to allow light to reach the lower canopy. Pruning the top of the screen slightly narrower than the bottom also helps light penetration.