6 Steps to Build a Discreet Garden Compost Enclosure
Compost heaps left exposed attract rodents, broadcast odors across property lines, and violate many suburban covenant restrictions. Steps for building a garden waste enclosure solve these problems while accelerating decomposition through controlled airflow and thermal retention. A well-engineered enclosure transforms kitchen scraps and yard debris into finished humus in 90 to 120 days, compared to 180 days for open windrows. The structure maintains internal temperatures between 135°F and 160°F, the optimal range for thermophilic bacteria to break down cellulose and lignin while eliminating weed seeds and pathogens.
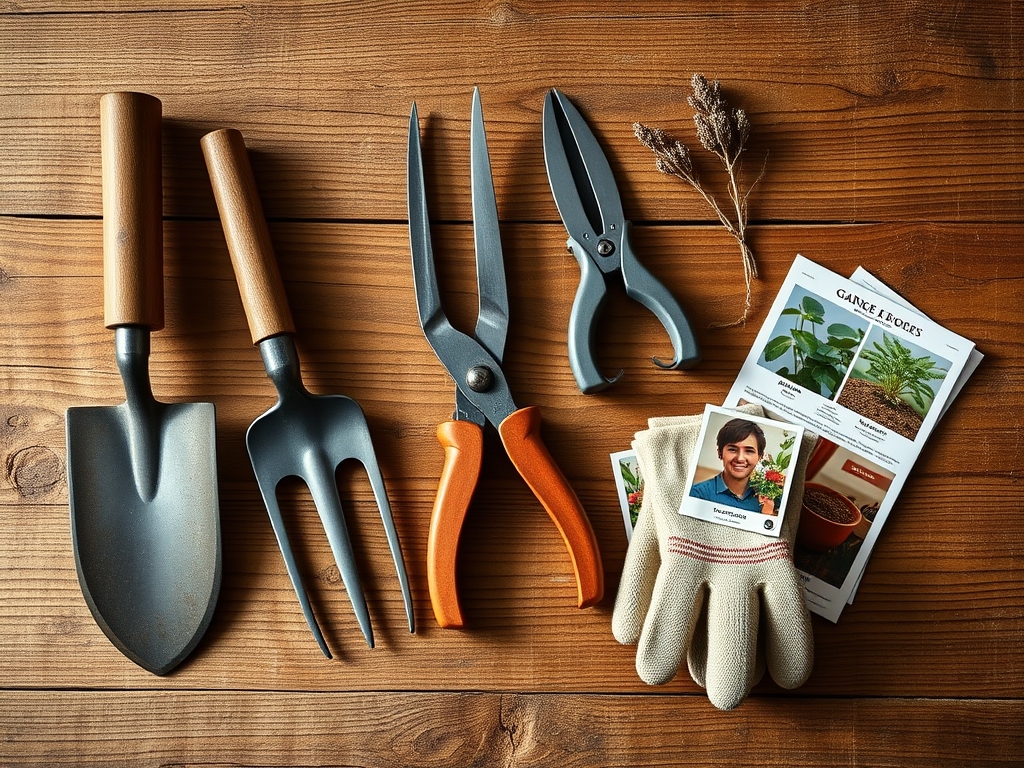
Materials
Select pressure-treated lumber rated for ground contact (0.40 PCF retention minimum) or naturally rot-resistant cedar heartwood for the frame. Avoid pine sapwood, which degrades in 18 to 24 months under constant moisture. Hardware cloth with 0.5-inch openings prevents rodent intrusion while maintaining ventilation. Galvanized carriage bolts (3/8 inch diameter, 4 inches long) provide structural rigidity without the rust failure common to deck screws.
For optimal carbon-to-nitrogen balance, maintain a 30:1 ratio by layering brown materials (shredded cardboard at 170:1 C:N, dry leaves at 60:1) with green materials (grass clippings at 20:1, coffee grounds at 20:1). Incorporate bone meal (3-15-0 NPK) at 2 pounds per cubic yard to accelerate microbial activity. Blood meal (12-0-0) provides quick nitrogen but risks ammonia volatilization above 3 pounds per cubic yard. Fish meal (4-4-4) offers balanced nutrition with trace minerals that enhance cation exchange capacity in the finished compost.
Rock phosphate buffers pH between 6.5 and 7.5, the range where beneficial bacteria colonies multiply most rapidly. Add dolomitic lime at 5 pounds per cubic yard if initial feedstock pH drops below 6.0. Avoid hydrated lime, which spikes pH above 8.5 and kills nitrogen-fixing bacteria.
Timing
Begin construction in USDA Hardiness Zones 3 through 7 between April 15 and May 30, after soil temperatures stabilize above 50°F. This window allows the initial compost batch to reach thermophilic phase before autumn frosts. In Zones 8 through 10, construct between October 1 and November 15 to avoid summer heat above 95°F, which desiccates feedstock and halts decomposition.
Position the enclosure in partial shade (4 to 6 hours direct sun daily). Full sun locations in Zones 7 and warmer require irrigation to maintain 50 to 60 percent moisture content. Complete construction 14 days before adding the first feedstock layer to allow lumber tannins to leach and pH to stabilize.
Phases

Foundation Phase: Excavate a 36-inch by 36-inch footprint to 4 inches depth. Install landscape fabric over native soil to suppress weeds. Lay a 2-inch base of crushed gravel (0.75-inch diameter) for drainage. Anchor four 4×4 posts at corners, burying 8 inches below grade. Cross-brace with 2×4 horizontal rails at ground level and 36 inches height.
Pro-Tip: Coat the buried portion of each post with copper naphthenate (2 percent solution) to prevent fungal decay. This treatment extends post life to 15 years in contact with saturated compost.
Wall Assembly Phase: Attach hardware cloth to the interior faces of all four walls using fence staples every 6 inches. Leave the front wall removable by securing it with hook-and-eye latches rather than permanent fasteners. This design enables fork access for turning compost every 14 days.
Install vertical slat spacing of 1.5 inches between boards on three fixed walls to create passive ventilation channels. Airflow through these gaps delivers oxygen to aerobic bacteria and exhausts carbon dioxide and water vapor. Without adequate ventilation, anaerobic conditions develop, producing hydrogen sulfide and methane instead of stable humus.
Pro-Tip: Angle slats at 15 degrees from vertical to shed rain while maintaining air circulation. This prevents water accumulation that leaches nitrogen and creates anaerobic pockets.
Activation Phase: Inoculate the first 6-inch layer of feedstock with mycorrhizal fungi at 2 ounces per cubic yard. These organisms colonize organic matter and accelerate lignocellulose breakdown. Add compost starter containing Bacillus subtilis and Trichoderma species at manufacturer-specified rates. Turn the pile after 7 days to redistribute heat and moisture. Internal temperature should reach 135°F within 72 hours if C:N ratio and moisture content are correct.
Pro-Tip: Insert a soil thermometer 12 inches deep at the pile center. If temperature remains below 120°F after 96 hours, add 0.5 pounds blood meal per cubic yard and turn thoroughly.
Troubleshooting
Symptom: Ammonia odor and surface crusting.
Solution: C:N ratio below 25:1 indicates excess nitrogen. Mix in shredded newspaper at 3:1 volume ratio (paper to existing compost) and turn every 3 days until odor dissipates.
Symptom: Fruit flies clustering on surface.
Solution: Bury fresh kitchen scraps 8 inches deep within existing material. Top with 2-inch layer of dry leaves. Fruit flies (Drosophila species) only colonize exposed sugars.
Symptom: White fungal mats throughout pile.
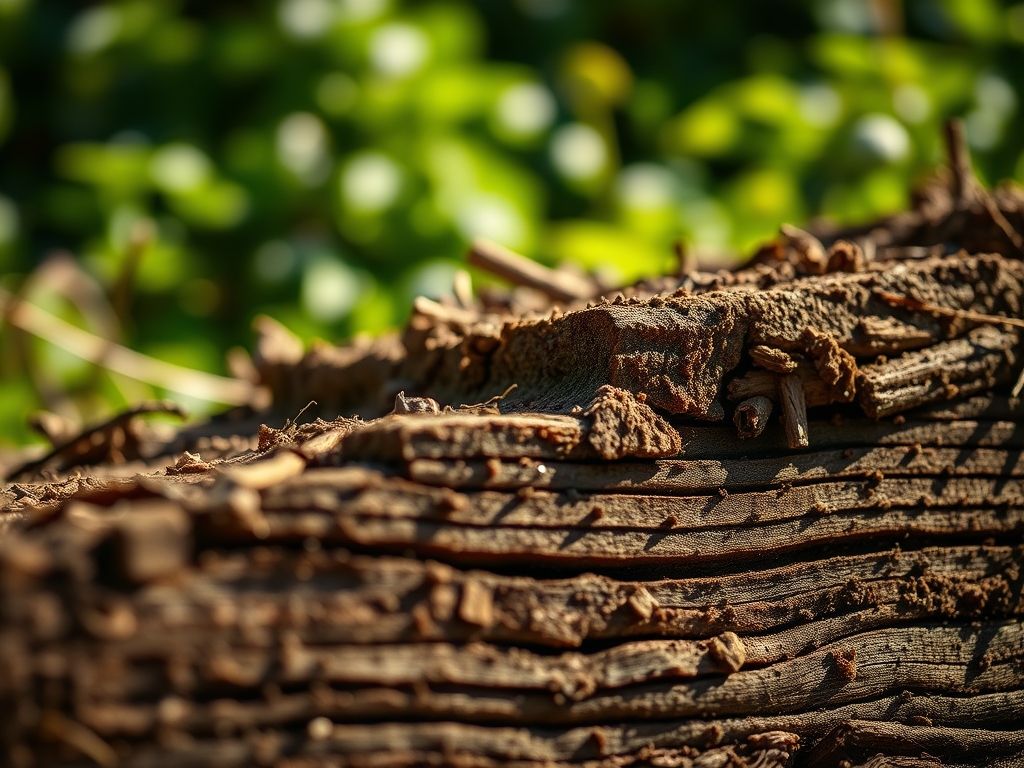
Solution: Actinomycetes growth indicates proper thermophilic decomposition. No intervention required. These beneficial organisms break down cellulose and produce antibiotics that suppress plant pathogens.
Symptom: Pile temperature drops below 100°F after initial heating.
Solution: Insufficient pile volume. Minimum critical mass is 27 cubic feet (3x3x3 feet). Accumulate more feedstock before reactivating with 1 pound blood meal per cubic yard.
Symptom: Slime layer with sewage odor.
Solution: Anaerobic conditions from overwatering or compaction. Turn pile completely to introduce oxygen. Add dry straw at 1:1 volume ratio to absorb excess moisture.
Maintenance
Turn compost every 14 days using a spading fork to move outer material to the center. This redistributes heat and exposes undigested material to thermophilic bacteria. Add water during turning only if moisture content drops below 40 percent (squeeze test: material should feel like a wrung-out sponge with a few drops released).
Monitor C:N ratio by observing decomposition speed. If breakdown stalls after 30 days, add 0.5 pounds alfalfa meal (2-1-2) per cubic yard. Screen finished compost through 0.5-inch mesh hardware cloth after 90 days. Return oversized particles to a new batch.
Apply 0.25 inches of finished compost as topdressing in vegetable gardens or incorporate 2 inches into planting beds before spring seeding. Store excess in ventilated bags for up to 12 months without nutrient loss.
FAQ
How often should I add new material?
Add feedstock continuously but turn the entire pile only every 14 days. Bury daily additions 6 to 8 inches deep in existing material to maintain temperature.
Can I compost diseased plant material?
Yes, if pile temperature exceeds 135°F for 72 consecutive hours. Use a compost thermometer to verify. This heat kills most fungal spores and bacteria.
What materials should I exclude?
Avoid meat, dairy, oils, and pet waste. These attract pests and introduce pathogens that survive thermophilic temperatures. Also exclude black walnut leaves, which contain juglone that inhibits plant growth.
How do I know when compost is finished?
Finished compost reaches ambient temperature, smells earthy (not sour or ammonia-like), and shows no recognizable plant structures. Germination test: Plant cress seeds in pure compost. Emergence within 4 days confirms maturity.
Should I add compost accelerator products?
Unnecessary if C:N ratio and moisture are correct. Save money by using 0.25 inches of garden soil as inoculant. Native soil contains sufficient bacterial populations to initiate decomposition.