6 Pro Tips How to Grow Society Garlic
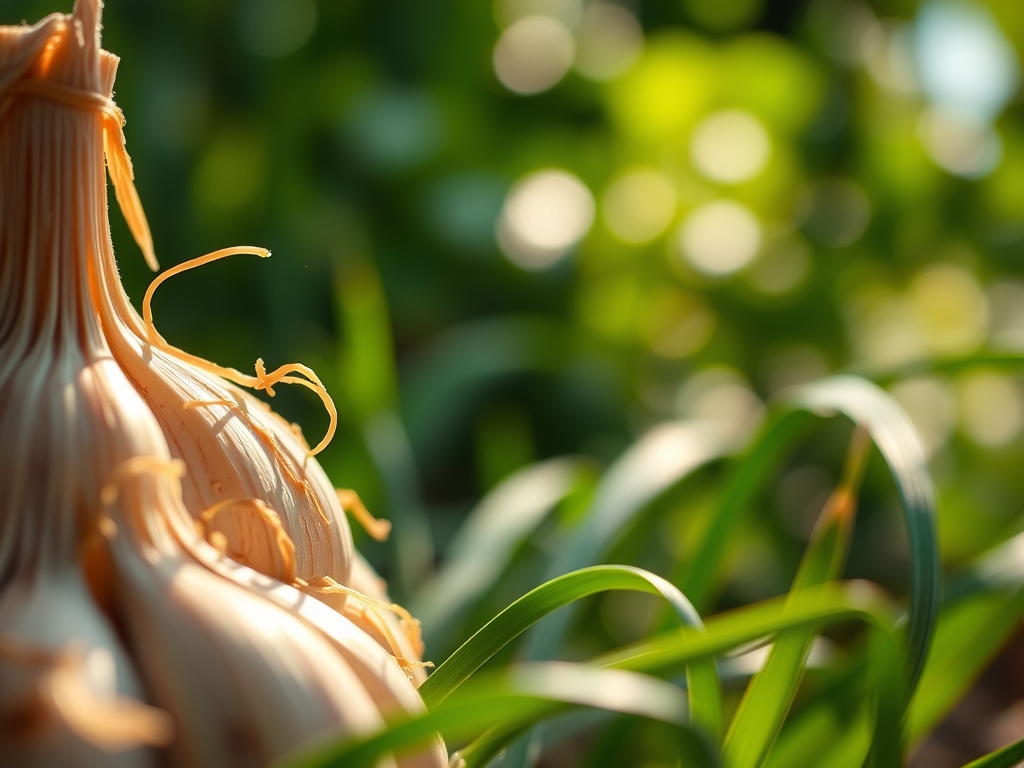
Damp earth carries the scent of geosmin when you first break the surface of a well-prepared bed. To master how to grow society garlic, you must focus on the turgor pressure of the leaves; a healthy Tulbaghia violacea should feel rigid and cool to the touch. This perennial herb demands a specific balance of heat and drainage to thrive. Success begins with understanding its South African origins and translating those environmental stressors into a managed landscape.
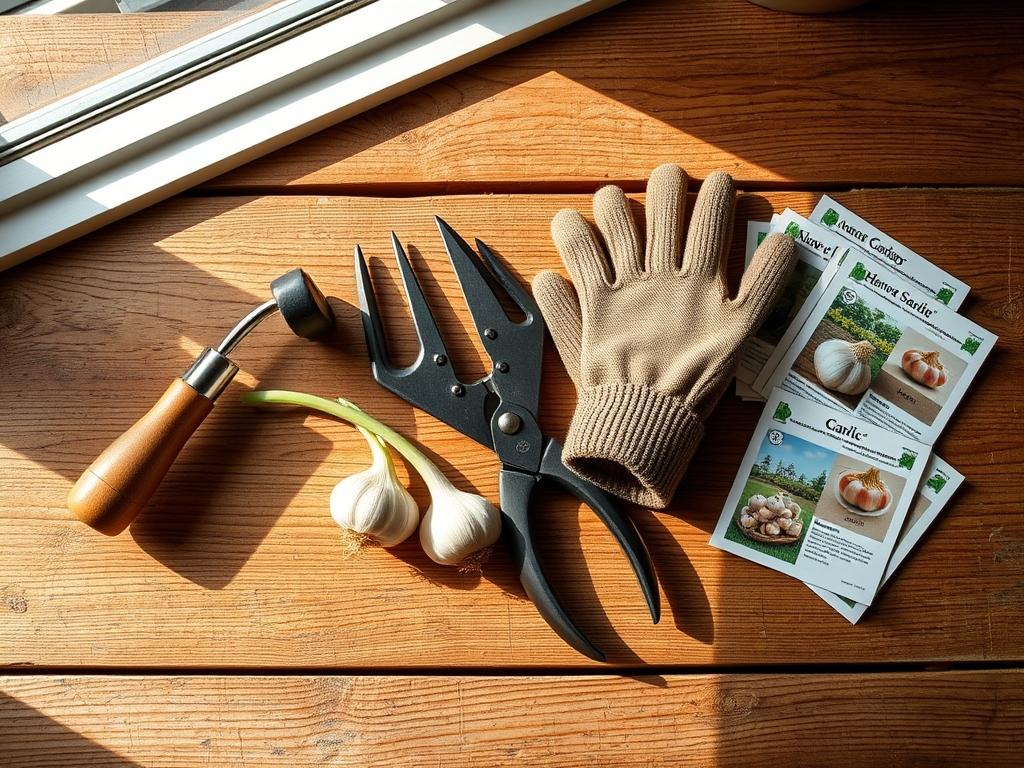
Materials:
Society garlic thrives in a **friable loam** with a high sand content to ensure rapid drainage. The soil must maintain a **pH between 6.5 and 7.5**. If your soil is heavy clay, integrate coarse perlite or horticultural grit to improve the **Cation Exchange Capacity (CEC)** and prevent root rot.
Before planting, incorporate a slow-release fertilizer with an NPK ratio of 5-10-10. The lower nitrogen content prevents excessive vegetative growth at the expense of the floral display. High phosphorus levels are essential for robust rhizome development. You will also need a soil moisture meter to monitor the rhizosphere and a hori-hori knife for precise trenching.
Timing:
This species is hardy in USDA Zones 7 through 11. In Zone 7, the plant acts as a deciduous perennial; in warmer zones, it remains evergreen. The ideal planting window opens after the final frost when soil temperatures consistently reach 65 degrees Fahrenheit.
The biological clock of society garlic is governed by the photoperiod. As day length increases, the plant transitions from the vegetative stage to the reproductive stage. This shift triggers the emergence of the umbels. Planting during the spring equinox allows the root system to establish before the peak summer heat induces senescence in early autumn.
Phases:

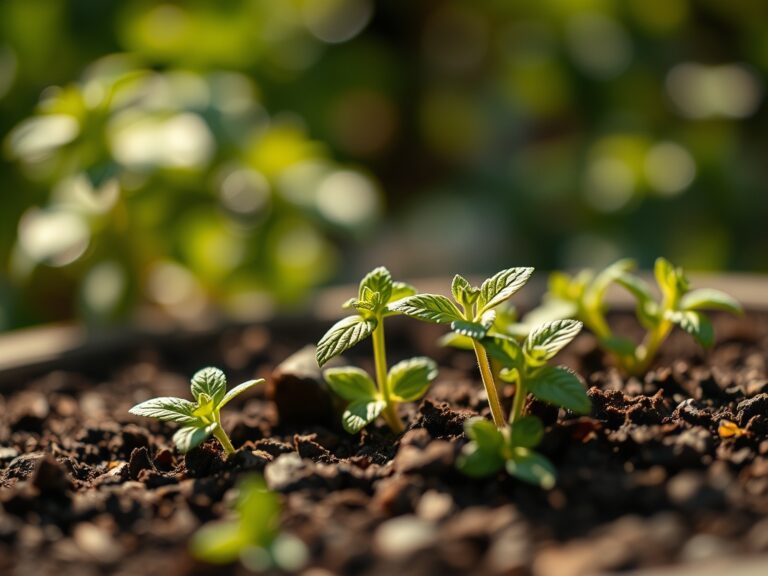
Sowing and Division
While seeds are an option, most professionals use division. Extract a mature clump and separate the rhizomes using a sharp blade. Ensure each section has at least three healthy fans of leaves. Space the divisions 8 to 12 inches apart.
Pro-Tip: Dip the cut ends of the rhizomes in a mycorrhizal inoculant. This symbiotic fungus extends the reach of the root system, increasing the surface area for phosphorus absorption and drought resistance.
Transplanting
Dig a hole twice the width of the root ball but no deeper than the original container. Placing the crown too deep leads to moisture entrapment and fungal pathogens. Backfill with your amended soil and firm it down to eliminate air pockets.
Pro-Tip: Apply a one-inch layer of organic mulch around the base but keep it two inches away from the stems. This prevents auxin suppression caused by mechanical stress and keeps the soil temperature stable during the initial establishment phase.
Establishing
During the first six weeks, the plant requires consistent moisture to build cellular structure. Monitor the leaves for signs of wilting, which indicates a loss of turgor pressure. Once established, the plant becomes significantly more drought-tolerant.
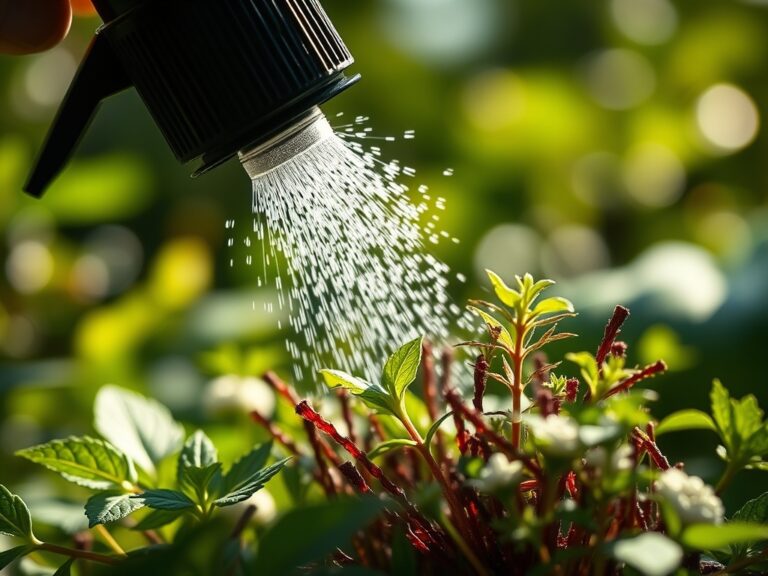
Pro-Tip: Irrigate early in the morning. This allows the foliage to dry before nightfall, reducing the risk of botrytis cinerea or other fungal infections that thrive in high-humidity microclimates.
The Clinic:
Physiological disorders in Tulbaghia violacea often stem from environmental imbalances rather than pathogens.
Symptom: Yellowing of older leaves while new growth remains green.
Solution: This is Nitrogen chlorosis. Apply a liquid kelp meal or a balanced 10-10-10 fertilizer at half strength to restore chlorophyll production.
Symptom: Leaf tips turning brown and brittle.
Solution: High salt accumulation in the soil. Flush the rhizosphere with heavy irrigation to leach out excess minerals.
Symptom: Mushy, darkened base of the stems.
Solution: Root rot caused by anaerobic conditions. Immediately reduce watering and improve drainage by incorporating grit into the soil profile.
Fix-It for Iron Deficiency: If the new leaves are pale yellow with green veins, the soil pH is likely too high. Apply chelated iron to lower the pH locally and make the micronutrient bioavailable to the roots.
Maintenance:
Precision is required for long-term health. Provide 1.5 inches of water per week at the drip line during the active growing season. Use a soil moisture meter to ensure the ground is dry at a depth of two inches before re-watering.
Pruning is essential for aesthetics and health. Use bypass pruners to remove spent flower stalks at the base. This prevents the plant from diverting energy into seed production, a process known as reproductive senescence. In late winter, remove any frost-damaged foliage to allow sunlight to reach the crown. This stimulates the emergence of new growth as the soil warms.
The Yield:
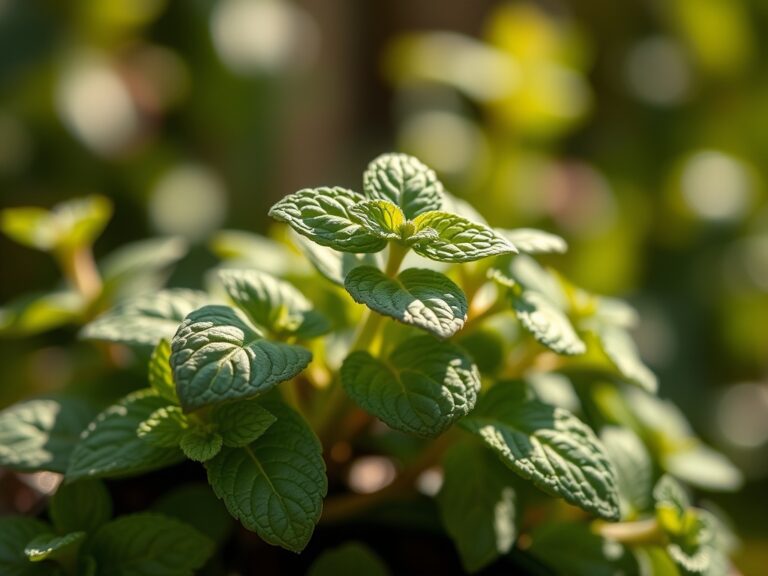
Harvesting society garlic involves both the leaves and the flowers. The flavor is most potent when the plant is under slight water stress. Use sharp garden shears to snip leaves from the outer edge of the clump; never remove more than 30 percent of the foliage at one time to avoid stalling photosynthesis.
For the flowers, harvest when the first few buds on the umbel have opened. Cut the stalks early in the morning when the turgor pressure is at its peak. Place the stems immediately in cool water. To maintain "day-one" freshness, store the harvested portions in a sealed container at 40 degrees Fahrenheit.
FAQ:
Does society garlic need full sun?
Yes. For optimal flowering and strong stems, the plant requires at least 6 to 8 hours of direct sunlight daily. Insufficient light leads to leggy growth and reduced bloom production due to limited photosynthetic energy.
How often should I divide the plants?
Divide the clumps every 3 to 5 years. When the center of the plant becomes sparse or flowering decreases, the rhizomes are overcrowded. Division rejuvenates the stand and prevents nutrient competition within the rhizosphere.
Is society garlic drought tolerant?
Once established, it is highly drought-tolerant. The thick rhizomes store water and nutrients, allowing the plant to survive extended dry periods. However, consistent moisture of 1 inch per week is necessary for consistent flowering.
What is the best fertilizer for society garlic?
Use a low-nitrogen, high-phosphorus fertilizer such as a 5-10-10 ratio. Apply it once in early spring and again in mid-summer. Excessive nitrogen promotes soft, weak foliage that is more susceptible to environmental stress and pests.
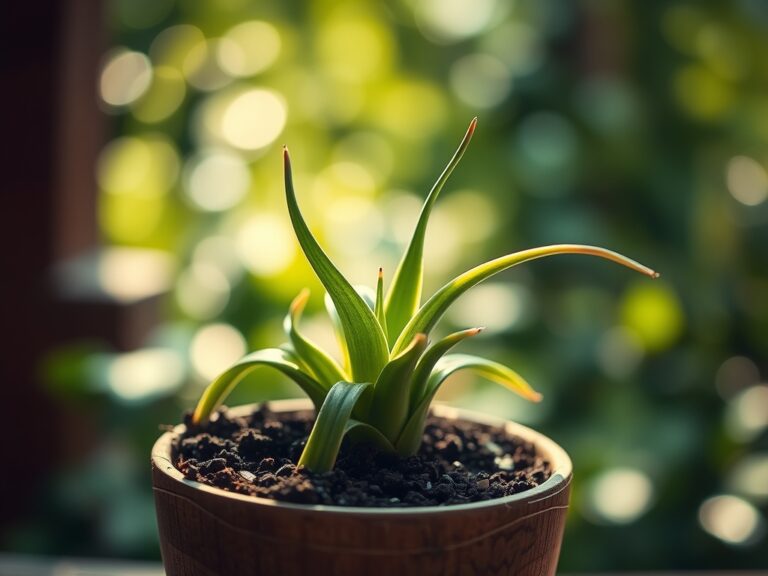
Can I grow society garlic in containers?
Yes. Use a pot with multiple drainage holes and a high-quality, peat-based potting mix amended with perlite. Ensure the container is large enough to accommodate rhizome expansion, typically 12 inches in diameter for a single starter plant.