6 Easy Ways How to Grow St Johns Wort
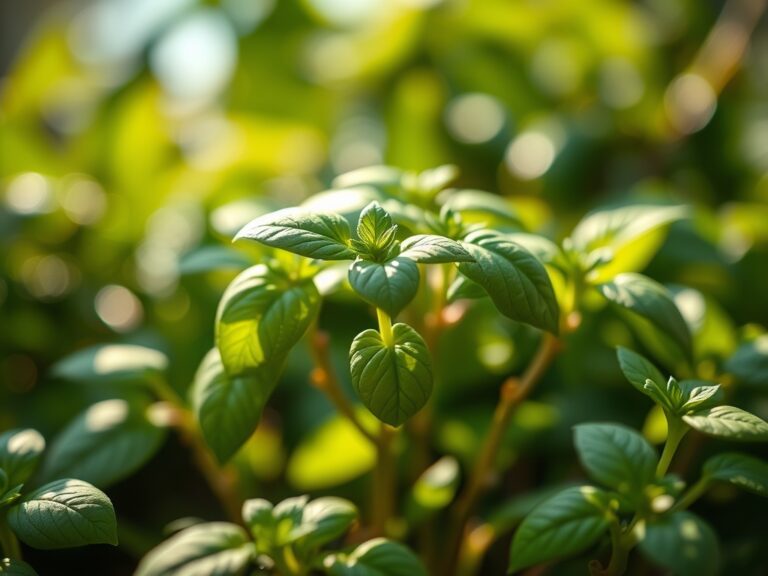
The scent of damp, mineral-rich earth signals the start of the planting season when the soil temperature consistently hits 60 degrees Fahrenheit. Hypericum perforatum, characterized by its translucent leaf glands and golden actinomorphic flowers, requires a disciplined approach to moisture management and light exposure. Mastering how to grow st johns wort demands an understanding of the plant's aggressive rhizomatous nature and its specific requirements for well-drained, marginally fertile substrates. Success is measured by the turgor pressure within the stems; a healthy specimen stands rigid, resisting the wilting effects of midday transpiration through efficient water transport in the xylem.
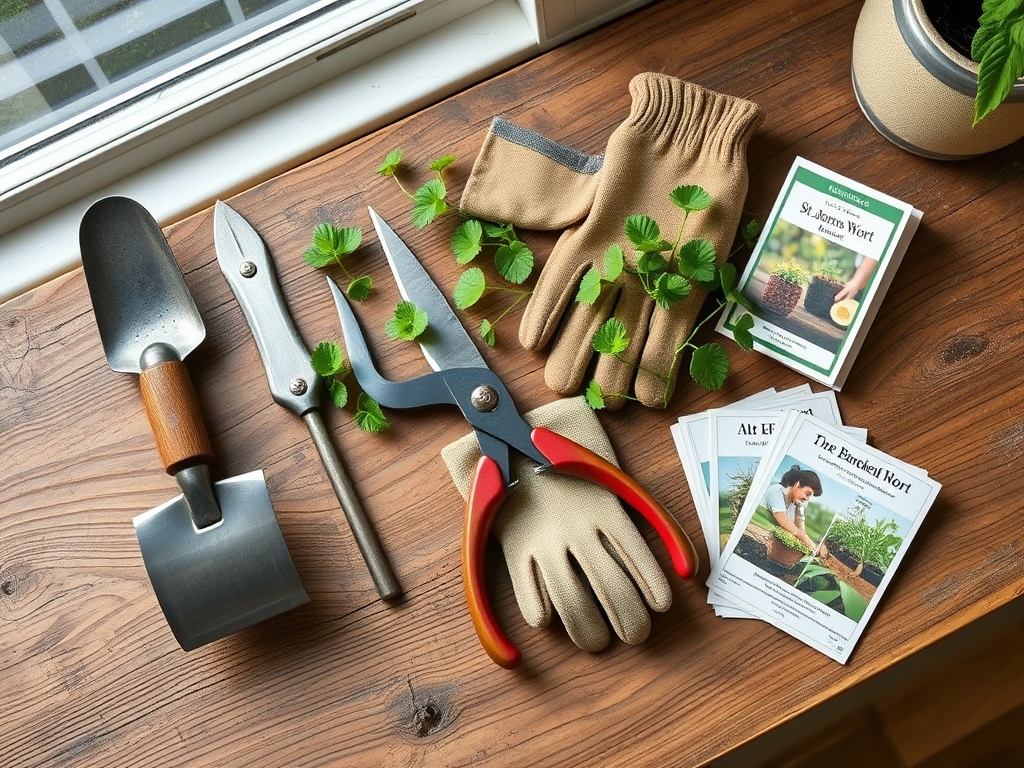
Materials:
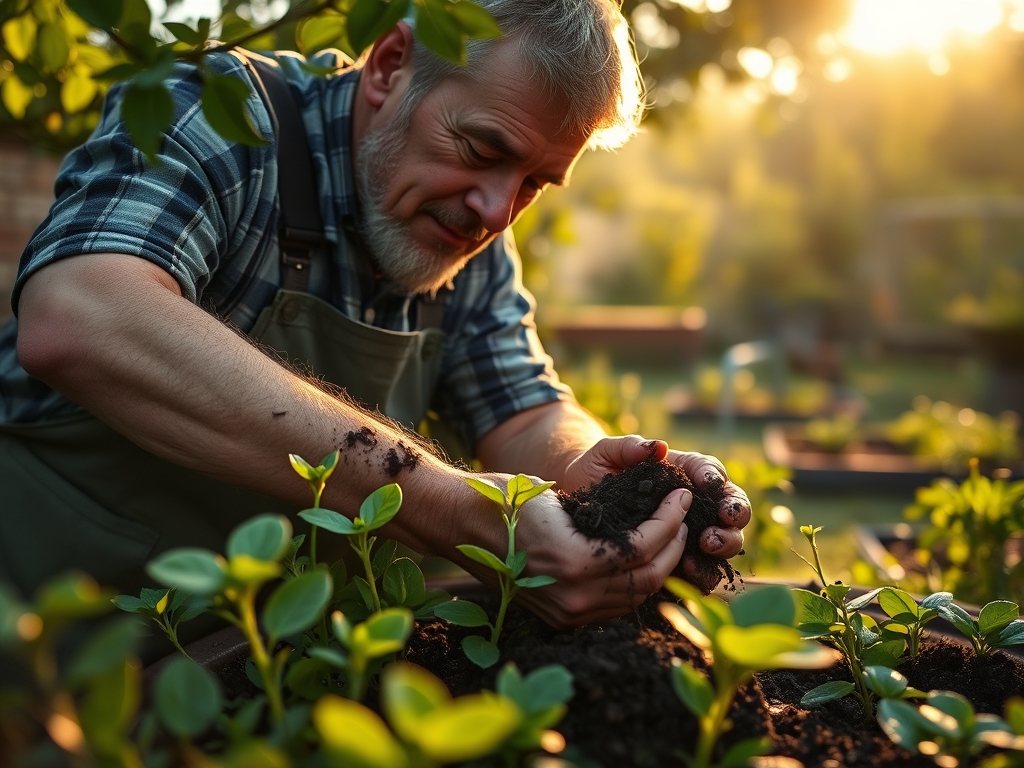
Cultivating St. Johns Wort begins with a substrate analysis. This species thrives in a **friable loam** that allows for rapid root penetration and gas exchange within the rhizosphere. The ideal soil pH ranges from **5.5 to 7.0**. While the plant is adaptable, a slightly acidic environment optimizes the availability of micronutrients.
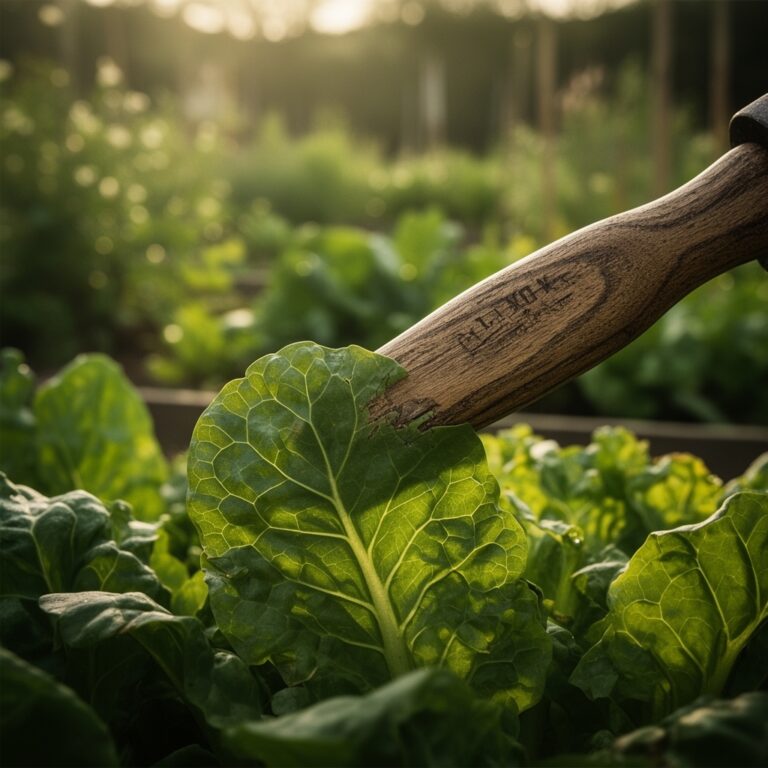
For initial soil amendment, utilize a balanced NPK ratio of 10-10-10 at a rate of 1 pound per 100 square feet. Excessive nitrogen must be avoided; high nitrogen levels trigger rapid vegetative elongation at the expense of structural integrity and secondary metabolite concentration. The Cation Exchange Capacity (CEC) of your soil should be moderate. If your soil is sandy with a low CEC, incorporate organic matter to increase the reservoir of exchangeable cations like potassium and magnesium. Ensure you have a soil moisture meter and a hori-hori knife for precise planting depth and monitoring.
Timing:
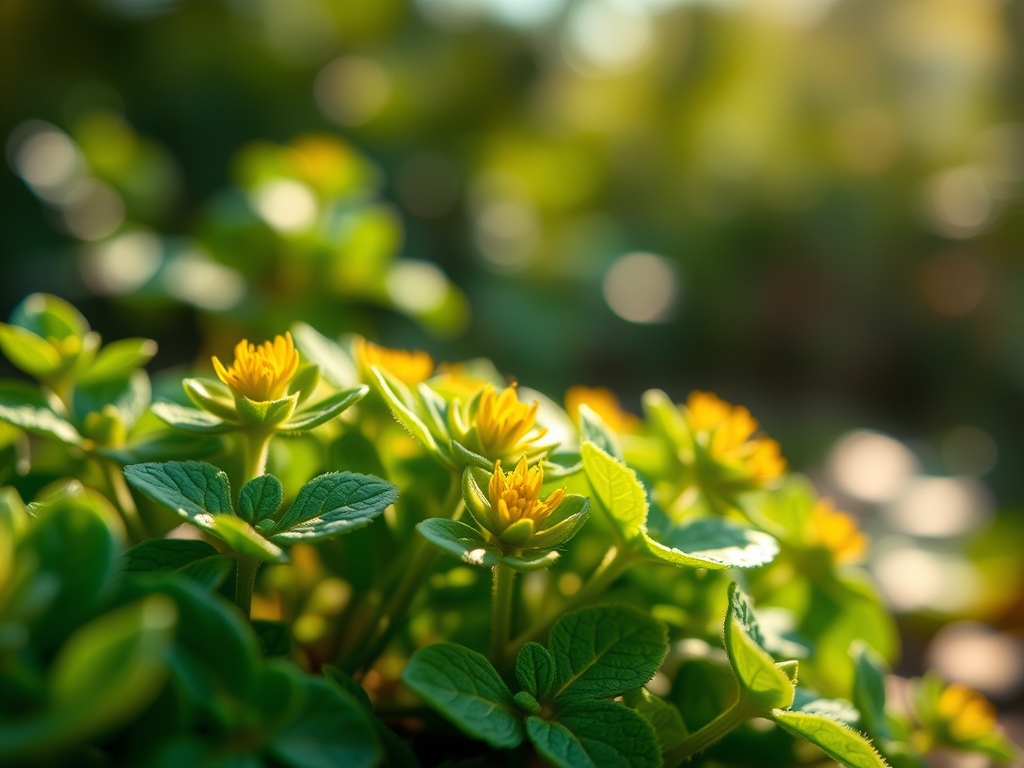
St. Johns Wort is hardy in USDA Zones 4 through 8. The biological clock of this perennial is dictated by the photoperiod. It remains in a vegetative state during the shorter days of early spring, transitioning to its reproductive (flowering) phase as day length approaches the summer solstice.
Direct sowing should occur 4 to 6 weeks before the last frost date. The seeds require a period of cold stratification to break physiological dormancy. If starting indoors, maintain a consistent temperature of 65 to 70 degrees Fahrenheit. Once established, the plant follows a predictable phenological sequence: spring emergence, rapid late-spring biomass accumulation, and mid-summer anthesis.
Phases:
Sowing and Germination
The seeds of Hypericum perforatum are minute and require light for germination. Surface sow them onto a fine-textured seed starting mix. Do not bury them; simply press them into the surface to ensure seed-to-soil contact. Maintain a consistent moisture level using a fine mist to prevent seed displacement.
Pro-Tip: This reliance on light is known as positive photoblasty. The biological why involves the pigment phytochrome, which detects red light frequencies to trigger the metabolic processes necessary for the embryo to break the seed coat.
Transplanting
When seedlings reach 3 inches in height and have developed at least two sets of true leaves, they are ready for the field. Space plants 12 to 18 inches apart. This spacing ensures adequate airflow, which reduces the boundary layer of humidity around the foliage and prevents fungal pathogens.
Pro-Tip: When handling the root ball, avoid excessive disturbance to the fine root hairs. These hairs are the primary site for mycorrhizal symbiosis, where beneficial fungi extend the root system's reach to pull in phosphorus and water from the surrounding soil matrix.
Establishing and Growth
During the first growing season, focus on root development. If the plant attempts to flower prematurely, pinch back the terminal buds using bypass pruners. This redirection of energy allows the plant to invest in its crown and rhizome system.
Pro-Tip: This technique utilizes auxin suppression. By removing the apical meristem (the growing tip), you stop the flow of the hormone auxin down the stem, which otherwise inhibits the growth of lateral buds. This results in a bushier, more resilient plant.
The Clinic:
Physiological disorders often stem from environmental stressors or nutrient imbalances rather than pathogens.
- Symptom: Interveinal Chlorosis. The leaves turn yellow while the veins remain green.
Solution: This indicates an iron or magnesium deficiency, often caused by a pH above 7.5. Lower the pH with elemental sulfur to increase nutrient solubility. - Symptom: Marginal Leaf Burn. The edges of the leaves appear scorched and brown.
Solution: This is typically a sign of potassium deficiency or salt accumulation in the soil. Flush the soil with clean water and apply a 0-0-50 sulfate of potash amendment. - Symptom: Stem Canker. Dark, sunken lesions appear on the lower stems.
Solution: This is often caused by excessive moisture at the soil line. Improve drainage and ensure the soil surface dries between watering cycles. - Fix-It: Nitrogen Chlorosis. If the entire plant appears pale green or yellow, it lacks nitrogen. Apply a liquid seaweed extract or a light 5-5-5 organic fertilizer to provide a quick-release nitrogen source without overstimulating the plant.
Maintenance:
Precision is the hallmark of professional maintenance. St. Johns Wort requires approximately 1 to 1.5 inches of water per week, delivered directly to the drip line. Avoid overhead irrigation; wet foliage increases the risk of Hypericum rust (Melampsora hypericorum). Use a soil moisture meter to verify that the top 2 inches of soil have dried before re-irrigating.
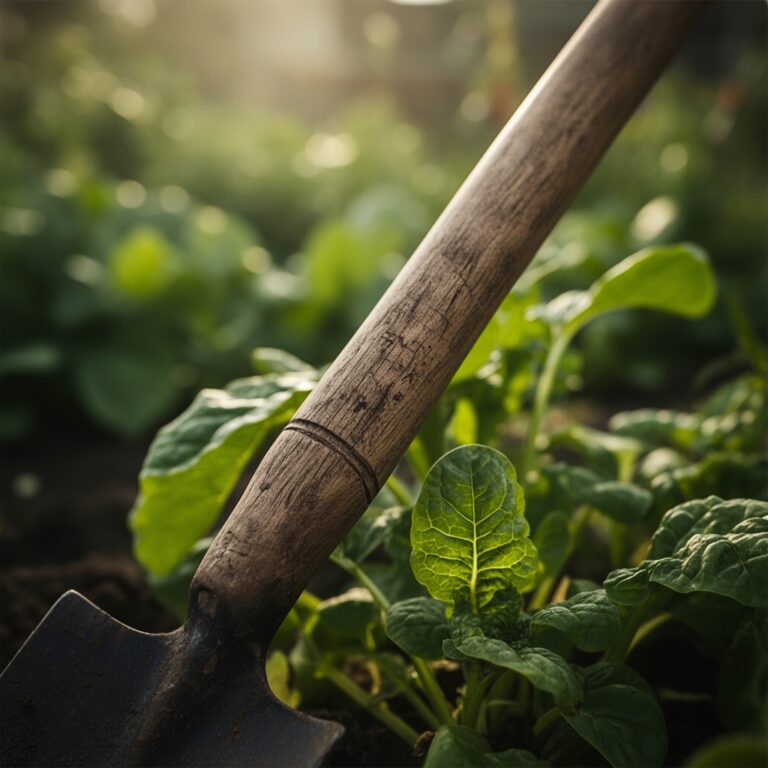
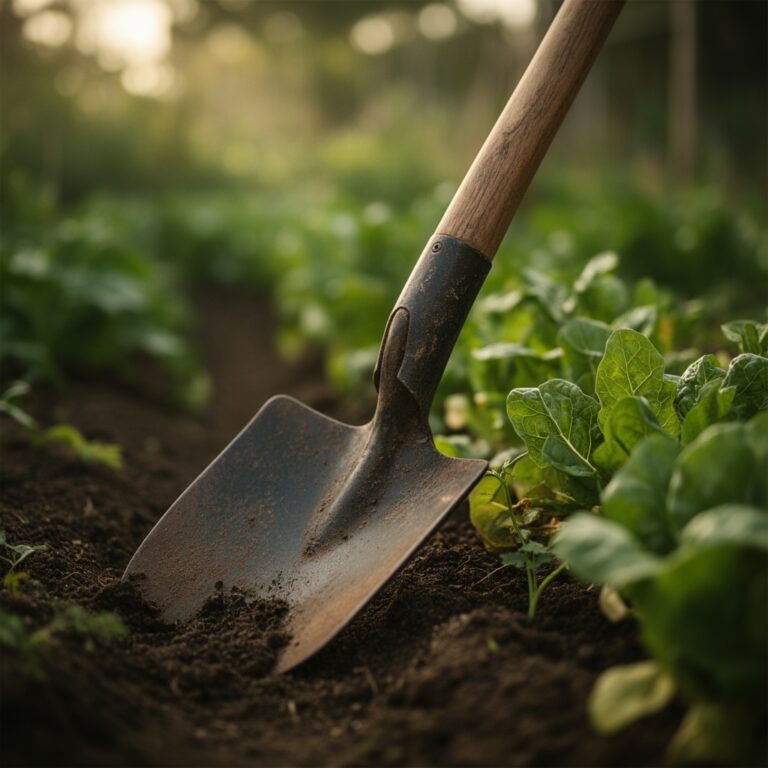
In early spring, use bypass pruners to remove dead woody tissue from the previous year. Cut the stems back to 2 inches above the soil line to encourage fresh, vigorous growth. Monitor for invasive spread. Because the plant spreads via lateral rhizomes, you may need to use a hori-hori knife to sever and remove unwanted runners that extend beyond their designated garden bed.
The Yield:
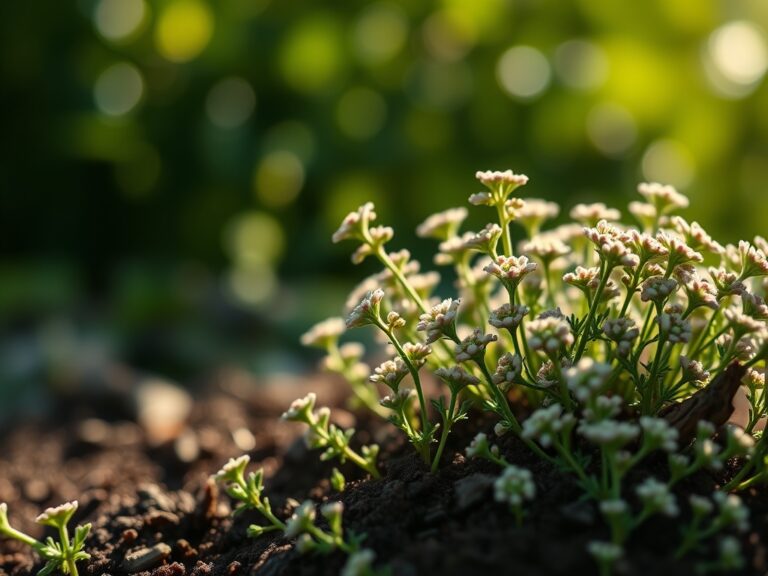
For those managing St. Johns Wort for its floral display or botanical properties, timing is critical. Harvesting should occur when the plant is at 50 percent anthesis (half the flowers are open). This is typically around late June.
Use sharp shears to cut the top one-third of the plant. To maintain "day-one" freshness and prevent cellular senescence, harvest in the early morning after the dew has evaporated but before the sun reaches its zenith. This timing ensures the highest turgor pressure and minimizes heat stress on the harvested tissue. Place the cuttings immediately into a shaded, cool environment. If storing, keep the stems upright in a low-humidity area with constant airflow to prevent mold.
FAQ:
What is the best soil for St. Johns Wort?
St. Johns Wort prefers a friable loam with a pH between 5.5 and 7.0. It requires excellent drainage to prevent root rot. While it tolerates poor soil, adding moderate organic matter improves the Cation Exchange Capacity.
Does St. Johns Wort need full sun?
Yes, Hypericum perforatum requires 6 to 8 hours of direct sunlight daily. Insufficient light leads to "leggy" growth, reduced flower production, and weakened structural integrity due to low photosynthetic rates and reduced lignin development in the stems.
How often should I water established plants?
Apply 1 to 1.5 inches of water per week at the drip line. Use a soil moisture meter to ensure the top 2 inches of soil are dry before watering again. Avoid overhead watering to prevent fungal infections on the foliage.
Is St. Johns Wort invasive?
In certain regions, it is classified as an invasive species due to its rhizomatous root system and prolific seeding. Control its spread by deadheading flowers before they set seed and using a hori-hori knife to prune lateral rhizomes annually.